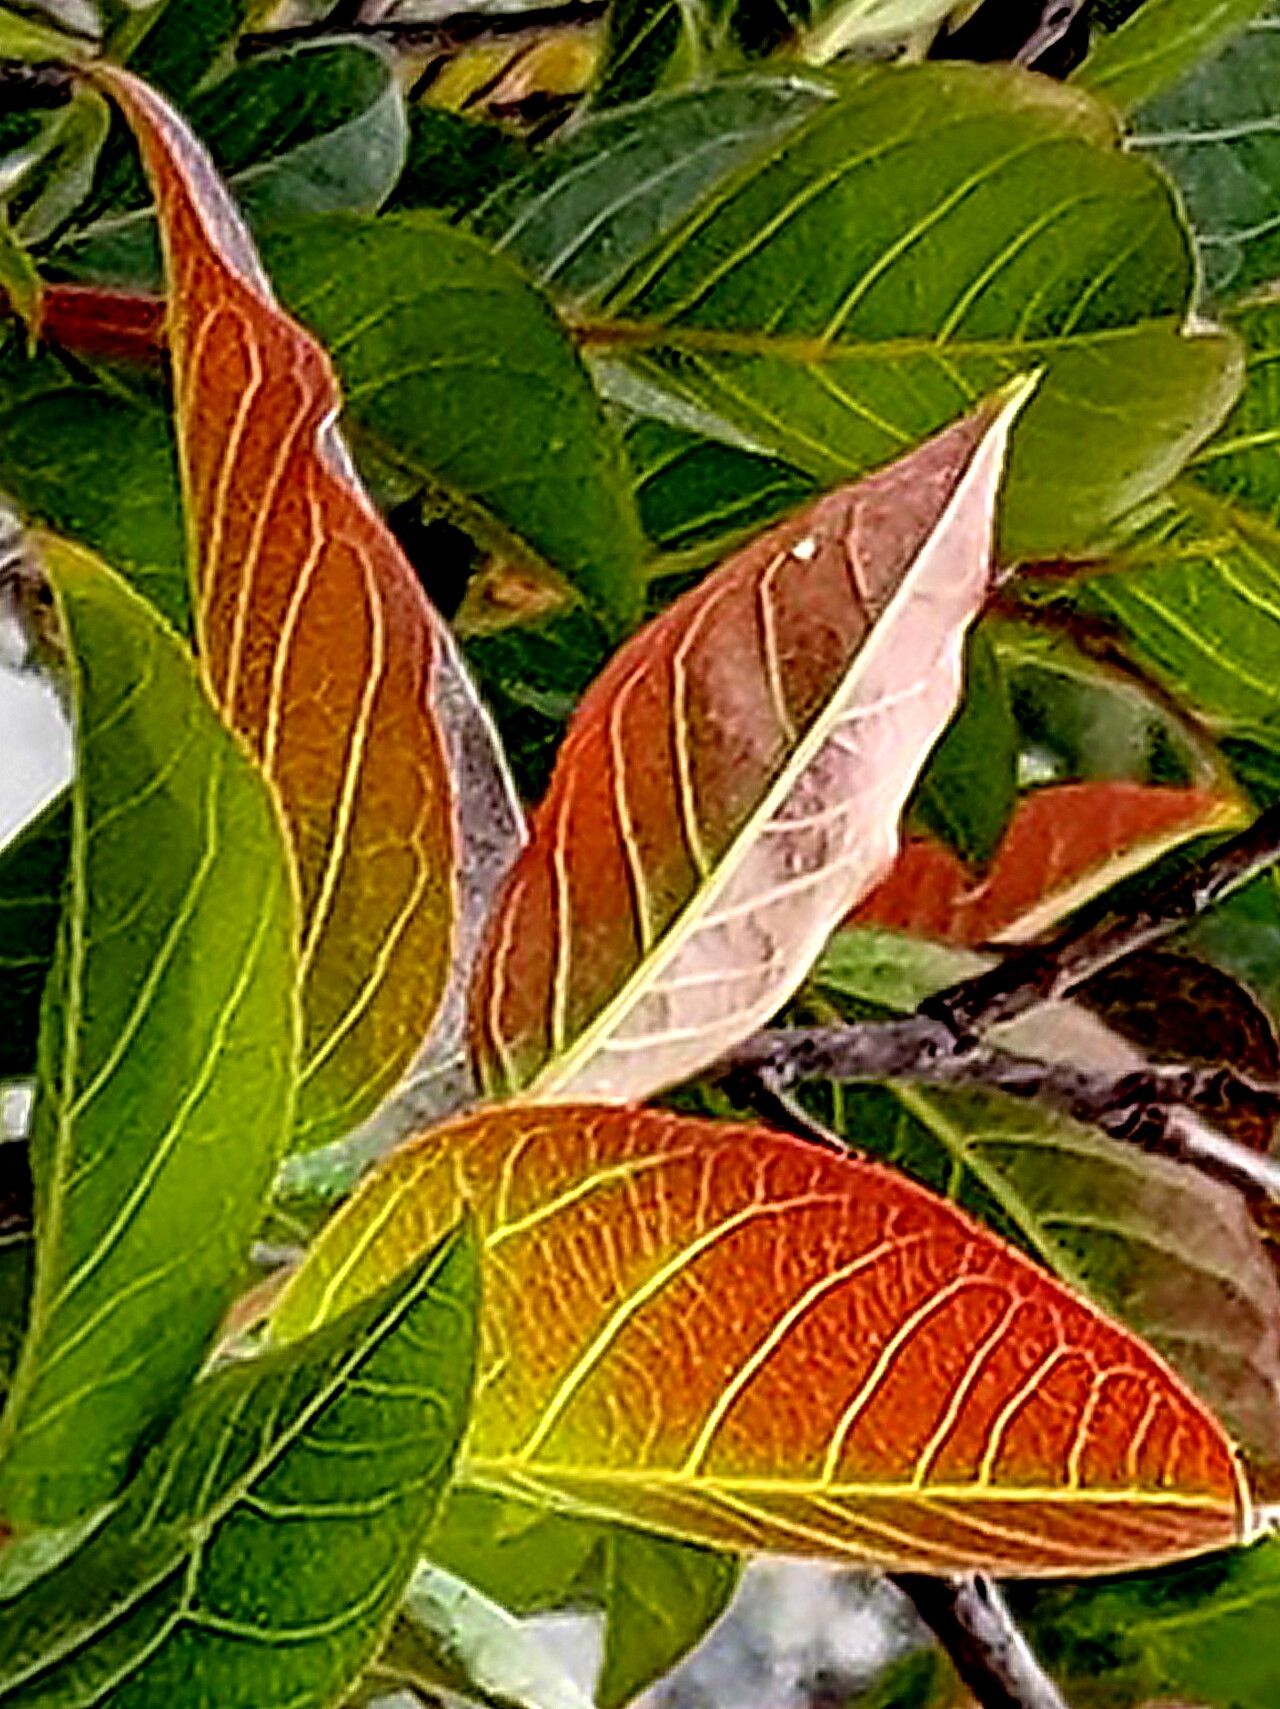
Oh, hello there! I’m so glad you’re interested in Lyonia ovalifolia, or as it’s sometimes called, Japanese Andromeda. It’s truly a charmer with its glossy, leathery leaves and those delicate, bell-shaped flowers that look like they’ve been strung on tiny necklaces. Growing new plants from your existing ones is such a wonderful way to expand your garden and share the beauty with friends. Now, Lyonia ovalifolia can be a little bit of a diva sometimes, so I wouldn’t say it’s a walk in the park for absolute beginners, but with a little patience and the right approach, you’ll absolutely nail it!
The Best Time to Start
For the best chance of success with Lyonia ovalifolia, I’ve found that late spring to early summer is your sweet spot. This is when the plant is actively growing, and you’ll be taking cuttings from what we call semi-hardwood. This means the stems are starting to firm up a bit but are still flexible enough to root. Waiting until the very end of summer means the wood might be too hard.
Supplies You’ll Need
Here’s what I like to have on hand before I get started:
- Sharp Pruning Shears or Knife: Clean and sharp is key to making a clean cut that heals well.
- Rooting Hormone: A good quality rooting powder or gel will give your cuttings a real boost.
- Potting Mix: A well-draining mix is crucial. I usually use a blend of perlite, peat moss, and a little bit of coarse sand. You can also buy specific propagation mixes.
- Small Pots or Seedling Trays: Clean pots are a must to avoid any nasty diseases.
- Plastic Bags or Dome Covers: These help create that humid environment your cuttings crave.
- Labels and a Marker: Don’t skip this step! You’ll thank yourself later.
- Watering Can with a Fine Rose: For gentle watering.
Propagation Methods
We’ll focus on stem cuttings, as that’s the most reliable way to get new Lyonia ovalifolia plants going.
- Select Your Cuttings: Look for healthy, vigorous stems that are about 4-6 inches long. Gently bend a stem – if it snaps cleanly, it’s likely too old (hardwood). If it’s very flexible and seems green all the way through, it might be too soft (softwood). You want that happy medium!
- Make the Cut: Using your clean shears or knife, take cuttings from just below a leaf node. A leaf node is that little bump where a leaf attaches to the stem. This is where the magic of rooting happens.
- Prepare the Cuttings: Gently remove the lower leaves, leaving just two to four leaves at the top. This prevents them from rotting in the soil and also reduces water loss.
- Dip in Rooting Hormone: Dip the cut end of each cutting into your rooting hormone. Tap off any excess.
- Plant Your Cuttings: Make small holes in your potting mix with a pencil or your finger. Insert the cuttings into the holes, making sure the bottom leaf nodes are below the soil surface. Gently firm the soil around them.
- Water and Cover: Water your cuttings gently until the soil is moist but not waterlogged. Then, place the pots inside a plastic bag or cover them with a clear plastic dome. This traps moisture, creating a mini-greenhouse.
The “Secret Sauce” (Pro Tips)
Here are a couple of little tricks I’ve picked up over the years:
- Bottom Heat is Your Friend: If you have a seedling heat mat, placing your pots on it can dramatically speed up root development. Lyonia ovalifolia loves a bit of warmth from below.
- Don’t Overwater, Especially Under a Cover: While they need consistent moisture, soggy soil is the quickest way to invite rot. The plastic cover will keep things humid, so you only need to water if the soil starts to dry out. You’ll be surprised how little you need to water once they’re enclosed.
- Tap Water Can Be Harsh: If your tap water is very hard or chlorinated, consider using rainwater or distilled water for your cuttings. It’s a gentler approach.
Aftercare & Troubleshooting
Once your cuttings are planted, place them in a bright spot that gets indirect light. Direct sun will scorch those tender leaves. Keep the humidity high by ensuring the plastic is sealed well.
You’ll know you have success when you see new leaf growth emerging from the top of the cutting. This usually takes a few weeks to a couple of months. Gently tug on a cutting – if you feel resistance, roots have formed!
The most common issue you’ll encounter is rot. If your cuttings turn mushy, black, or slimy, unfortunately, they’re likely lost. This is usually a sign of too much moisture and poor air circulation. If you see this, remove the offending cutting immediately to prevent it from spreading.
Once your cuttings have a good root system, you can gradually acclimate them to normal humidity by opening the plastic bag a little more each day for a week. Then, you can transplant them into their own small pots.
A Gentle Encouragement
Propagating plants is a journey, and with Lyonia ovalifolia, it’s one that rewards patience. Don’t be discouraged if your first attempts aren’t perfect. Every gardener has their share of lost cuttings! Just keep observing, learning, and enjoying the process. Soon enough, you’ll have a whole new cluster of these beautiful Andromeda bushes to enjoy. Happy propagating!
Resource:
https://identify.plantnet.org/k-world-flora/species/Lyonia%20ovalifolia%20(Wall.)%20Drude/data