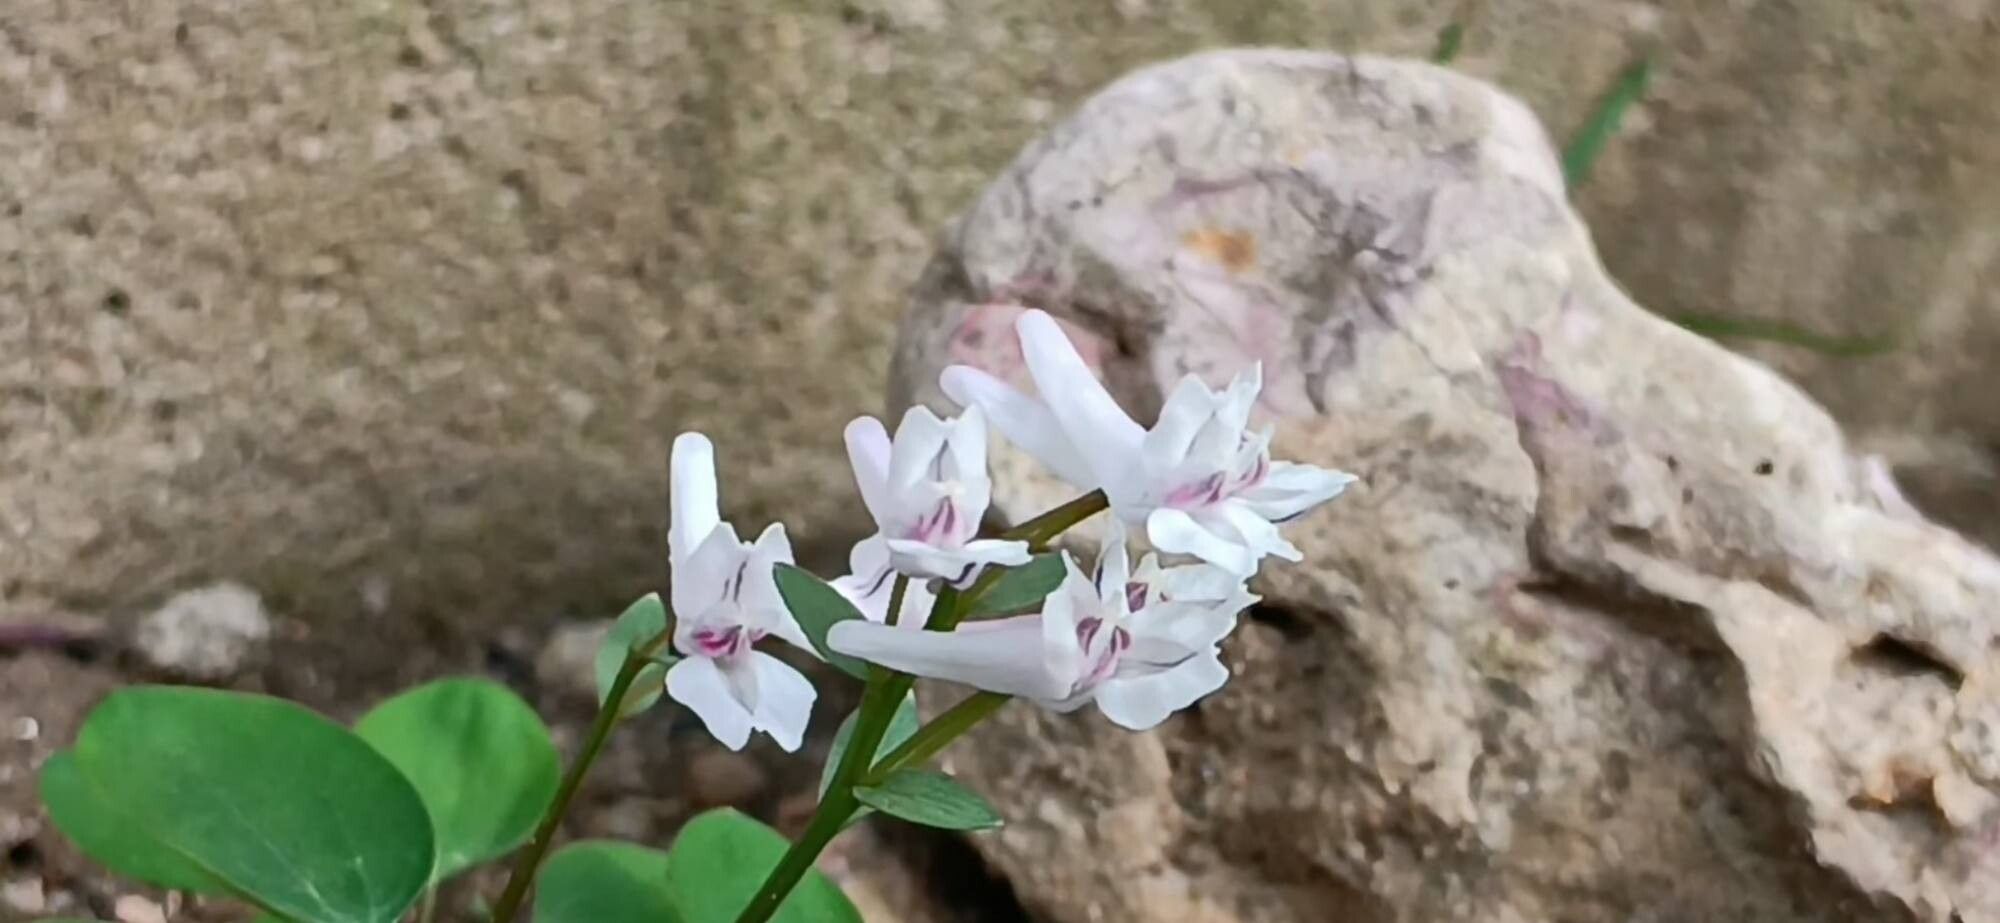
Oh, Corydalis repens! If you haven’t met this little gem yet, you’re in for a treat. Its delicate, fern-like foliage and charming little flowers are like a gentle whisper in the garden, adding a touch of understated elegance anywhere it pops up. And the best part? It’s surprisingly rewarding to multiply! Don’t worry if you’re new to the plant propagation game; Corydalis repens is quite forgiving.
The Best Time to Start
I find the sweet spot for propagating Corydalis repens is late spring to early summer, just as the plant is really hitting its stride and putting on new growth. You can also have good luck with it in the early autumn, before the first hard frost. Basically, when the plant is actively growing is your best bet.
Supplies You’ll Need
Here’s what I like to have on hand:
- Sharp, clean pruning shears or a sharp knife: Essential for clean cuts.
- Small pots or seed trays: Whatever you have that’s appropriate for cuttings.
- A good quality potting mix: I usually mix my own, a blend of peat moss, perlite, and a bit of compost works beautifully. You want something that drains well.
- Rooting hormone (optional, but helpful): A powder or gel can give cuttings a real boost.
- A plastic bag or clear dome: To create a humid microclimate.
- Watering can with a fine rose: Gentle watering is key.
- A mister or spray bottle: For keeping things moist.
Propagation Methods
We’ll focus on two really effective ways to get more Corydalis repens:
Stem Cuttings
This is my go-to method for multiplying Corydalis repens.
- Take your cuttings: Select healthy, non-flowering stems. Look for stems that are a few inches long and have plenty of leaves. Using your sharp shears, make a clean cut just below a leaf node (that little bump where a leaf grows from the stem).
- Prepare the cuttings: Gently remove the lower leaves, leaving just a couple of sets at the top. This prevents them from rotting once planted. If you’re using rooting hormone, dip the cut end into it now.
- Plant the cuttings: Fill your pots with your prepared potting mix and lightly water. Gently insert the cuttings into the soil, making sure the leaf nodes are buried. Their little roots will seem to sprout from there!
- Create humidity: Place the pots into a plastic bag or cover them with a clear dome. This traps moisture and creates that humid environment cuttings love.
- Find a good spot: Place the pots in a location with bright, indirect light. Avoid direct sun, which can scorch those tender cuttings.
Division
This is a fantastic way to propagate Corydalis repens when you’re tidying up an existing clump or want to give it a bit more breathing room.
- Dig carefully: In early spring, before the plant gets too vigorous, gently lift the entire clump from the soil.
- Separate the roots: You’ll see that the plant has a nice, fibrous root system. Often, you can gently pull apart sections of the clump. If it’s a bit stubborn, a clean trowel or even your hands can help you tease the roots apart without causing too much damage. Aim to have at least a few healthy roots and a couple of leafy shoots on each division.
- Replant immediately: Plant your divisions into their new homes, whether that’s back in the garden or into pots with fresh soil. Water them in well.
The “Secret Sauce”
Here are a couple of tricks I’ve learned along the way that really make a difference:
- Bottom heat is your friend: For stem cuttings, I often place my trays on a gentle heating mat. This little boost of warmth from below encourages root formation much faster than ambient room temperature alone. Don’t go too hot, just a gentle warmth.
- Don’t let those leaves touch the water (if water propagating): While less common for repens, if you find yourself tempted to put cuttings in water, ensure absolutely no leaves are submerged. They’ll rot quickly and won’t have a chance to root. I personally prefer soil propagation for this one.
- Patience is paramount: Seriously, I get so many questions about “why aren’t they rooting?” And usually, the answer is a lack of patience! Roots can take several weeks, sometimes even a couple of months, to develop. Don’t give up too soon!
Aftercare & Troubleshooting
Once you start seeing little roots peeking out from the drainage holes or new growth emerging, you’re on your way!
- Acclimatize slowly: Once roots are established, gradually introduce your new plants to less humid conditions. Open the plastic bag a little each day, or lift the dome for longer periods.
- Regular watering: Keep the soil consistently moist but not waterlogged. Water when the top inch of soil feels dry.
- Watch for rot: The biggest enemy is overwatering, which can lead to fungal diseases and rot. If your cuttings look limp and mushy, or you see a fuzzy mold, it’s usually a sign of too much moisture and not enough air circulation. It’s tough, but sometimes you have to toss affected cuttings and try again, adjusting your watering.
A Little Encouragement to End
So there you have it! Propagating Corydalis repens is a beautiful way to fill your garden with more of its gentle charm. Be patient with the process, celebrate the tiny signs of life, and don’t be afraid to experiment. Happy growing!
Resource:
https://identify.plantnet.org/k-world-flora/species/Corydalis%20repens%20Mandl%20&%20Muhldorf/data