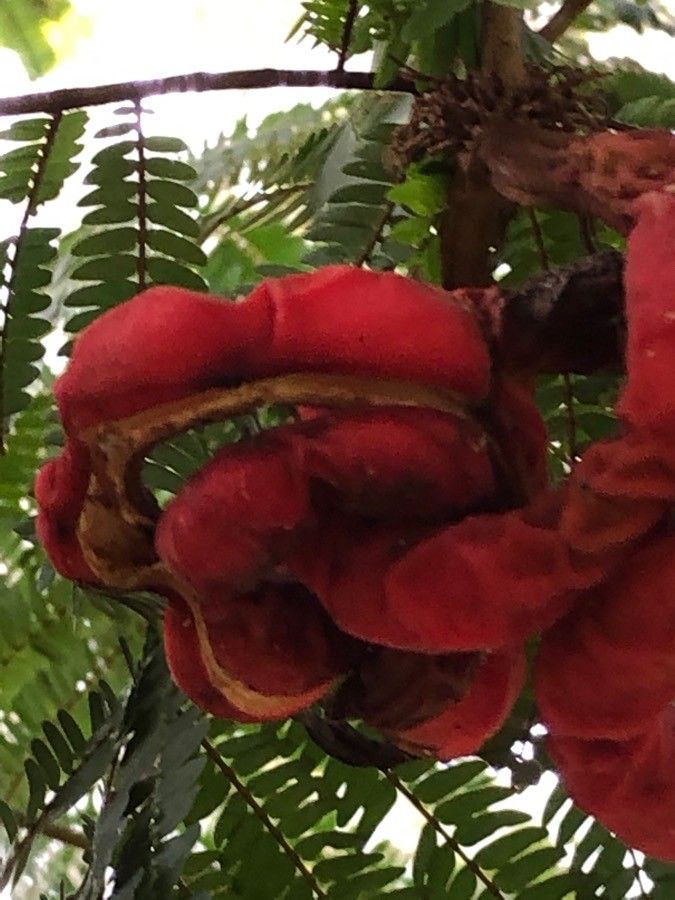
Hello fellow plant lovers! Today, we’re diving into the wonderful world of Cojoba arborea. This stunner, with its delicate, fern-like foliage and often beautiful blooms, brings a touch of the tropics right into our gardens or homes. Growing more of something you love is such a rewarding feeling, isn’t it? It’s like giving a gift to your future self! Now, I’ll be honest, Cojoba arborea can be a little fussy to propagate, but with a bit of understanding and patience, you’ll be well on your way to success. It’s a great project for those looking to stretch their propagation skills a bit.
The Best Time to Start
For Cojoba arborea, spring is your absolute best bet. This is when the plant is naturally waking up from any dormancy and has the most energy for new growth. Look for actively growing, healthy stems. If you miss spring, early summer can also work, but try to avoid propagating when it’s incredibly hot and dry, or during the dead of winter.
Supplies You’ll Need
Here’s what you’ll want to have on hand before you begin:
- Sharp pruning shears or a clean, sharp knife: For making clean cuts to avoid damaging the plant.
- Rooting hormone (optional but recommended): A powder or gel that encourages root development.
- Well-draining potting mix: A mix formulated for aroids or a general houseplant mix with added perlite or orchid bark works wonderfully.
- Small pots or propagation trays: Clean containers with drainage holes are essential.
- Water spray bottle: For misting cuttings.
- A clear plastic bag or humidity dome: To create a humid environment around your cuttings.
- Patience! Always the most important tool.
Propagation Methods
We’ll focus on the stem cutting method, which is generally the most successful for Cojoba arborea.
- Select Your Cuttings: Choose a healthy, vigorous stem. Look for a section that has at least two or three sets of leaves. Make a clean cut just below a leaf node (the point where a leaf attaches to the stem). This is where roots are most likely to form.
- Prepare the Cutting: Remove the lower leaves from the cutting, leaving just two or three at the top. This prevents them from rotting in the soil or water.
- Apply Rooting Hormone: Dip the cut end of the stem into your rooting hormone, tapping off any excess. If you’re not using hormone, that’s okay, but it can certainly give you a boost.
- Planting: Fill your small pots with your well-draining potting mix. Make a small hole with your finger or a pencil and gently insert the cutting, ensuring the nodes are buried. Firm the soil gently around the stem.
- Watering: Water the soil thoroughly until it’s evenly moist but not waterlogged.
- Create Humidity: Place a clear plastic bag over the pot, securing it around the rim with a rubber band, or use a humidity dome. This is crucial for keeping the cuttings from drying out before they can root. You can also try watering propagation, but Cojoba arborea’s cuttings can be prone to rot in water, so soil is generally safer.
The “Secret Sauce” (Pro Tips)
Here are a couple of tricks I’ve learned over the years that can really help:
- Bottom Heat is Your Friend: If you have a heat mat designed for seedlings, placing your pots on it can significantly speed up root formation. It mimics the warmth of spring soil and encourages those roots to explore.
- Don’t Be Afraid to Peek: Once a week, gently lift the plastic bag or dome to allow for some air circulation. This helps prevent fungal issues. While you’re there, check the soil moisture. If it feels dry, give it a light misting.
Aftercare & Troubleshooting
Once you see signs of new growth, like fresh leaves emerging from the top of the cutting, that’s a good sign roots are forming! You can gently tug on the cutting. If you feel resistance, roots have likely developed. Continue to keep the soil consistently moist during this phase. Gradually acclimate your new plant to less humidity by opening the bag or dome for longer periods.
If your cutting turns black and mushy, that’s usually a sign of rot. This often happens because the cutting was kept too wet, the humidity was too high for too long, or the potting mix wasn’t draining well enough. Sadly, once rot sets in, it’s very difficult to save. Don’t get discouraged if this happens; it’s part of the learning process for many plants!
A Little Encouragement
Propagating Cojoba arborea is a journey, not a race. Enjoy the process of nurturing these new life forms. Be patient with your cuttings, observe them closely, and celebrate every little bit of progress. Soon enough, you’ll have a whole new collection of these beautiful plants to share or enjoy yourself. Happy propagating!
Resource: