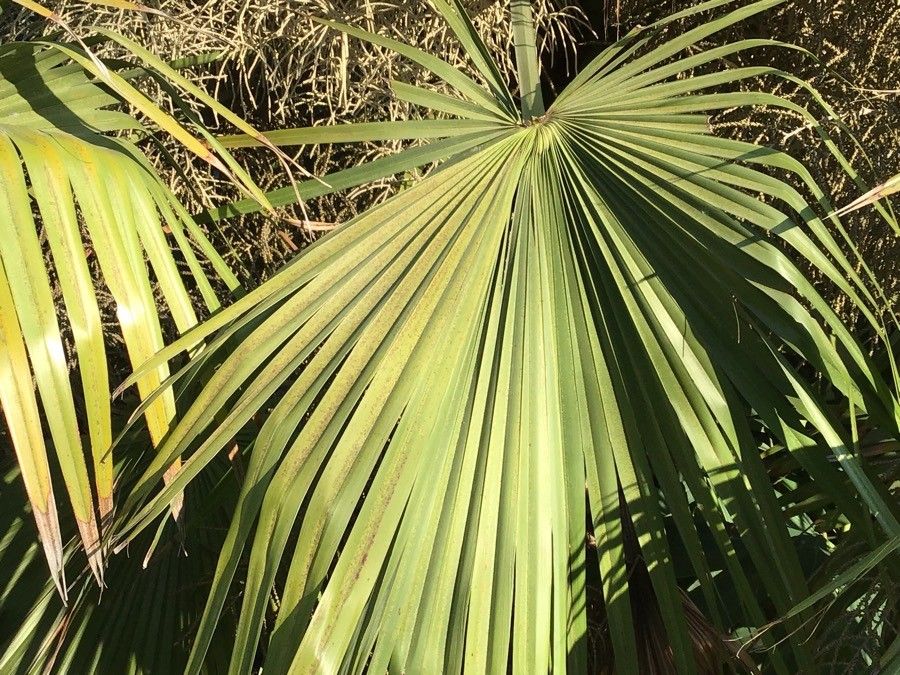
Oh, hello there! So, you’ve fallen for the charms of Brahea sarukhanii, haven’t you? I don’t blame you one bit. Those graceful, silvery-blue fan palms have a way of capturing your heart, and adding a few more to your collection or sharing them with friends is such a joy. It’s a rewarding feeling to nurture a new life from a small piece of a mature plant. Now, I’ll be honest, Brahea sarukhanii isn’t quite as straightforward as propagating a begonia, but it’s definitely achievable with a little patience and the right approach. Don’t let that deter you!
The Best Time to Start
For most palms, including our lovely Brahea sarukhanii, the absolute best time to begin propagation is when the plant is actively growing. This usually means late spring or early summer. You want to catch your mature palm when it’s feeling good, pushing out new growth, and has plenty of energy to spare. Avoid trying this during the cooler, dormant months.
Supplies You’ll Need
Here’s what I like to have on hand before I get started:
- Sharp, clean pruning shears or a very sharp knife: Crucial for making clean cuts.
- Rooting hormone powder (optional but recommended): Especially for more challenging cuttings.
- A well-draining potting mix: A good blend of perlite, coarse sand, and a good quality potting soil works wonders. You can also buy specific cactus/succulent mixes.
- Small pots or seed trays: With drainage holes, of course!
- A spray bottle: For misting.
- Clear plastic bags or mini greenhouses: To create a humid environment.
- Sticks or skewers: To support the plastic bag.
Propagation Methods
Brahea sarukhanii is typically best propagated by division when it’s a mature, clumping specimen. While some palms can be coaxed from leaf-bud cuttings, it’s much less reliable for this particular palm, and frankly, a lot more fiddly.
Division: The Most Reliable Way
- Gently remove the plant from its pot. This can sometimes be a bit of a wrestling match with a well-established palm, so be patient. You might need to carefully run a knife around the edge of the pot to loosen the soil.
- Inspect the root ball. Look for natural breaks where new pups or offshoots are emerging from the base of the main plant, each with its own set of roots.
- Carefully separate a division. Using your clean pruning shears or knife, gently cut away a division that has a good amount of roots attached. Try to make the cut as clean as possible, minimizing damage to both the parent plant and the new offshoot. If a division doesn’t have many roots, don’t despair, but it will take longer to establish.
- Pot up the division. Plant the new division in its own pot filled with your well-draining mix. Make sure it’s planted at roughly the same depth it was growing previously.
- Water thoroughly. Give it a good, slow soak to settle the soil around the roots.
The “Secret Sauce” (Pro Tips)
- Think “Dessert Island” for your new divisions. Once potted, I like to place the newly divided Brahea sarukhanii in its own mini-greenhouse environment. Cover the pot with a clear plastic bag, using skewers to prop it up so the leaves don’t touch the plastic. This greatly increases humidity, which these new little guys crave, mimicking the warmth and moisture they’d find if they were naturally separated.
- Give them a gentle boost. If your division seems a bit slow to get going, dipping the cut end in a rooting hormone powder before potting can make a noticeable difference in speeding up root development. It’s not strictly necessary, but it can help give them that extra push.
- Don’t overwater, especially at first. While they need moisture, soggy soil is the quickest way to welcome rot. Let the top inch or so of soil dry out between waterings. Trust your plant’s cues.
Aftercare & Troubleshooting
Once your Brahea sarukhanii division is potted and settled, keep it in a bright, indirect light location. Avoid direct, harsh sunlight, which can scorch its tender new leaves. As it starts to show signs of new growth – a new leaf unfurling or the roots beginning to fill the pot – you can gradually introduce it to more light and begin a regular watering schedule.
The most common sign of trouble is rot. If the leaves start to yellow and become mushy, or if the base of the plant feels soft and smelly, it’s likely root rot. This usually comes from too much moisture and not enough drainage. If you see this, don’t panic. You might be able to salvage it by carefully removing the rotted parts with a clean knife, letting the rest of the division dry out for a day or two, and then repotting it in fresh, dry, well-draining soil.
A Little Patience Goes a Long Way
Propagating palms takes time. You won’t see dramatic results overnight, and that’s perfectly okay! Enjoy the process of nurturing something new. Watch for subtle signs of life, and a bit of patience and consistent care will reward you with beautiful new Brahea sarukhanii palms in no time. Happy gardening!
Resource:
https://identify.plantnet.org/k-world-flora/species/Brahea%20sarukhanii%20H.J.Quero/data