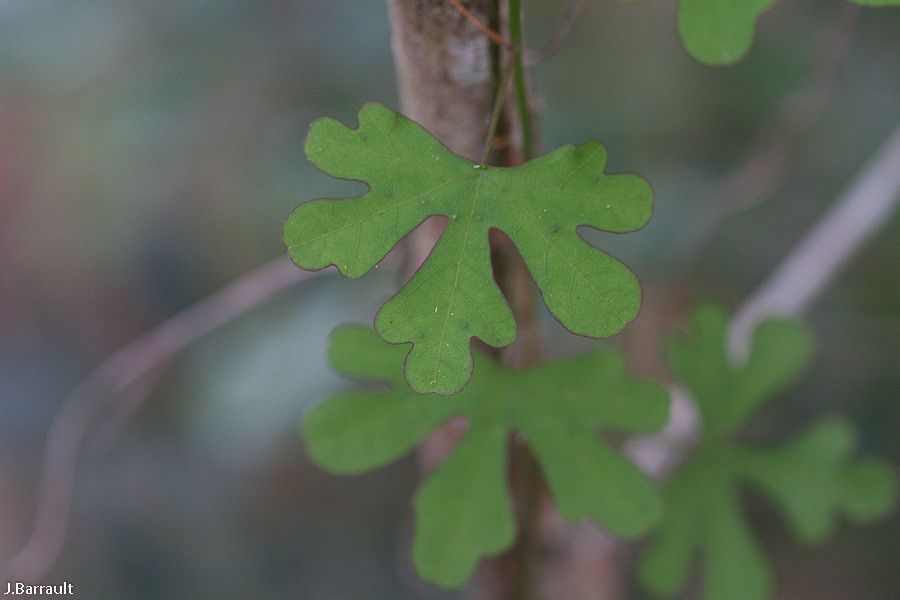
Oh, hello there! Grab a mug of your favorite brew, and let’s chat about Passiflora, or as we sometimes call them, passionflowers. Today, we’re diving into Passiflora barclayi. If you’ve ever seen this stunner with its intricate blooms and lush foliage, you know why it’s so captivating. It’s a real showstopper, and the thought of having more of them, gifted from your own hands, is just incredibly satisfying.
Now, is Passiflora barclayi a walk in the park for absolute beginners? I’d say it’s more of a gentle stroll with a few charming detours. It’s certainly achievable, but a little bit of care and attention goes a long way. Don’t let that deter you – think of it as a learning adventure!
The Best Time to Start
For the highest success rate, I find spring and early summer are your best bets. This is when the plant is actively growing and has plenty of energy to put into new roots. You want to be taking cuttings from healthy, new growth that’s still a bit soft and bendy, not old, woody stems. Think of it as selecting the freshest produce from the market!
Supplies You’ll Need
Here’s your handy checklist to gather before we get our hands dirty:
- Sharp, clean pruning shears or a razor blade: Crucial for making clean cuts.
- Potting mix: A well-draining mix is key. I often use a blend of peat moss and perlite, or even a cactus mix can work wonders.
- Small pots or propagation trays: Anything that holds soil and has drainage holes.
- Rooting hormone (powder or gel): Not strictly essential for all plants, but it seriously boosts your chances with passionflowers.
- Plastic bags or a propagation dome: To create a humid environment.
- Water: For watering and, potentially, a separate jar.
- Labels: Because trust me, you will forget which is which!
Propagation Methods
We’ll focus on the most reliable method for Passiflora barclayi: stem cuttings.
-
Take Your Cuttings: In late spring or early summer, identify a healthy stem on your mature plant. Look for a stem that’s about pencil-thick and has at least two or three leaf nodes (the little bumps where leaves emerge). Using your clean pruning shears, make a cut just below a leaf node. You want cuttings that are roughly 4-6 inches long. Remove the lower leaves, leaving just one or two at the top.
-
Prepare the Cutting: If you’re using rooting hormone, dip the cut end of the stem into the powder or gel. Gently tap off any excess. This step encourages root development.
-
Plant Your Cuttings: Fill your small pots or trays with your well-draining potting mix. Make a hole in the center of the soil with your finger or a pencil – big enough to insert the cutting. Gently push the prepared cutting into the hole, making sure at least one leaf node is below the soil surface. Firm the soil around the base of the cutting.
-
Create Humidity: Water the soil thoroughly until it drains from the bottom. Then, carefully place the pot inside a plastic bag, securing it loosely around the pot, or cover your tray with a propagation dome. This tent-like structure will keep the humidity high, which is essential for cuttings to root.
-
Find the Right Spot: Place your potted cuttings in a bright spot that receives indirect sunlight. Avoid direct, scorching sun, which can cook your tender cuttings.
The “Secret Sauce” (Pro Tips)
-
Bottom Heat is a Game Changer: Passionflowers often root best when their little feet are warm. If you have a seedling heat mat, placing your pots on it can significantly speed up root formation. It’s like giving them a warm bath just for their roots!
-
Don’t Drench, Just Dampen: While we want humidity, we don’t want waterlogged soil, as this can lead to rot. Check the soil moisture regularly. It should feel consistently moist but not soggy. If the soil surface feels dry, give it a gentle watering.
-
Patience, My Friend, Patience: Passionflowers can be a bit slow to show progress. Resist the urge to pull them up every few days to check for roots! You’ll know they’re rooting when you see new leaf growth starting to emerge. This can take several weeks to a couple of months.
Aftercare & Troubleshooting
Once you see signs of new growth – tiny leaves unfurling – that’s your cue! Gradually acclimate your new plant to normal humidity by opening the plastic bag a little more each day over a week. Continue to water as needed, letting the top inch of soil dry out between waterings.
The main thing to watch out for is rot. If your cutting looks mushy, black, or starts to fall apart, it’s likely rotted. This usually happens due to overwatering or poor drainage. If you see this, sadly, it’s best to discard the cutting and try again, perhaps with less water or better aeration in your mix. Sometimes, a cutting just doesn’t take – it’s part of the gardening dance!
A Encouraging Closing
Propagating Passiflora barclayi is a wonderfully rewarding way to expand your collection or share these beauties with friends. It takes a bit of patience and observation, but the thrill of seeing those first tiny roots emerge makes it all worthwhile. So go ahead, give it a try! Nature has a way of surprising us, and I have a feeling you’ll be enjoying your own homegrown passionflowers before you know it. Happy gardening!
Resource:
https://identify.plantnet.org/k-world-flora/species/Passiflora%20barclayi%20(Seem.)%20Mast./data