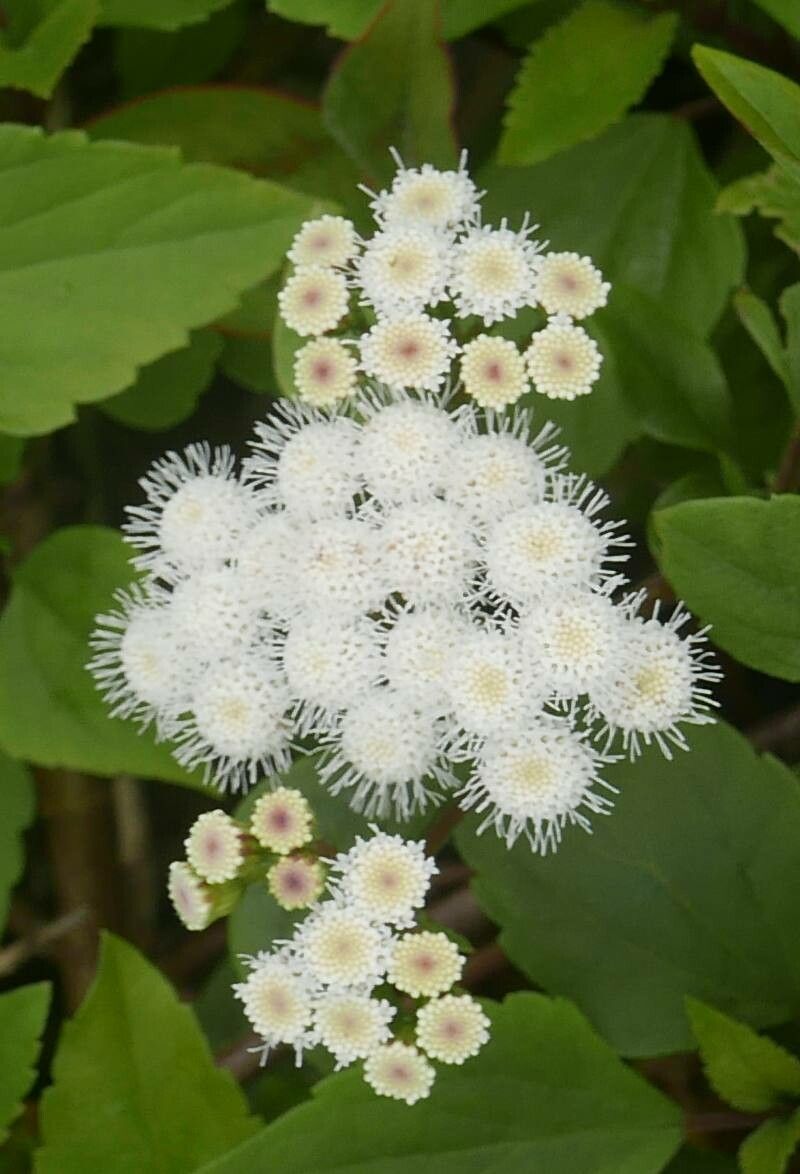
Hey there, fellow garden enthusiasts! I’m so excited to chat with you today about a plant that brings a flutter of joy to so many gardens: Ageratina adenophora. You might know it by its common names, like Sticky Snakeroot or Mexican Ageratina. Its delicate, fluffy white blooms are just gorgeous, creating a lovely, airy feel. Plus, they’re magnets for pollinators! If you’re looking to fill your garden or share the beauty with friends, propagating this beauty is incredibly rewarding. And guess what? For beginners, you’ll find Ageratina adenophora to be quite forgiving, which is always a lovely bonus.
The Best Time to Start
When it comes to getting the best results, spring is absolutely your golden ticket for propagating Ageratina adenophora. Think of it as giving your cuttings a head start with the lengthening days and warming soil. You’re looking for softwood or semi-hardwood cuttings, which are young, flexible stems that haven’t yet turned woody. These are usually found on new growth. Avoid trying to propagate from very old, tough stems; they won’t root as readily.
Supplies You’ll Need
Gathering your supplies beforehand makes the whole process so much smoother. Here’s what I like to have on hand:
- Sharp, clean pruning shears or a sharp knife: Essential for making clean cuts.
- Rooting hormone powder or gel: This is a real game-changer for encouraging root development.
- A light, well-draining potting mix: I usually opt for a mix of equal parts peat moss, perlite, and a bit of compost.
- Small pots or seed trays with drainage holes: Recycled yogurt containers with poked holes work too!
- A plastic bag or propagator lid: To create a humid environment.
- Watering can or spray bottle: For gentle watering.
- Labels or markers: So you don’t forget what’s what!
Propagation Methods
Let’s get our hands dirty! I find stem cuttings to be the most reliable and straightforward method for Ageratina adenophora.
Stem Cuttings:
- Take Your Cuttings: In the spring, select healthy, non-flowering stems. Using your clean shears, cut pieces about 4-6 inches long. Make sure each cutting has at least two sets of leaves.
- Prepare the Cuttings: Gently remove the lower leaves from each cutting, leaving just the top two or three leaves. This prevents them from rotting when they’re in the soil. If your leaves are quite large, you can even snip them in half to reduce water loss.
- Apply Rooting Hormone: Dip the cut end of each stem into your rooting hormone, ensuring it’s evenly coated. Tap off any excess.
- Plant the Cuttings: Fill your small pots or trays with your well-draining potting mix. Make a small hole with your finger or a pencil. Insert the prepared cutting into the hole, ensuring the nodes where the leaves were removed are buried in the soil. Gently firm the soil around the base.
- Water Gently: Water the soil thoroughly but gently, so as not to disturb the cuttings.
- Create Humidity: Cover the pots with a clear plastic bag or a propagator lid. This traps moisture and creates the humid environment cuttings need. Make sure the plastic doesn’t touch the leaves too much; you can use a few twigs to prop it up.
- Place in Bright, Indirect Light: Find a warm spot that receives bright, indirect light. Avoid direct sun, which can scorch the delicate cuttings.
The “Secret Sauce” (Pro Tips)
Here are a couple of little tricks I’ve learned over the years that really make a difference:
- Bottom Heat is Your Friend: A gentle warmth from below can significantly speed up rooting. You can achieve this with a propagation mat or even by placing your pots on top of a warm, sunny windowsill or near a warm appliance (but not too close!). This encourages root growth from the base.
- Watch for Wilting, Not Drying: While you want to keep the soil consistently moist, avoid overwatering. A slight wilting of the leaves can be a sign that the cutting needs more humidity or is struggling, but a truly soggy environment is a fast track to rot. Aim for moist, not soggy.
Aftercare & Troubleshooting
Once you start seeing new leaf growth, that’s a fantastic sign! It usually means roots have formed. You can gently tug on a cutting; if it offers resistance, it’s rooted.
- Acclimatize Slowly: Once roots appear, begin to gradually acclimate your new plants to drier air. This means lifting the plastic bag for shorter periods each day.
- Transplant Carefully: When the cuttings have a good root system, you can transplant them into slightly larger pots with regular potting soil. Handle those delicate roots with care!
- Watch for Rot: The most common sign of trouble is rot. If your cuttings turn mushy and black, or if the leaves yellow and drop off quickly without signs of new growth, it’s likely due to too much moisture and not enough air circulation. Ensure your soil drains well and that you’re not overwatering.
A Encouraging Closing
Propagating plants is such a wonderful way to connect with nature and expand your green space. Don’t be discouraged if every single cutting doesn’t make it – that’s just part of the learning curve! Be patient, keep an eye on your little newbies, and enjoy the incredible satisfaction of watching something grow from a tiny stem into a beautiful, blooming plant. Happy gardening!
Resource: