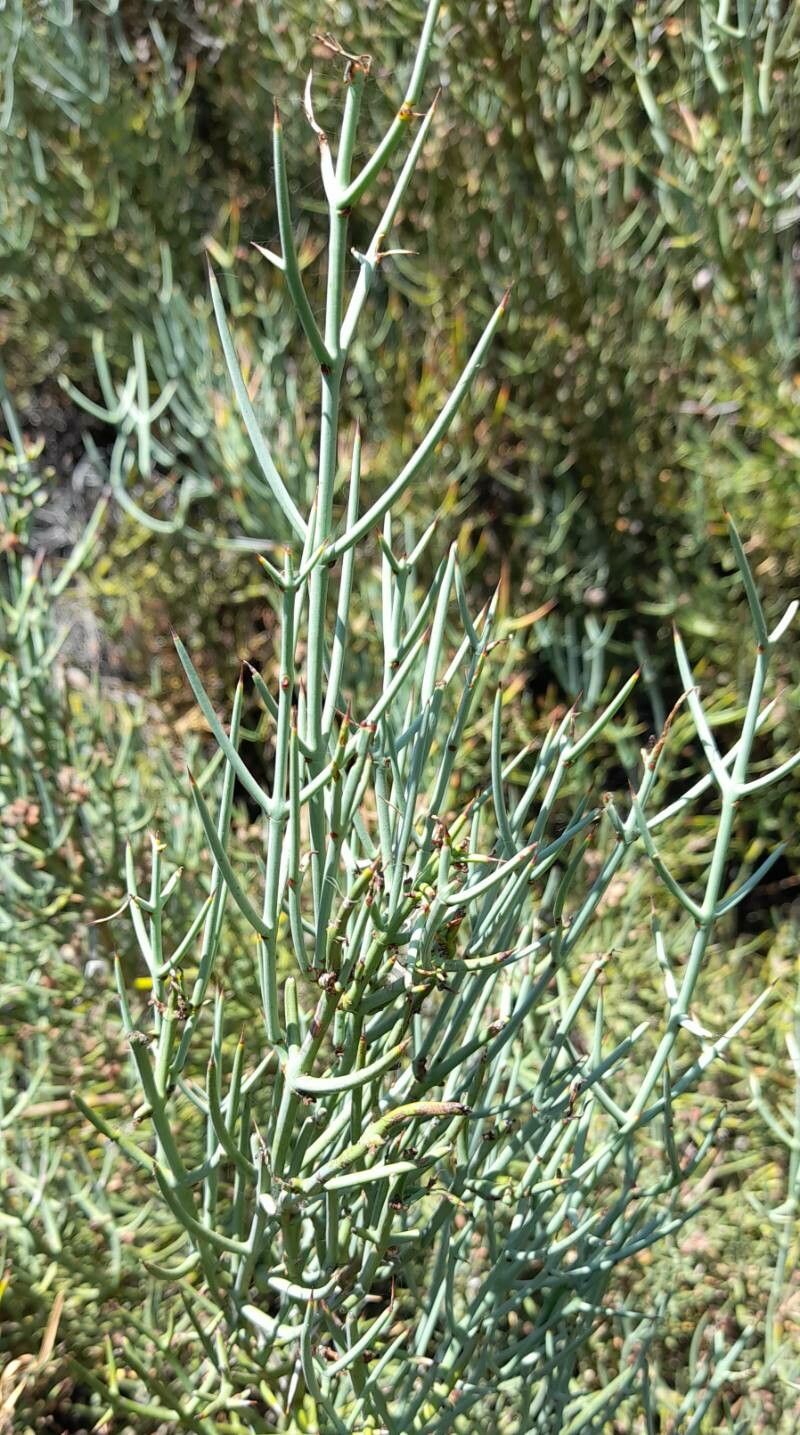
Hey there, fellow plant lovers! If you’ve ever admired the delicate, almost ethereal charm of Retanilla patagonica, you’re in for a treat. This South American native, with its wispy, needle-like foliage and the promise of tiny, dainty flowers, brings a touch of wild elegance to any garden. And the most rewarding part? You can easily share that beauty by propagating it yourself! Now, I’ve got to be upfront: while it’s not the absolute easiest plant for a complete beginner to get started with, it’s far from impossible. With a little patience and the right approach, you’ll be well on your way to a whole new collection.
The Best Time to Start
My favorite time to get my hands dirty with Retanilla patagonica propagation is during late spring or early summer. This is when the plant is actively growing, and the new wood is pliable but not too soft. Think of it as catching the plant at its most vigorous – it’s full of life and ready to branch out! You want to be taking cuttings from stems that have just finished their initial spring flush of growth.
Supplies You’ll Need
Gathering your tools beforehand makes the whole process so much smoother. Here’s what I always have on hand:
- Sharp, clean pruning shears or a craft knife: For making clean cuts.
- Rooting hormone powder or gel: This can significantly boost your success rate.
- A well-draining potting mix: I like a blend of equal parts perlite, peat moss, and coarse sand. Some people swear by a mix that includes a bit of orchid bark for extra aeration.
- Small pots or propagation trays: Make sure they have drainage holes!
- Plastic bags or a propagation dome: To create a humid environment.
- Watering can or spray bottle: For gentle watering.
- Labels and a marker: To keep track of what you’ve propagated and when.
Propagation Methods
For Retanilla patagonica, stem cuttings are definitely my go-to method. It’s reliable and gives you the best chance of success.
Here’s how I do it:
- Take the Cuttings: On a healthy, active shoot, find a section that’s about 4-6 inches long. Make a clean cut just below a leaf node (where a leaf meets the stem). Try to choose stems that are semi-hardwood – they should be firm but still have a little bit of flexibility. You want to avoid wood that’s too soft and green, or too old and woody.
- Prepare the Cuttings: Gently remove the lower leaves from the cutting. You want to expose at least two node points, as this is where roots will typically emerge. If your cutting has any flowers or developing buds, snip those off. They take valuable energy away from root development.
- Apply Rooting Hormone: Dip the cut end of the stem into your rooting hormone. Tap off any excess. This little step makes a big difference!
- Plant the Cuttings: Fill your small pots or trays with your prepared, moistened potting mix. Make a small hole with your finger or a pencil and carefully insert the cutting, ensuring the bottom node is buried in the soil. Gently firm the soil around the stem. You can plant several cuttings in one pot, but make sure they aren’t touching each other.
- Create a Humid Environment: Water the soil gently. Then, cover the pot with a clear plastic bag or place it under a propagation dome. This is crucial for keeping the humidity high, which prevents the cuttings from drying out before they have a chance to root. You want the leaves to have plenty of moisture.
The “Secret Sauce” (Pro Tips)
Over the years, I’ve learned a few tricks that really tip the scales in your favor.
- My absolute favorite tip for cuttings is to use bottom heat. A heat mat designed for seedlings can make a world of difference. It encourages root development from below while keeping the tops of the cuttings cool and preventing drying.
- When you mist your cuttings, make sure the leaves don’t sit in stagnant water. While you want humidity, constantly wet foliage can lead to fungal issues. A gentle misting is usually enough.
- Don’t be tempted to poke and prod the cuttings to see if they have roots. You could easily damage those delicate new developments. Patience is key here!
Aftercare & Troubleshooting
Once your cuttings have rooted – and you’ll know because you’ll see new growth emerging – it’s time for a little careful management.
- Gradually Acclimate: Before removing the plastic bag or dome entirely, start ventilating the cuttings for a few hours each day. This helps them adjust to drier air.
- Water Sparingly: Once they look settled, you can water them more regularly, but always allow the top inch of soil to dry out between waterings. Overwatering is the enemy of young roots.
- Low Light for Now: Keep your new plants in a bright, indirect light location for the first few weeks. Direct sun can scorch their tender new leaves.
The most common issue you might run into is rot. If you see your cutting turning mushy or black, it’s likely suffering from too much moisture and not enough air circulation. If this happens, you may need to start over. Don’t get discouraged – it’s all part of the learning process! Sometimes, even with the best intentions, not every cutting will make it, and that’s perfectly okay.
A Little Encouragement
Propagating plants is such a wonderful way to connect with nature and expand your garden without spending a fortune. Be patient with your Retanilla patagonica cuttings. They might take a few weeks, or even a couple of months, to show signs of life. Enjoy the process, learn from any setbacks, and before you know it, you’ll have a whole troop of these charming plants to admire and share. Happy propagating!
Resource:
https://identify.plantnet.org/k-world-flora/species/Retanilla%20patagonica%20(Speg.)%20Tortosa/data