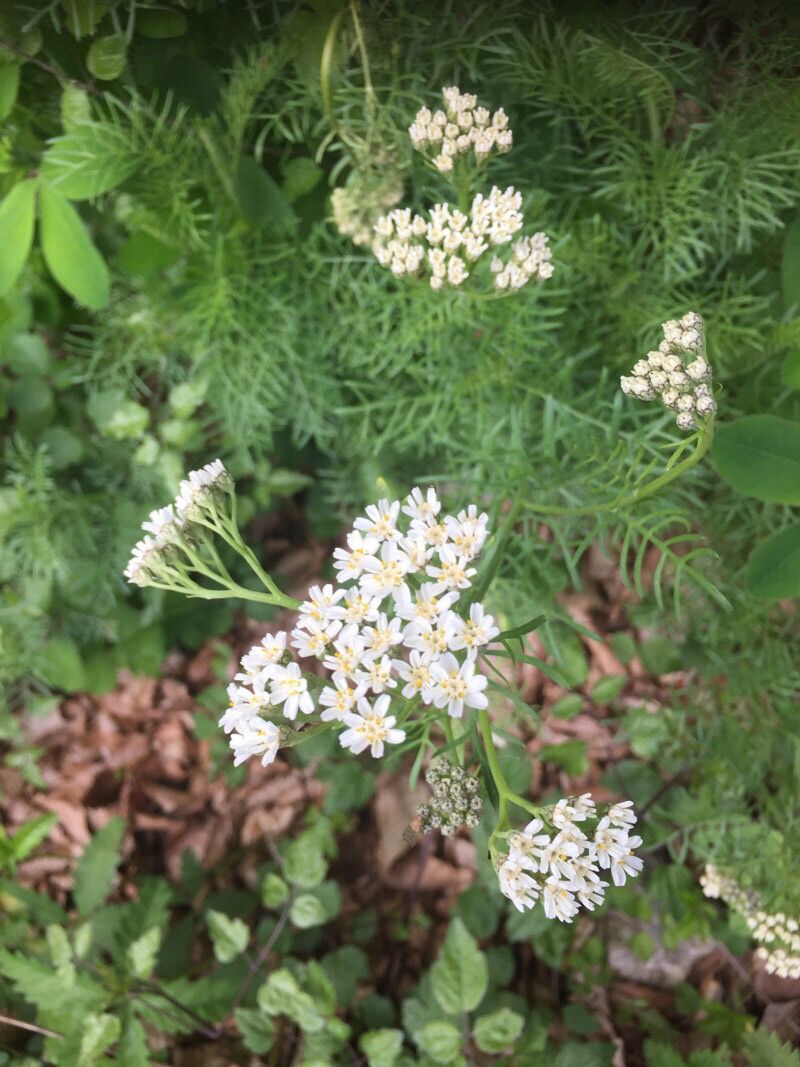
Oh, Achillea chamaemelifolia! It’s a true gem for any garden, isn’t it? With its delicate, fern-like foliage and those lovely, often white or pale yellow flower clusters, it brings a whisper of elegance and a whole lot of resilience. I’ve always found its understated beauty so charming. And the best part? Taking cuttings and watching new plants emerge from your efforts is absolutely magical. Honestly, if you’re considering propagating it, I think you’ll find it quite rewarding and, for the most part, a satisfying experience even for beginners. It’s not a finicky plant by any means.
The Best Time to Start
My go-to time for propagating Achillea chamaemelifolia is definitely in the late spring or early summer. This is when the plant is actively growing, and fresh, new stems are abundant. They have that lovely soft, pliable quality that takes root so readily. You can also have success with division in the early spring, just as things are waking up, or in the early autumn after the heat of the summer has passed and before the real chill sets in.
Supplies You’ll Need
Gathering your supplies beforehand makes the whole process so much smoother:
- Sharp pruning shears or a clean knife: For taking clean cuts.
- Potting mix: A well-draining blend is crucial. I like a mix of perlite, vermiculite, and a good quality potting soil. Commercial seed-starting mix works wonders too.
- Small pots or propagation trays: Clean ones, of course.
- Rooting hormone powder or gel: This isn’t strictly necessary for Achillea, but it can give your cuttings a little boost.
- Watering can with a fine rose: For gentle watering.
- Plastic bags or clear propagation domes: To create a humid environment.
- Labels and a marker: So you don’t forget what you’ve planted!
- For division: a garden fork or trowel
Propagation Methods
Let’s get our hands dirty! Achillea chamaemelifolia is quite amenable to a couple of different techniques.
Stem Cuttings: My Favorite Approach
- Take your cuttings: In late spring or early summer, select healthy, non-flowering shoots that are about 4-6 inches long. Make a clean cut just below a leaf node (where a leaf attaches to the stem).
- Prepare the cuttings: Gently remove the lower leaves. You want to have at least two or three nodes exposed. If you have a particularly long cutting, you can pinch off the very tip to encourage bushier growth later.
- Dip in rooting hormone (optional): If you’re using it, dip the cut end into the rooting hormone powder or gel. Tap off any excess.
- Plant them up: Fill your small pots or trays with your well-draining potting mix. Make a small hole with your finger or a pencil and carefully insert the cutting, ensuring the leaf nodes you bared are below the soil surface. Gently firm the soil around the base.
- Water gently: Give them a good, light watering to settle the soil.
- Create humidity: Cover the pots with a clear plastic bag, securing it around the rim with a rubber band, or use a propagation dome. This traps moisture, which is key for cuttings to root. Place them in a bright spot, but out of direct sunlight.
Division: A Quick Win
If you have an established clump of Achillea chamaemelifolia that’s looking a bit tired or simply too big, division is a fantastic way to get more plants and rejuvenate the parent.
- Dig up the plant: In early spring or autumn, carefully dig around the base of the plant with a spade or fork, lifting the entire root ball.
- Separate the clumps: Gently tease apart the root ball into sections. Each section should have healthy roots and some top growth. You can use your hands, or if it’s a stubborn clump, a clean trowel or even two forks back-to-back can help.
- Replant: You can immediately replant these divisions in their new desired locations in the garden, or pot them up for a while if you’re not ready to plant them out. Make sure to water them well after replanting.
The “Secret Sauce” (Pro Tips)
Here are a couple of things I’ve learned over the years that really help:
- Don’t drown them! While humidity is essential, soggy soil is the enemy of cuttings, leading to rot. Ensure your potting mix is really well-draining, and be mindful of how much you water. Let the surface dry out slightly between waterings.
- Bottom heat is your friend: If you can, place your propagation trays on a heated propagator mat or near a gentle heat source. This warmth encouraging the roots to develop from the bottom up can make a huge difference in success rates, especially if your house tends to be on the cooler side.
Aftercare & Troubleshooting
Once your cuttings show signs of rooting – you might see new leaf growth or feel a bit of resistance when you gently tug on the cutting – it’s time to ease them into their new lives.
- Acclimate them: Gradually remove the plastic cover over a few days to let them get used to normal humidity.
- Water them: Continue to water them consistently, but again, avoid waterlogging.
- Potting up: Once they have a good root system and a bit more growth, you can pot them into larger individual pots.
- Watch out for rot: The most common problem is root rot, which shows up as mushy, black stems or leaves that yellow and drop off. This is usually a sign of overwatering or poor drainage. If you spot it, try to remove the affected parts, and see if you can improve air circulation and reduce watering. Sometimes, sadly, a rotted cutting is a goner, but don’t despair – just try again with fresh ones.
Keep Growing!
There you have it! Propagating Achillea chamaemelifolia is, in my experience, a truly enjoyable process. It’s a wonderful way to fill your garden with more of this lovely plant for free. Be patient, observe your cuttings, and don’t be afraid to experiment. Every attempt is a learning opportunity, and soon you’ll have a whole colony of your own beautiful yarrow. Happy gardening!
Resource:
https://identify.plantnet.org/k-world-flora/species/Achillea%20chamaemelifolia%20Pourr./data