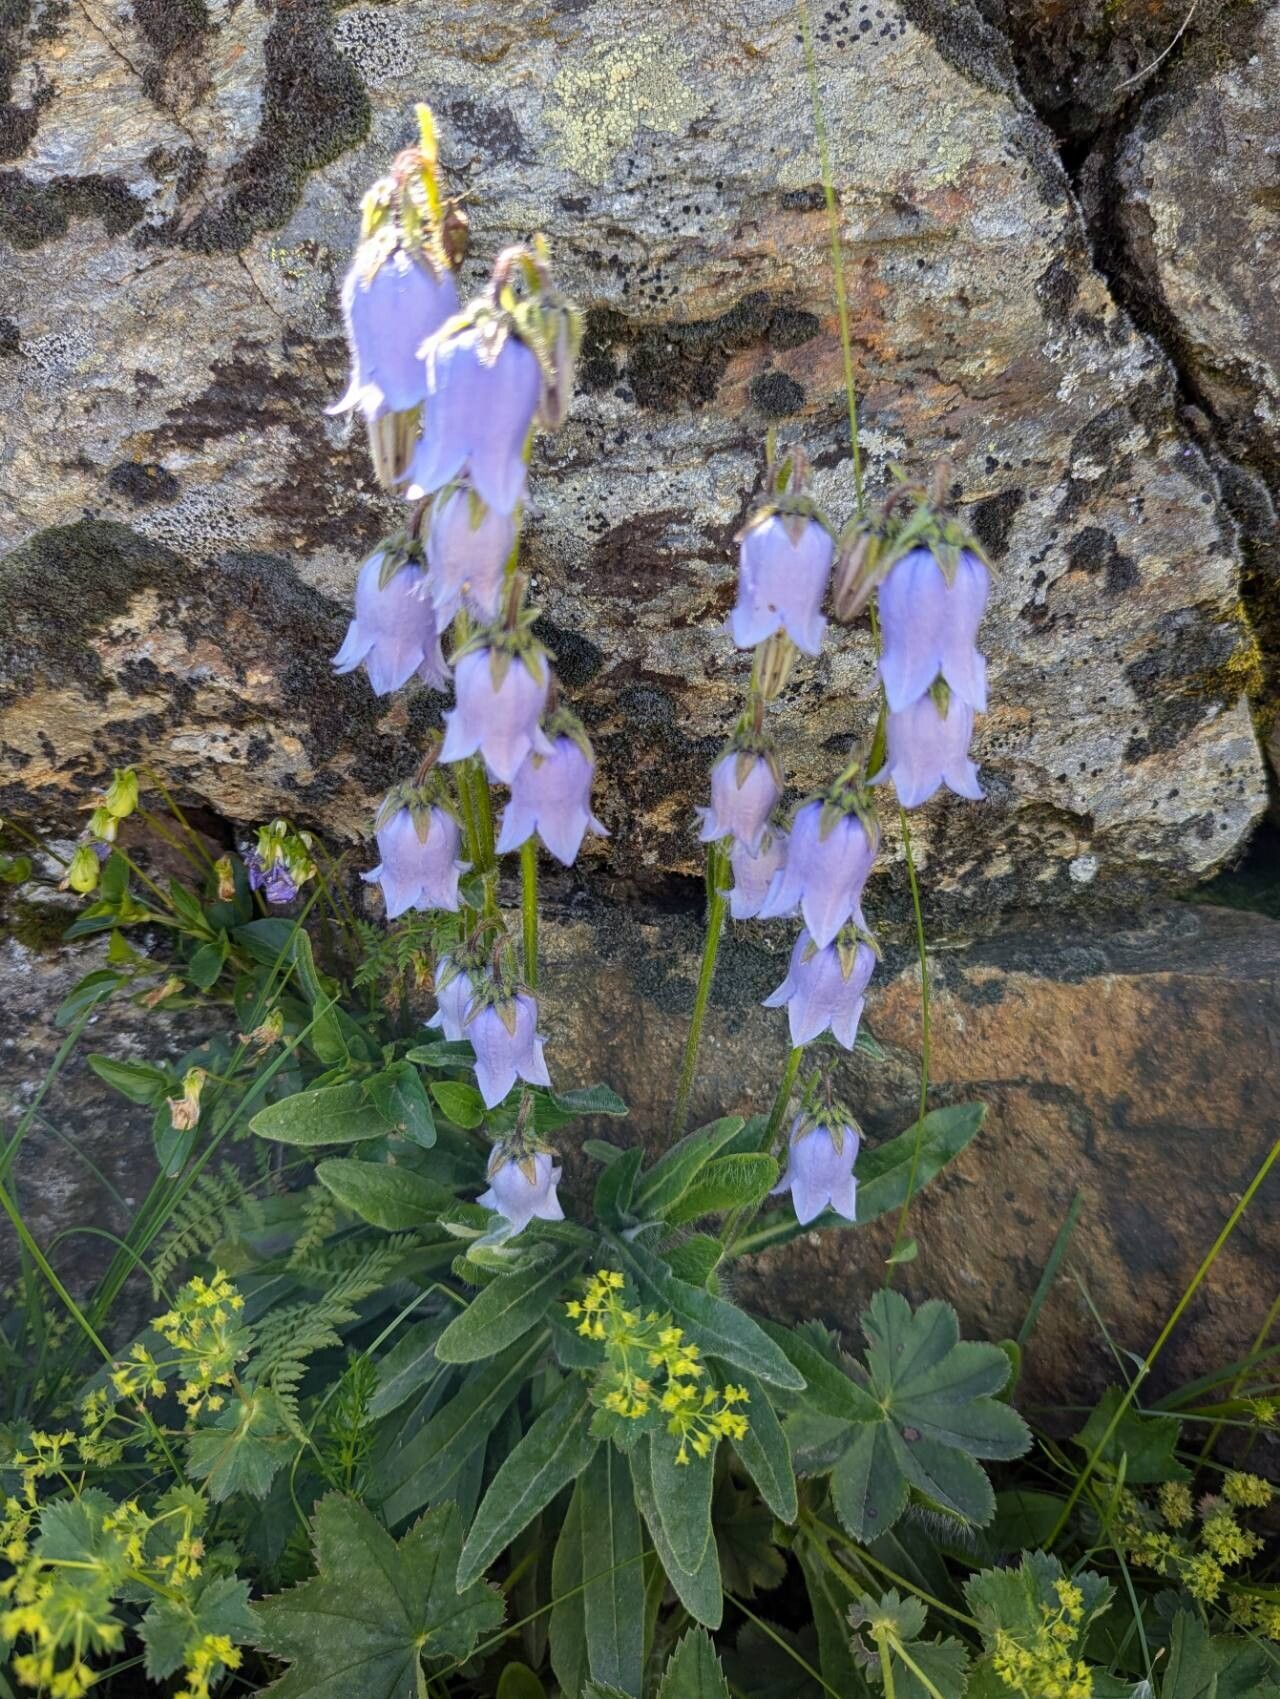
Oh, hello there! Grab a mug of your favorite brew, and let’s chat about a truly charming garden resident: Campanula barbata, also known as Bearded Bellflower. I’m so excited to share how I bring these beauties into the world. They’re such a delight with their nodding, bearded bells – a real woodland gem. Propagating them has always been one of my favorite ways to fill my garden with more of them, and honestly, it’s quite rewarding. For beginners? I’d say it’s moderately easy, a wonderful plant to learn on if you’re itching to expand your propagation skills.
The Best Time to Start
For Campanula barbata, the sweet spot for propagation is generally in late spring to early summer. This is when the plant is actively growing, and you’ll find young, supple stems perfect for taking cuttings. If you’re leaning towards division, then early spring, just as new growth is appearing, or in the fall after flowering are your best bets. The key is to work with healthy, vigorous plant material.
Supplies You’ll Need
Gathering your tools makes the whole process smoother, doesn’t it? Here’s what I usually have on hand:
- Sharp pruning shears or a clean knife: For making precise cuts.
- Rooting hormone (optional but helpful): Powder or gel helps encourage root development.
- Propagation pots or trays: Small, clean pots or seed trays with good drainage.
- Well-draining potting mix: A mix of equal parts peat moss (or coco coir) and perlite or coarse sand works wonders.
- Labels and a permanent marker: To keep track of your efforts!
- A plastic bag or propagator lid: To create a humid environment.
- Watering can with a fine rose or spray bottle: For gentle watering.
Propagation Methods
Let’s get our hands dirty! For Campanula barbata, I find two methods work best for me:
Stem Cuttings
This is my go-to method for increasing my stock of Bearded Bellflower.
- Select your stems: Look for stems that are soft and pliable, not woody. They should be about 4-6 inches long and have healthy leaves.
- Make the cut: Using your sterilized sharp tool, make a clean cut just below a leaf node (where a leaf attaches to the stem).
- Prepare the cuttings: Gently remove the lower leaves, leaving about two to four leaves at the top. If your leaves are quite large, you can even cut them in half horizontally to reduce water loss.
- Apply rooting hormone (if using): Dip the cut end into your rooting hormone, tapping off any excess.
- Plant your cuttings: Fill your propagation pots with your prepared potting mix and water it thoroughly. Make a small hole with a pencil or your finger and insert the cutting, ensuring the node where you removed the leaves is below the soil surface. Gently firm the soil around the stem.
- Create humidity: Water the soil gently. Place a plastic bag loosely over the pot, or use a propagator lid. This helps keep the humidity high, which is crucial for the cuttings to root.
Division
This is a great option if you have an established clump that’s looking a bit crowded.
- Dig it up: In early spring or fall, carefully dig around the base of the established Campanula barbata plant. You want to lift the entire root ball.
- Gently separate: Once out of the ground, you can often gently tease the root ball apart with your hands. If it’s a bit stubborn, a clean trowel or knife can help. Aim to separate sections that have both roots and shoots.
- Replant immediately: Plant your divisions into their new homes – either back into their original spot, into pots, or in new garden beds. Water them in well.
The “Secret Sauce” (Pro Tips)
Here are a few little tricks that have made a big difference in my propagation success:
- Don’t let the leaves touch the water! This is a big one if you ever try water propagation (though I find cuttings in soil work better for Campanula barbata). If leaves sit in standing water, they’ll just rot.
- Bottom heat is your friend. If you have a heat mat specifically for propagation, using it under your pots can significantly speed up root formation. It mimics the warmth of spring soil.
- Be patient with those cuttings. It can take anywhere from 3 to 6 weeks for your Campanula barbata cuttings to develop roots. Resist the urge to pull them out to check! A gentle tug will tell you if they’re established.
Aftercare & Troubleshooting
Once you see those little roots appearing (you might even see some new leafy growth!), it’s time to adjust their care.
- Gradual acclimatization: Begin by slowly removing the plastic bag or propagator lid for increasing periods each day over a week. This helps them adjust to normal humidity levels.
- Move to brighter light: Once acclimatized, move them to a brighter, but still indirect, light location.
- Watering: Keep the soil consistently moist, but not waterlogged. Overwatering is the quickest way to invite trouble.
- Potting up: When the new plants are large enough to handle and have a good root system, you can pot them up into slightly larger individual pots with a good quality potting mix.
Now, what if things go wrong? The most common culprit for failure is rot. If you see your cuttings wilting, turning yellow, or developing black, mushy stems, it’s usually a sign of too much moisture and poor air circulation. Make sure your soil drains well and that you’re not keeping them too wet. Sometimes, despite our best efforts, a cutting just won’t take. Don’t beat yourself up; just try again!
A Encouraging Closing
There you have it – a little journey into propagating Campanula barbata. Remember, gardening is all about observation and patience. Each plant is unique, and each propagation attempt is a learning experience. So, be gentle with your new little beauties, trust the process, and enjoy the joy of watching them grow into their own magnificent selves. Happy propagating!
Resource:
https://identify.plantnet.org/k-world-flora/species/Campanula%20barbata%20L./data