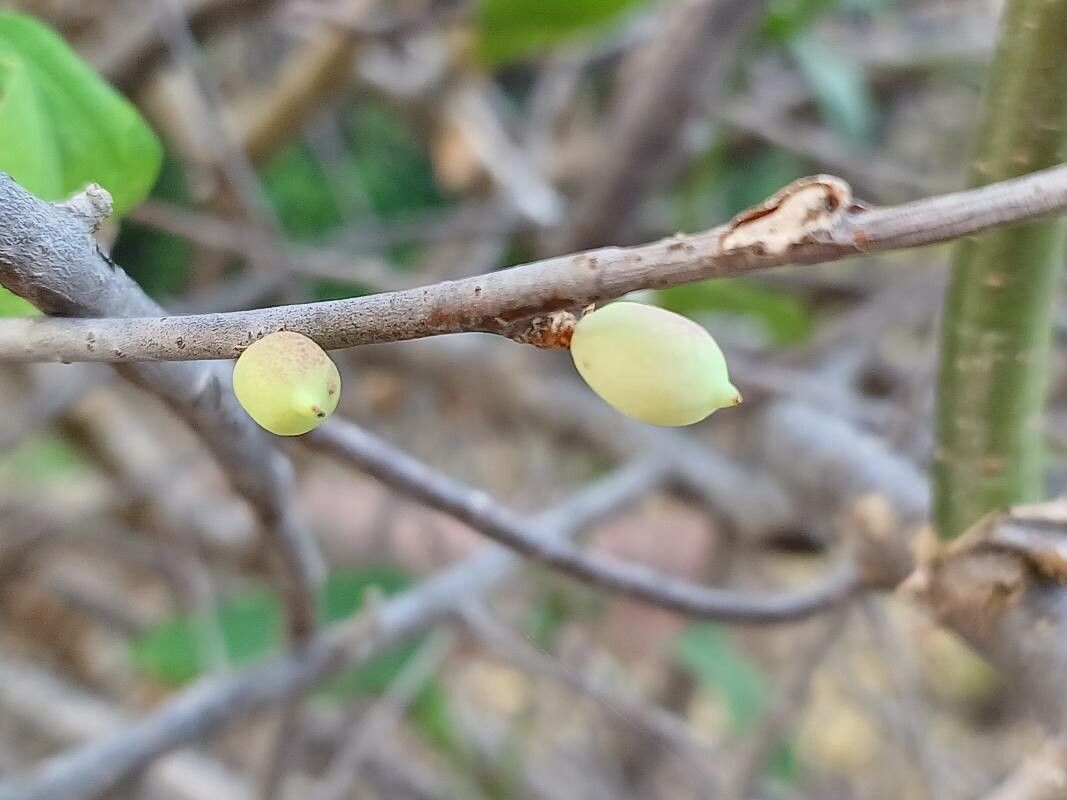
Oh, Commiphora wightii! If you’ve ever seen one of these beauties, you know exactly what I mean. With their swollen, often sculptural trunks and delicate, aromatic foliage, they’re like living pieces of art. And growing your own from scratch? That’s a feeling of accomplishment that’s hard to beat. It’s one of those plants that truly makes you feel like you’ve got a bit of magic in your hands.
Now, are they the easiest plant for absolute beginners to propagate? Honestly, I’d say they lean a bit more towards the intermediate side. They’re not impossible, not by a long shot, but they do appreciate a little bit of know-how and patience. But don’t let that deter you! With a few key practices, you’ll be well on your way to success.
The Best Time to Start
When it comes to Commiphora wightii, timing is everything. The absolute sweetest spot for propagation is during their active growing season. Think late spring through early summer. During this period, the plant is buzzing with energy, and any cuttings you take will be primed to root. You’re essentially tapping into their peak vitality.
Supplies You’ll Need
Let’s get our toolkit ready! Having the right supplies makes all the difference.
- Sharp Pruning Shears or a Craft Knife: For clean cuts, which are crucial.
- Rooting Hormone: While not always strictly necessary, it can give you a significant edge. I prefer a powder form.
- Well-Draining Potting Mix: A cactus and succulent mix is usually a good starting point. You can also amend it with perlite or pumice for even better aeration.
- Small Pots or Propagation Trays: Little ones are best for cuttings. Ensure they have drainage holes!
- Perlite or Coarse Sand: To mix into your potting medium for extra drainage.
- Plastic Bags or a Propagation Dome: To create a humid environment.
- Watering Can with a Fine Rose: For gentle watering.
Propagation Methods
I’ve found that stem cuttings are usually the most reliable way to go with Commiphora wightii. Here’s how I tackle it:
- Select Your Cuttings: Look for healthy, semi-hardwood stems. These are stems that are not too green and floppy, nor too woody and old. Aim for pieces that are about 4-6 inches long. You want to take them from the current season’s growth.
- Make the Cut: Using your sharp shears or knife, make a clean cut just below a leaf node. This is where the magic of root development often happens. Remove any lower leaves that would fall below the soil line.
- Callous Over: This is a super important step for caudiciform plants like this! Let the cut end of the cutting dry out and form a callous for a day or two in a dry, airy spot. This prevents rot when you plant it. Think of it as sealing the wound.
- Apply Rooting Hormone: Once calloused, dip the cut end into your rooting hormone powder, tapping off any excess.
- Planting: Fill your small pots with your well-draining mix. Make a hole with your finger or a pencil and gently insert the calloused end of the cutting. Firm the soil gently around it.
- Create Humidity: Water the soil lightly. Then, cover the pot with a plastic bag (making sure the leaves don’t touch the plastic) or place it under a propagation dome. This keeps the humidity high, which encourages the cutting to root.
The “Secret Sauce”
Here are a couple of things I’ve learned over the years that really seem to boost success with these guys:
- Bottom Heat is Your Friend: If you can, pop your pots or trays onto a gentle heat mat. This subtle warmth encourages root development from below, mimicking ideal summer soil temperatures. It’s like giving your cuttings a cozy little incubator.
- Don’t Overwater, Ever: This is probably the biggest mistake people make. Cuttings don’t need much water, especially initially. It’s far better to err on the side of too dry than too wet. You want the soil to be slightly moist, not soggy. Let the top layer dry out between waterings. I often give mine just a light misting every few days when they’re under the dome.
Aftercare & Troubleshooting
Once you spot signs of growth – maybe a new tiny leaf starting to unfurl – and ideally, a bit of resistance when you gently tug on the cutting (don’t pull too hard!), you know roots are forming! Now, you can gradually introduce it to less humid conditions for a few hours a day, slowly acclimating it.
The most common issue you’ll encounter is rot. If your cutting turns mushy, black, or smells unpleasant, it’s usually a sign of too much moisture. Sadly, at that point, it’s likely beyond saving. This is why that initial callousing, the well-draining soil, and a light hand with the watering are so critical. If you see it starting to shrivel and you know it’s not rotting, it might be too dry – give it a tiny bit of water and ensure it has adequate humidity.
A Little Patience Goes a Long Way
Propagating Commiphora wightii can take time. Don’t be discouraged if you don’t see roots overnight. Be patient, observe your cuttings, and enjoy the process of nurturing something new. Who knows, you might just become a Commiphora wightii propagation wizard! Happy gardening!
Resource:
https://identify.plantnet.org/k-world-flora/species/Commiphora%20wightii%20(Arn.)%20Bhandari/data