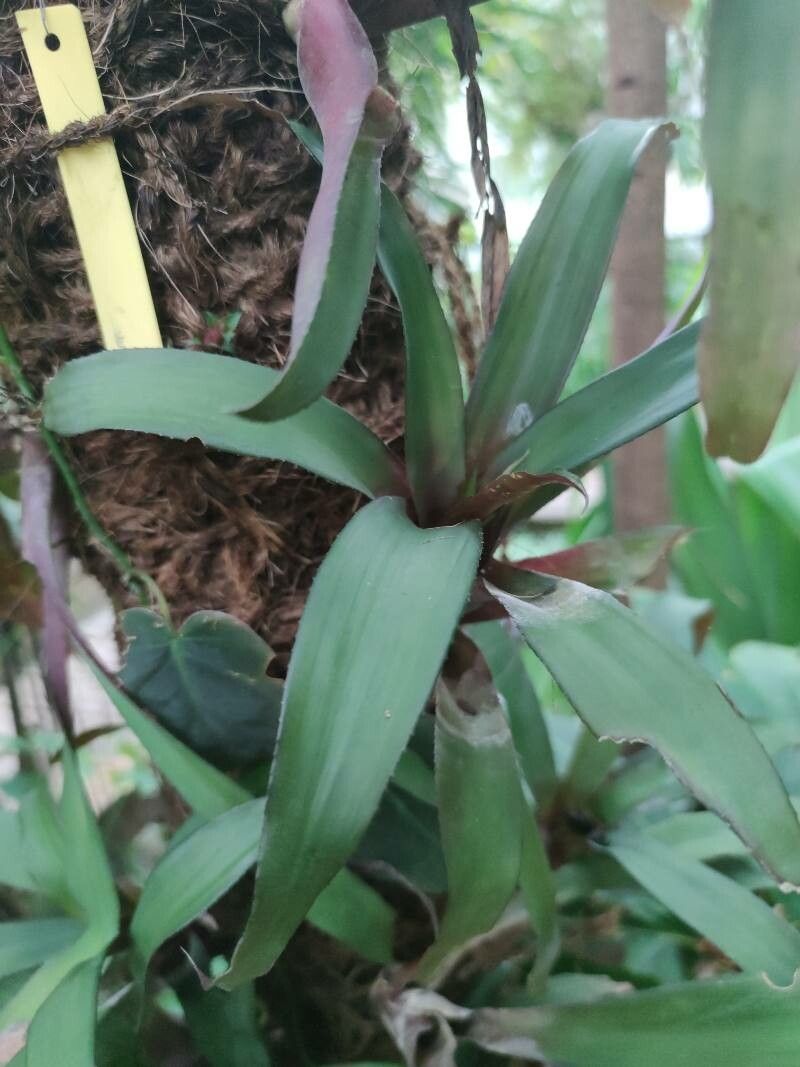
Hello fellow plant lovers! Today, we’re diving into the world of a truly special bromeliad: Canistropsis burchellii. If you’ve ever admired those striking, star-shaped flowers and the architectural beauty of this plant, you’re in for a treat. Propagating Canistropsis burchellii is a wonderful way to multiply its charm and share it with friends (or just fill your own home!). While it’s not exactly a walk in the park for a brand-new plant parent, it’s definitely achievable with a little patience and the right know-how. Think of it as a rewarding challenge that’s well worth the effort!
The Best Time to Start
For Canistropsis burchellii, the prime time to propagate is during its active growing season. This usually falls in the late spring through summer months. Your plant will be full of vigor then, producing pups (baby plants) and generally being more receptive to the propagation process. You’ll often see new baby plants emerging from the base of the mature plant during this time.
Supplies You’ll Need
Getting your workspace ready is key. Here’s what you should have on hand:
- Sharp, clean pruning shears or a sturdy knife: Sterilize them with rubbing alcohol before you start.
- Well-draining potting mix: A good blend for bromeliads works perfectly. I often use a mix of orchid bark, perlite, and a bit of peat moss. You can also find specific bromeliad potting mixes.
- Small pots or containers: Clean and with drainage holes.
- Rooting hormone (optional but recommended): This can give your cuttings a helpful boost.
- Spray bottle: For misting.
- Clear plastic bag or propagation dome: To create a humid environment.
- Gloves: Bromeliads can have sharp edges!
Okay, let’s get our hands dirty!
Propagation Methods
Canistropsis burchellii primarily propagates through pups (also called offsets). These are baby plants that grow from the base of the mother plant.
- Identify the Pups: Look for small, leafy growths emerging from the soil around the base of your mature plant. The best pups to take are those that are at least one-third the size of the mother plant and have developed their own root system. You’ll often see tiny roots peeking out at the base of the pup.
- Prepare Your Tools: Make sure your pruning shears or knife are sterilized. This prevents the spread of diseases.
- Separate the Pup: Gently pull the mother plant aside to get a clear view of where the pup is attached. Carefully cut or twist the pup away from the mother plant, ensuring you get as much of its base and any attached roots as possible. Try to make a clean cut.
- Allow it to Callus: This is a crucial step! Place the separated pup in a dry, shaded spot for a day or two. This allows the cut end to dry out and form a callus. This prevents rot once you plant it.
- Potting It Up: Fill your clean pot with your prepared bromeliad potting mix. Make a small hole in the center.
- Planting the Pup: Dip the callused end of the pup into a bit of rooting hormone if you’re using it. Then, gently insert the base into the hole you made in the soil. Firm the soil gently around the base to ensure good contact.
- Watering and Humidity: Water the potting mix lightly. Then, place the potted pup inside a clear plastic bag or under a propagation dome to maintain high humidity. Ensure the leaves don’t touch the sides of the bag, as this can lead to fungal issues.
The “Secret Sauce” (Pro Tips)
Here are a couple of little tricks I’ve picked up over the years:
- Don’t rush the pup separation: Wait until the pup has a decent root system and is a good size. Trying to take tiny, young pups too early can be frustrating. Patience here pays off BIG time.
- Bottom heat is your friend: If your room is a bit cooler, or you’re propagating outside of the peak growing season (though I still recommend the summer!), placing the potted pups on a seedling heat mat can significantly speed up root development and overall success. It mimics the warmth the plant craves.
- Think about air circulation: While you want that humidity for rooting, don’t seal it up completely like a tomb! Periodically open the bag or dome for a short period each day to allow for some air exchange. This helps prevent stagnant air and potential mold growth.
Aftercare & Troubleshooting
Once your pup has been potted and is happily sitting in its humid little environment, keep it in a spot with bright, indirect light. Avoid direct sun, which can scorch those young leaves. Continue to mist the soil lightly every few days, and check the humidity within the bag.
You’ll know your pup has rooted when you see new leaf growth emerging from the center. This can take anywhere from a few weeks to a couple of months. Once it looks like it’s actively growing, you can gradually remove the plastic bag or dome over a week or so to acclimate it to normal room humidity.
Troubleshooting: The biggest challenge with bromeliad propagation is rot. If the pup starts to turn mushy, black, or slimy, it’s likely rotted. This usually happens because the cut end wasn’t allowed to callus properly, or the soil stayed too wet for too long. If you see this, remove the affected pup immediately to prevent it from spreading to other plants. Sometimes, if you catch rot early, you can try cutting away the mushy parts and letting the remaining healthy bit dry out for a few days before repotting.
Your Green-Thumb Journey Awaits!
Propagating Canistropsis burchellii is such a wonderful way to connect with your plants and fill your home with their unique beauty. Don’t get discouraged if your first attempt isn’t perfect; every plant and every situation is a little different. Embrace the learning process, be patient, and celebrate those tiny new roots. Happy propagating!
Resource:
https://identify.plantnet.org/k-world-flora/species/Canistropsis%20burchellii%20(Baker)%20Leme/data