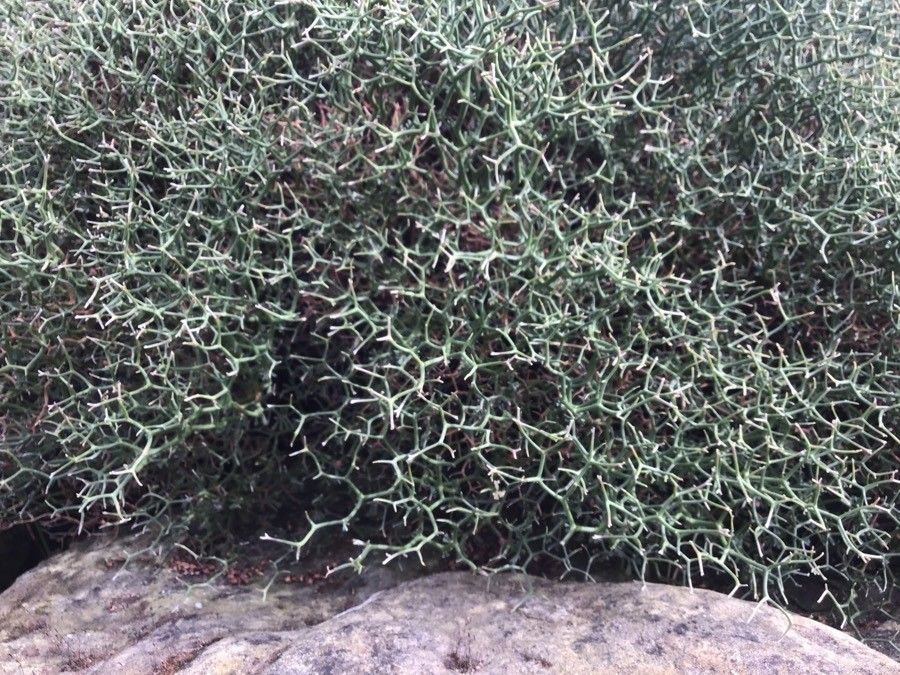
Hey there, fellow plant lovers! I’m so excited to talk to you today about something truly special: propagating the magnificent Lotus fulgurans. If you’ve ever marvelled at its vibrant blooms and elegant structure, you know why this plant is a garden showstopper. And the best part? You can bring that beauty to your own patch by learning to grow new plants from your existing ones. It’s a deeply rewarding experience, kind of like watching a tiny seed sprout into a whole new life.
Now, is Lotus fulgurans a breeze for beginners? Honestly, it can be a little finicky, but with a bit of know-how and patience, absolutely anyone can succeed. Think of it as a slightly more demanding friend who just needs a little extra attention to truly shine.
The Best Time to Start
For the happiest propagation results, aim for late spring to early summer. This is when your Lotus fulgurans is really hitting its stride, pushing out new growth and generally brimming with vitality. The warmer temperatures and longer days create the perfect conditions for cuttings to root. If you miss this window, don’t despair; you can often get away with early autumn if you have a bright, warm spot indoors.
Supplies You’ll Need
Gathering your tools before you begin makes the whole process much smoother. Here’s what I always have on hand:
- Sharp, clean pruning shears or a sharp knife: For making clean cuts.
- Rooting hormone powder or gel: This is optional but can give your cuttings a helpful boost.
- Small pots or containers: Clean yogurt cups with drainage holes work perfectly!
- A well-draining potting mix: I love a mix of peat moss, perlite, and a bit of compost. You want something that won’t hold too much water.
- A watering can with a fine rose: For gentle watering.
- A clear plastic bag or a propagator box: To create a humid environment for cuttings.
- Optional: A heating mat: Especially useful if your propagation space is on the cooler side.
Propagation Methods
Let’s get our hands dirty! There are a couple of ways to go about this, but my favourite for Lotus fulgurans is stem cuttings.
Stem Cuttings
- Select a healthy stem: Look for a young, non-flowering stem that’s about 4-6 inches long. It should feel firm but not woody.
- Make the cut: Using your sharp shears or knife, make a clean cut just below a leaf node (that little bump where a leaf grows from the stem). This is where the magic of new roots will happen.
- Prepare the cutting: Gently remove any leaves from the bottom half of the stem. If the remaining leaves are very large, you can even cut them in half. This reduces water loss.
- Apply rooting hormone (optional): Dip the cut end into your rooting hormone powder or gel. Tap off any excess.
- Plant your cutting: Fill your small pot with your prepared potting mix. Make a small hole with your finger or a pencil and gently insert the cutting. Firm the soil gently around the base to ensure good contact.
- Water gently: Water thoroughly, but avoid waterlogging the soil.
- Create humidity: Place the pot inside a clear plastic bag or propagator, sealing it loosely to allow for some air circulation. If using a propagator, close the lid.
Water Propagation (A More Experimental, But Can Be Fun!)
While stem cuttings in soil are generally more reliable for Lotus fulgurans, you can try water propagation.
- Prepare the cutting: Follow steps 1-3 from the stem cutting method.
- Place in water: Put the prepared cutting in a clean jar or glass filled with fresh, room-temperature water. Make sure the leaf nodes are submerged.
- Keep it clean: Change the water every few days to prevent stagnation and bacterial growth.
- Wait for roots: You’ll start to see tiny white roots emerging from the nodes.
The “Secret Sauce” (Pro Tips)
These little extras have made all the difference in my own propagation adventures:
- Don’t let the leaves touch the water (in water propagation): This is crucial! If any part of the leaves are submerged, they tend to rot and can take your whole cutting down with them. Trim them or ensure they float above the waterline.
- Utilize bottom heat: If you have the option, placing your potted cuttings on a gentle heating mat can significantly speed up root development. Think of it as a warm spa day for your baby plants!
- Patience is paramount: Lotus fulgurans can be a slow starter. Don’t be tempted to pull your cuttings out too soon to check for roots. Give them at least 3-4 weeks before you even think about peeking.
Aftercare & Troubleshooting
Once you see those precious roots appearing (hooray!), it’s time to transition to careful aftercare.
- For soil-propagated cuttings: Once the roots have filled the pot nicely, you can transplant them into slightly larger pots with their regular potting mix. Keep them in a bright, indirect light spot and continue to water as needed.
- For water-propagated cuttings: When the roots are about an inch long, gently transplant them into a pot with your well-draining soil mix. They can be a bit delicate when making the transition.
Now, what if things don’t go as planned? The most common foe is rot. If you see your cutting turning mushy, blackening, or developing a foul smell, it’s a sign of overwatering or poor drainage. In this case, it’s usually best to discard it and start fresh with a new cutting. Sometimes, despite our best efforts, not every cutting will make it. That’s perfectly normal!
A Warm Goodbye
Growing plants from cuttings is such a wonderful way to connect with nature and expand your garden without spending a fortune. Be patient with your Lotus fulgurans cuttings, give them a little love and a good environment, and you’ll soon be rewarded with beautiful new plants. Enjoy the journey – happy propagating!
Resource:
https://identify.plantnet.org/k-world-flora/species/Lotus%20fulgurans%20(Porta)%20D.D.Sokoloff/data