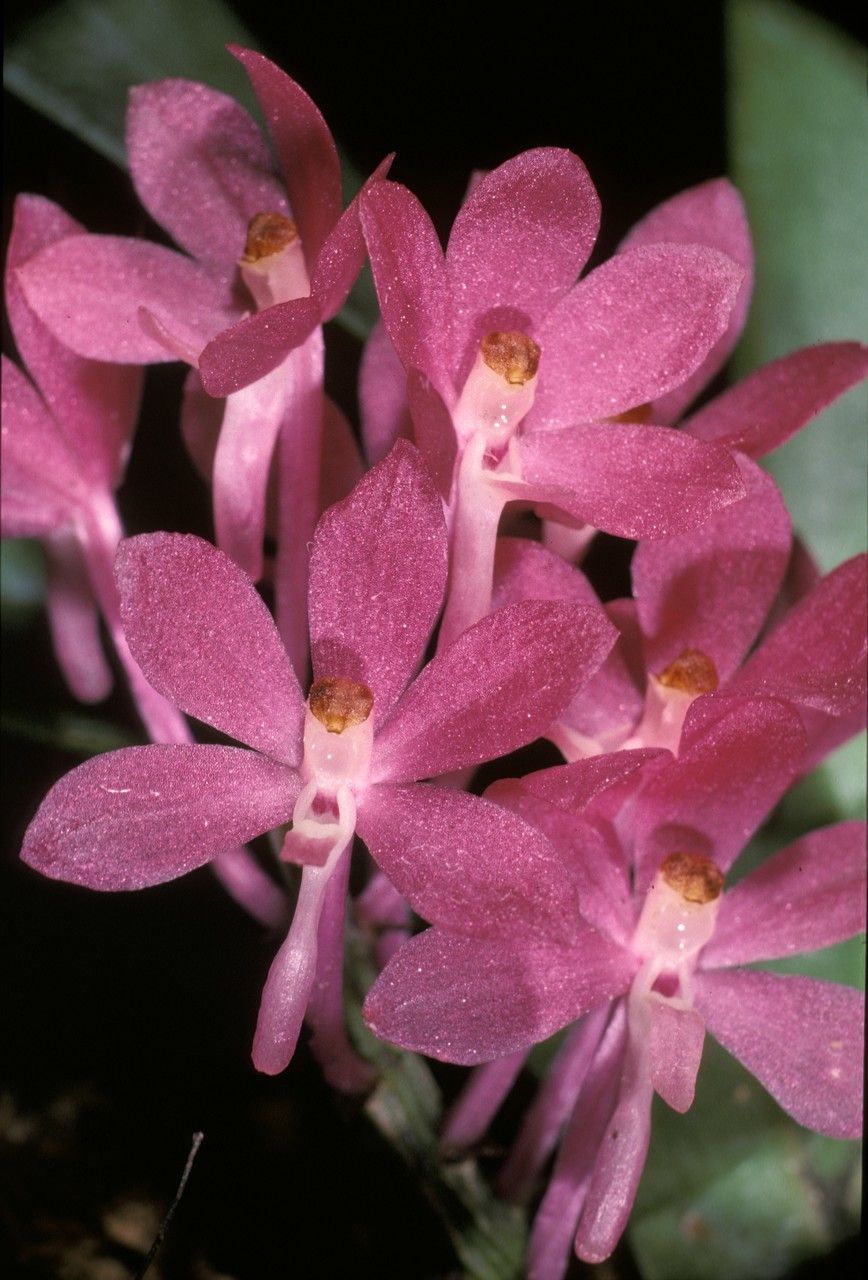
Oh, hello there! So happy you’re thinking about bringing more of the beautiful Vanda ampullacea into your life. I’ve always adored these orchids; their vibrant colors and that delicate, almost jewel-like quality they possess just make my heart sing. And the best part? You can create more of them yourself! It’s such a rewarding feeling to watch a tiny piece of a plant you love flourish and grow into something magnificent. Now, I’ll be honest, Vanda ampullacea isn’t exactly a “stick it in the ground and forget it” kind of plant, but with a little care and attention, it’s absolutely achievable, even for those of you who are still building your green thumb confidence.
The Best Time to Start
Timing is everything in the plant world, and for Vanda ampullacea, we want to work with its natural rhythm. The sweet spot for propagation is generally during its active growth period. For most of us, this means late spring through summer. You’ll see new leaves emerging and roots actively developing on the mother plant. This vigor translates beautifully to cuttings, giving them the best chance to establish themselves quickly. Avoid propagating when the plant is dormant or stressed.
Supplies You’ll Need
Gathering your supplies beforehand makes the whole process so much smoother. Here’s what I usually have on hand:
- Sharp, sterile pruning shears or a clean knife: Crucial for making clean cuts.
- Activated charcoal: Helps prevent bacterial growth.
- Sphagnum moss: My go-to for its excellent moisture retention and aeration.
- Small pots or propagation containers: Clear ones are great for monitoring root development.
- Rooting hormone (optional but can be helpful): Look for one specifically for orchids or cuttings.
- Spray bottle: For keeping things nicely humid.
- Small stones or gravel (optional): For a bit of extra drainage at the bottom of pots.
- A well-draining orchid mix: Often a blend of bark, perlite, and charcoal works well.
Propagation Methods
Vanda ampullacea is typically propagated through stem cuttings or division. Let’s dive into those.
Stem Cuttings
This method involves taking pieces of the main stem to create new plants.
- Select a healthy stem: Look for a mature stem that has at least two or three healthy leaves and, ideally, a few small aerial roots already starting to form.
- Make the cut: Using your sterilized shears or knife, cut the stem about an inch or two below a leaf node, making sure the cutting itself is a decent size, perhaps 4-6 inches long. Try to include at least two leaf nodes on your cutting.
- Prepare the cutting: Gently remove any lower leaves to expose the nodes. If there are any aerial roots already present, be careful not to damage them.
- Apply rooting hormone (optional): Dip the cut end into rooting hormone, if you’re using it, tapping off any excess.
- Potting it up: You can pot your cutting directly into a small pot filled with slightly damp sphagnum moss or your orchid mix. Make sure the leaf nodes are buried or nestled into the medium. You can also add a sprinkle of activated charcoal around the cut area.
- Create a mini-greenhouse: Place the potted cutting in a clear plastic bag, or cover it with a propagation dome. This helps retain humidity, which is vital for new root formation.
Division
This is best done when the plant is actively growing and has produced multiple pseudobulbs or stems, creating a more substantial clump.
- Gently unpot the plant: Carefully remove your Vanda ampullacea from its pot.
- Inspect the roots: Gently tease away some of the old potting medium to get a good look at the root system and how the stems are connected.
- Divide with care: Using your sterilized shears or knife, separate the plant into smaller sections. Each section should have at least two healthy leaves and a good amount of healthy roots. If roots are tangled, you might need to carefully trim some, but try to preserve as many as possible.
- Pot the divisions: Pot each division as you would a mature plant, using your well-draining orchid mix. Ensure the roots are spread out and covered.
- Water lightly: Water the newly potted divisions gently.
The “Secret Sauce”
Here are a couple of things I’ve learned over the years that can really make a difference:
- Don’t let the leaves touch the water (if you go the water propagation route, which I use less for Vandas): For Vanda ampullacea, I prefer potting them from the start. If you were to try water propagation with a stem cutting, any leaf submerged in water drastically increases the chance of rot. Always keep the leaves above the waterline.
- Bottom heat is your friend: Vanda ampullacea loves warmth when trying to root. Placing your propagation pots on a gentle warming mat can significantly speed up root development. Just ensure it’s set to a low, consistent temperature – nothing too hot!
Aftercare & Troubleshooting
Once your cutting or division is potted, maintain consistent humidity. Mist the leaves lightly every day or two, and if you have it in a plastic bag, open it for a few minutes each day to allow for air circulation.
Be patient! Rooting can take several weeks, sometimes even months. You’ll know it’s happy when you see new roots emerging from the potting medium or new leaf growth.
The most common issue you’ll encounter is rot. This usually happens if the medium is kept too wet or there’s not enough air circulation. If you see leaves turning yellow and mushy, or the cut end of a stem looks black and slimy, it’s a sign of rot. You might be able to save it by cutting away the rotted portion with your sterile knife and repotting in fresh, drier medium. Sometimes, sadly, it’s beyond saving. Don’t beat yourself up; it happens to the best of us!
A Little Encouragement
Propagating Vanda ampullacea is a journey, not a race. Celebrate each tiny success, whether it’s a new root or a vibrant new leaf. Enjoy the process, learn from every experience, and soon you’ll have a whole collection of these stunning orchids to admire. Happy growing!
Resource:
https://identify.plantnet.org/k-world-flora/species/Vanda%20ampullacea%20(Roxb.)%20L.M.Gardiner/data