Grow More Bromeliads: A Friendly Guide to Propagating Guzmania mitis
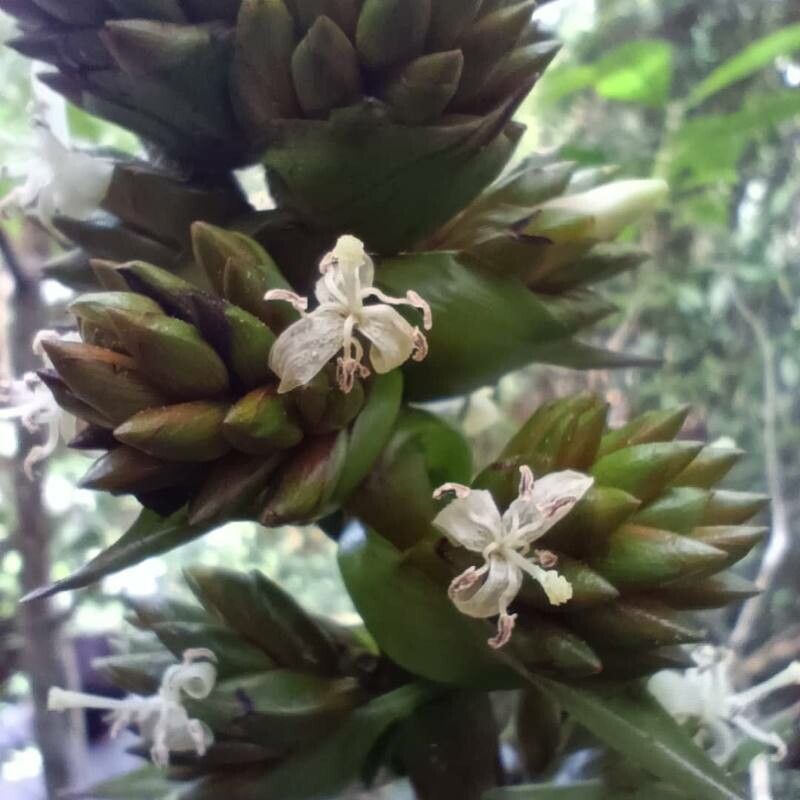
There’s something truly special about bromeliads, isn’t there? Their vibrant colors and architectural forms just bring a tropical punch to any space. Among them, Guzmania mitis stands out with its striking red or orange bracts, often tipped in yellow. It’s like a little fireworks display in plant form! And the best part? You can easily multiply this beauty right at home. I’ve been coaxing new life from my own bromeliads for years, and I find it incredibly rewarding to see a tiny pup grow into a magnificent plant. While some bromeliad propagation can be a little finicky, Guzmania mitis is a pretty forgiving subject, making it a great choice for beginners looking to expand their collection.
When to Get Busy with the Blades
The absolute best time to propagate Guzmania mitis is when the mother plant is producing pups, also known as offsets. You’ll typically see these little babies emerge from the base of the parent plant, usually after the main flower stalk has begun to fade or dry out. This usually happens in the late spring or summer months, when the plant is actively growing and has plenty of energy to spare.
Your Propagation Toolkit
To give your new Guzmania mitis the best start, gather these handy items:
- Sharp, Clean Pruning Shears or a Sharp Knife: Sterilize them with rubbing alcohol to prevent disease.
- Well-Draining Potting Mix: A good blend for bromeliads is essential. I like a mix of orchid bark, perlite, and a little bit of peat moss. You can also use a standard houseplant mix with extra perlite added.
- Small Pots: 4 to 6-inch pots are usually perfect for young pups.
- Rooting Hormone (Optional but Recommended): This can give your cuttings a helpful boost.
- Watering Can or Spray Bottle: For gentle watering.
- Perlite or Small Gravel (for water propagation): To keep the pups elevated.
- A Small Scoop or Trowel: For handling your potting mix.
Multiplying Your Guzmania mitis: The Pups’ Big Break
Guzmania mitis primarily propagates through division of offsets (pups). This is the most straightforward and reliable method for this particular bromeliad.
Here’s how I do it:
- Wait for Pups: First, you need to spot the pups! Look for small shoots emerging from the base of the mature bromeliad. They should be at least a third of the size of the mother plant and ideally have a few of their own small leaves.
- Gently Unearth: Carefully ease the mother plant out of its pot. If you can’t remove it easily, don’t force it. You can try to gently brush away some of the soil around the base of the pups.
- Separate with Care: This is the crucial step. Using your sharp, clean pruning shears or knife, carefully cut the pup away from the mother plant. Try to get a bit of the mother plant’s root system attached with the pup if possible – this really helps them get established. If they are very small and a clean cut is difficult, you can sometimes gently twist them off.
- Potting Up: Fill your small pots with your well-draining potting mix. Make a small hole in the center.
- Plant Your Pup: Place the base of the pup into the hole. Gently firm the soil around it, ensuring it’s stable.
- A Little Drink: Water the soil lightly. You don’t want to drown it, just a gentle moistening to settle the soil.
That Little Bit Extra: Insider Secrets
I’ve learned a few tricks over the years that can really make a difference for your new bromeliad babies.
- Think “Airy”: Bromeliads absolutely hate sitting in soggy soil. When you pot up your pups, ensure that potting mix is super airy. I often add extra perlite or even small chunks of orchid bark to my mix specifically for pups. This promotes good air circulation around their developing roots, which is key to preventing rot.
- The Gentle Touch is Best: When you’re separating pups, try to avoid damaging the delicate roots as much as possible. If a pup has quite a bit of its own root system, that’s fantastic! If not, don’t worry too much, as they will grow new ones. Just be as gentle and precise with your cuts as you can.
Settling In and Watching Them Thrive
Once your pups are potted, they’ll need a bit of TLC to establish themselves.
- Light: Place them in a bright spot with indirect light. Direct sun can scorch those tender young leaves.
- Watering: Water sparingly at first. Allow the top inch of soil to dry out between waterings. You can also mist the leaves occasionally, but again, avoid letting water sit in the rosette or at the base of the plant for too long.
- Humidity: Bromeliads love humidity. If your home is particularly dry, a humidifier nearby or placing the pots on a pebble tray filled with water (making sure the pots aren’t sitting directly in the water) can help.
Common Signs of Trouble:
- Rot: This is the most common issue. If the base of the pup turns mushy and dark, it’s likely rot. This happens from too much moisture and poor air circulation. Unfortunately, once rot sets in, it’s hard to save.
- Wilting: If your pup looks droopy and limp, it could be underwatering or shock. Check the soil moisture and ensure it’s getting enough indirect light.
Go Forth and Multiply!
Growing more Guzmania mitis from your existing plants is a really satisfying part of gardening. It takes a little patience, a gentle hand, and a keen eye, but the rewards are immense. Don’t be discouraged if your first attempt isn’t perfect; each plant is a learning opportunity. Happy propagating!
Resource:
https://identify.plantnet.org/k-world-flora/species/Guzmania%20mitis%20L.B.Sm./data