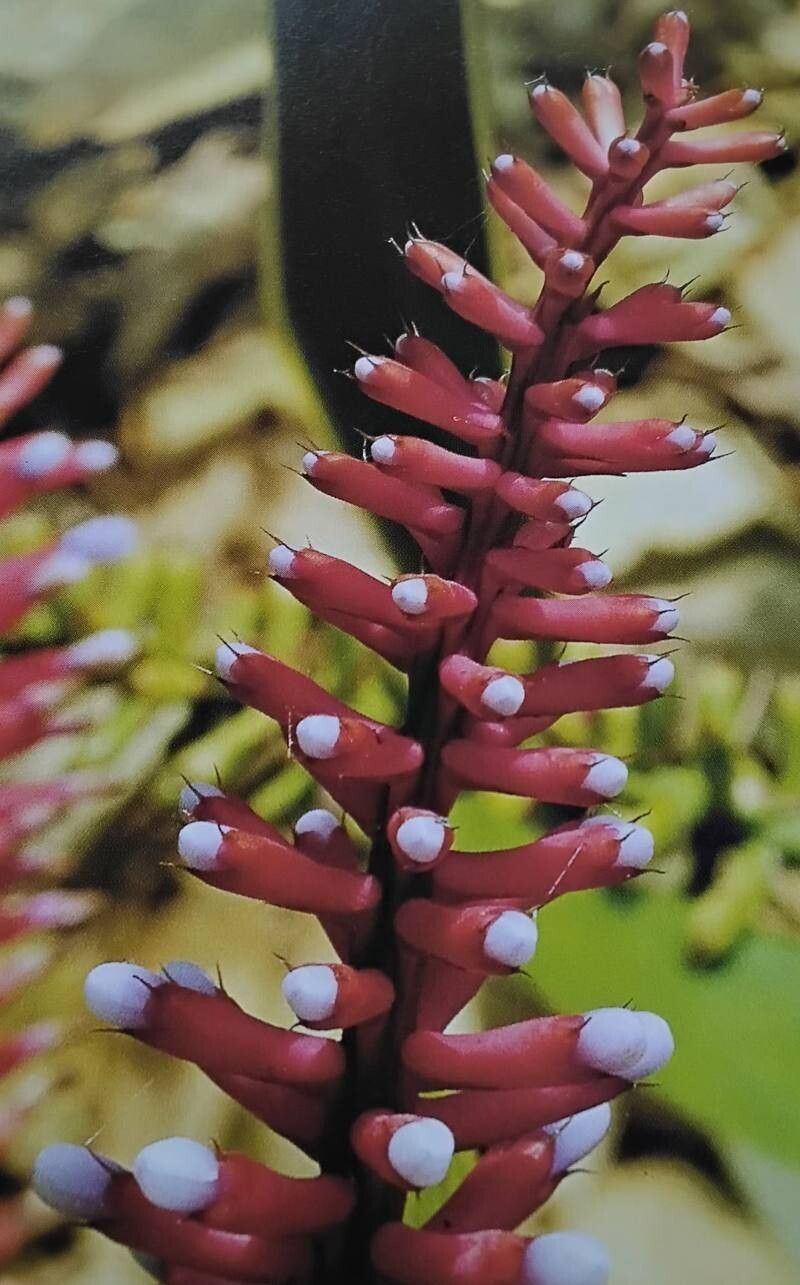
Oh, hello there! Grab a mug, something warm, and let’s chat about one of my favorite bromeliads: Billbergia rosea. You might know it by its other names, like the Flaming Torch or rosy billbergia. I’ve been growing these beauties for two decades, and you know what? They always bring a smile to my face. Their striking, often colorful foliage and those absolutely stunning, pendulous floral spikes really are a sight to behold. And the best part? They’re incredibly rewarding to multiply!
Why Propagate Billbergia Rosea?
Honestly, it’s one of the most satisfying things you can do in the garden. Seeing a tiny pup unfurl its first leaves, knowing you helped bring it into the world – there’s nothing quite like it. And for us gardeners, it means more of what we love, without having to buy new plants all the time.
Now, are they tricky for beginners? Not at all! I’d say Billbergia rosea is super beginner-friendly when it comes to propagation. It’s quite forgiving, which is always a win in my book.
The Best Time to Start
Timing is everything with plants, right? For Billbergia rosea, the absolute best time to propagate is when the plant is actively growing, usually in late spring through summer. You’ll often see new pups starting to appear at the base of the mother plant during this warmer period. This vigorous growth gives your new cuttings or divisions the best possible start.
Supplies You’ll Need
Don’t worry, you probably have most of this already!
- Sharp, clean pruning shears or a knife: Essential for making clean cuts.
- A well-draining potting mix: I like a mix of coarse potting soil, perlite, and a bit of orchid bark. This ensures good aeration and prevents waterlogging.
- Small pots or containers: Clean ones, of course! Seed starting trays or small nursery pots work great.
- Rooting hormone (optional, but recommended): Will speed things up considerably.
- A watering can or spray bottle: For gentle watering.
- Labels: So you don’t forget what you planted!
Propagation Methods
Billbergia rosea is a champion at producing pups, so division is usually our go-to method.
1. Division: The Pups Are Your Friends!
This is the easiest and most common way to propagate this plant. Your mature Billbergia will naturally send up baby plants, called “pups,” around its base.
- Wait for the pup to grow: Ideally, wait until the pup is at least one-third the size of the mother plant. You’ll often see tiny aerial roots starting to form at its base.
- Gently remove the plant from its pot: This gives you a clear view of the pups.
- Identify the connection: See where the pup is attached to the mother plant.
- Make a clean cut: Using your sharp shears or knife, carefully cut the pup away from the mother plant, making sure to get as much of its base as possible, ideally with some of its own root system.
- Let it callous (optional but good practice): For a few hours, or even overnight, leave the cut pup in a dry, shady spot. This allows the cut end to dry and form a protective callus, which helps prevent rot.
- Pot it up: Fill a small pot with your well-draining mix. Make a small hole in the center and plant the pup firmly, ensuring the base is in the soil.
- Water lightly: Give it a gentle watering.
2. Stem Cuttings (Less Common, But Possible):
Sometimes, if your Billbergia has grown a bit leggy or you’ve had to prune it, you might have a stem.
- Take your cutting: Cut a healthy stem, at least 4-6 inches long, with a few healthy leaves. Remove the lower leaves.
- Allow to dry: Just like with pups, let the cut end callous over for a day or two.
- Dip in rooting hormone: Coat the calloused end generously.
- Insert into potting mix: Plant the cutting about an inch deep in your prepared potting mix.
- Keep moist but not soggy: Water very lightly and consistently.
The “Secret Sauce” (Pro Tips)
Here are a few little tricks I’ve picked up over the years:
- Rooting Hormone is Your Best Friend: While Billbergia can root without it, a good quality rooting hormone will significantly speed up the process and increase your success rate, especially for stem cuttings. Just don’t overdo it!
- Don’t Waterlog the Pups: This is crucial. New cuttings and divisions are susceptible to rot. Water them only when the top inch of soil feels dry, and err on the side of being slightly too dry rather than too wet. A light misting is often all they need initially.
- Consider Gentle Bottom Heat: If you’re propagating in a cooler spot or during a slightly cooler time of year, a gentle heat mat placed under the pots can make a world of difference. It encourages root development and can significantly shorten the time to rooting.
Aftercare & Troubleshooting
Once your pup or cutting has established roots, you’ll start to see new leaf growth. This is your signal that it’s on its way!
- Gradually increase watering: As your new plant grows, you can water it more regularly, but always ensure excellent drainage.
- Light and temperature: Keep it in bright, indirect light. Avoid harsh, direct sun which can scorch its leaves. Room temperature is generally fine.
- Fertilizing: Once you see good new growth, you can start feeding it with a diluted bromeliad or general-purpose fertilizer during the growing season.
What if things go wrong?
The most common issue is rot, which looks like mushy, brown, or black stems or leaves at the base. This is almost always due to overwatering. If you see this, remove the affected parts immediately with a clean knife and let the remaining healthy parts dry out thoroughly before repotting. If the whole thing turns to mush, don’t be discouraged! Just try again.
A Little Patience Goes a Long Way
Propagating Billbergia rosea might take a few weeks to a couple of months to see significant root development or new growth. Don’t rush it! Be patient, keep an eye on your new little ones, and enjoy the process of nurturing them. Soon enough, you’ll have a whole collection of these stunning plants. Happy propagating!
Resource:
https://identify.plantnet.org/k-world-flora/species/Billbergia%20rosea%20Beer/data