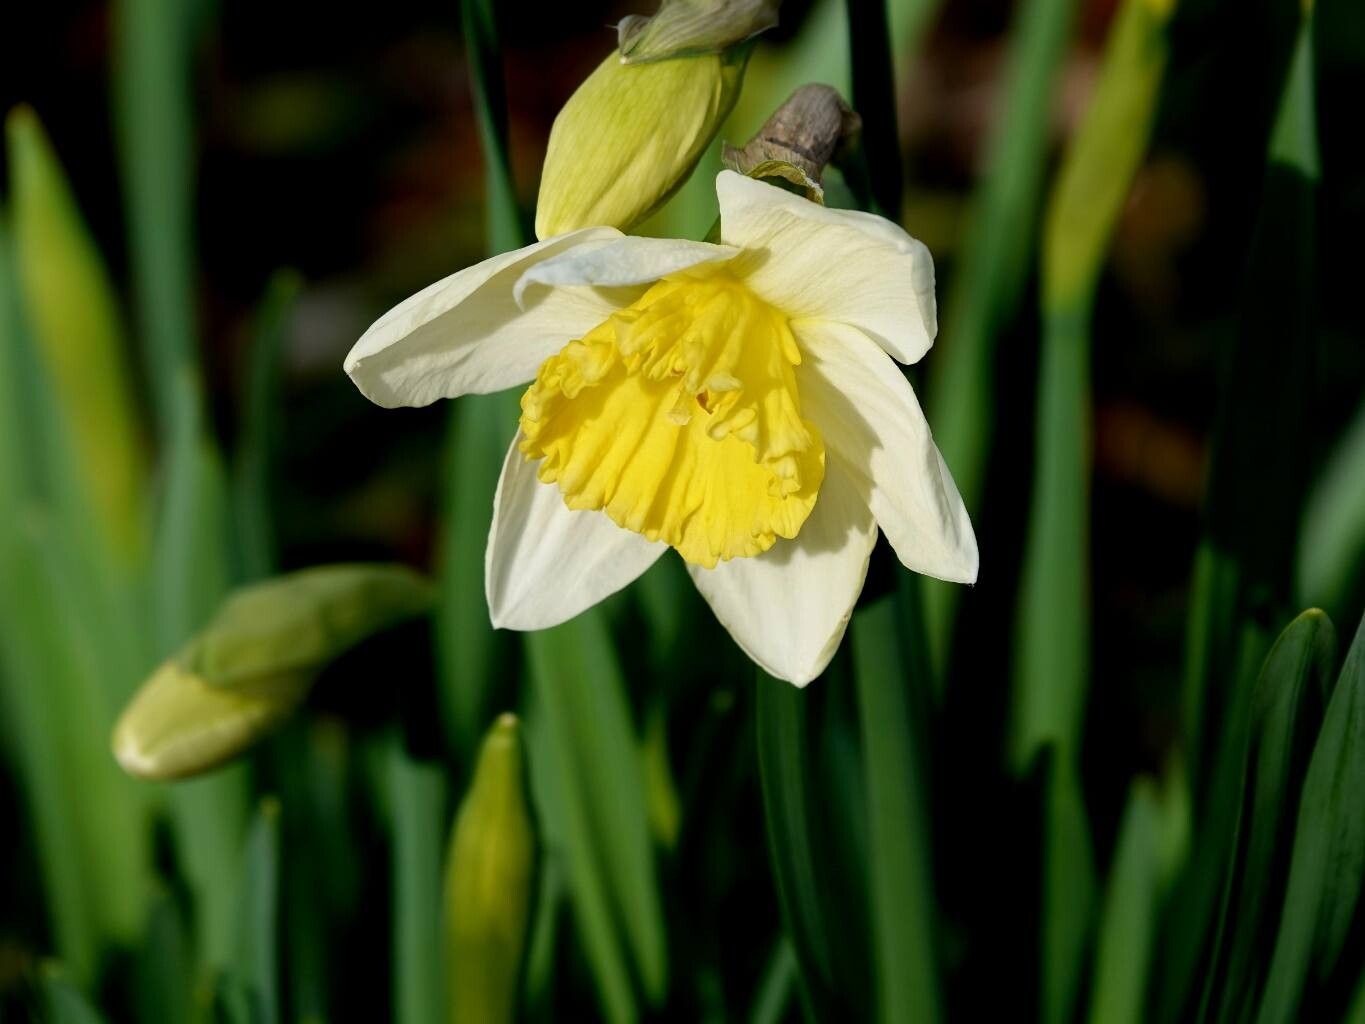
Hello, fellow garden enthusiasts! It’s me, your friendly neighborhood plant mentor, ready to spill the beans on one of my absolute favorite spring blooms: the humble Narcissus pseudonarcissus, those cheerful daffodils that signal the end of winter’s slumber. There’s something truly magical about seeing those sunny trumpets pop up, isn’t there? And the best part? You can multiply that joy tenfold by propagating them yourself! If you’ve ever looked at a patch of daffodils and wished for more, this guide is for you. Don’t worry, it’s a wonderfully rewarding process, and even beginners can have great success with these beauties.
The Best Time to Start
When it comes to Narcissus, patience is definitely a virtue, and the perfect time to propagate is after the foliage has completely yellowed and died back. This usually happens in late spring or early summer. This is when the bulbs have finished their energy production for the season and are focused on storing reserves for next year. Trying to propagate while the leaves are still green can stress the parent plant and reduce your chances of success.
Supplies You’ll Need
Gathering your supplies beforehand makes the whole process smoother. Here’s what I always have on hand:
- Healthy Narcissus bulbs: The bigger and more robust, the better!
- Clean, sharp pruning shears or a trowel: For careful digging and separation.
- Well-draining potting mix: A mix formulated for bulbs or a gritty potting soil works wonderfully. Avoid heavy, waterlogged soils.
- Optional: Rooting hormone powder: While not strictly necessary for Narcissus division, it can give a little extra boost.
- Small pots or trays: For your new propagations. Make sure they have drainage holes.
- Gloves: To keep your hands clean.
Propagation Methods
For Narcissus, the most straightforward and successful method is division. They naturally multiply underground by producing offsets, or smaller bulbs, that grow attached to the main bulb.
Here’s how to do it:
- Dig with Care: Once the foliage is completely yellowed and dried, gently dig around the clump of daffodils with your trowel or spade. Be careful not to nick any of the bulbs with your tool. Lift the entire clump from the soil.
- Brush Away Excess Soil: Gently shake or brush off as much of the soil as you can from the bulbs. This will allow you to see the individual bulbs and how they are connected.
- Separate the Offsets: Look for smaller bulbs attached to the main bulb. You should be able to gently twist or break them away. If a bulb is firmly attached, you might need to use your clean pruning shears to snip the connecting stem. Aim to separate bulbs that are at least ping-pong ball size for the best chance of establishment. If you have very tiny bulblets, you can try to plant them, but they may take a year or two to reach flowering size.
- Inspect and Trim: While you have the bulbs in hand, it’s a good chance to inspect them. Discard any that look damaged, diseased, or mushy. You can trim off any remaining dead or papery outer layers of the bulb if you like, but it’s not essential. If using rooting hormone, lightly dip the base of each separated bulb into it now.
- Replant: Prepare your pots or garden beds with your well-draining soil. Plant the separated bulbs at the same depth they were originally growing – typically about 6 inches deep for Narcissus. Ensure there’s good air circulation around the bulbs. Space them a few inches apart.
The “Secret Sauce” (Pro Tips)
Over the years, I’ve learned a few tricks that really make a difference:
- Don’t Rush the Foliage: I know it’s tempting to “tidy up” those yellowing leaves, but please, resist! The leaves are feeding the bulb for next year and for making offsets. Let them do their job. They’ll loosen right up when they’re ready.
- Let New Divisions “Cure”: After you separate your bulbs, if you don’t plan to replant them immediately, let them sit out of direct sun in a dry, airy spot for a few days. This helps any cuts or nicks on the bulbs to dry and callus over, reducing the risk of rot when they are replanted.
- Plant in Groups: When you replant your divisions, even the small ones, plant them in small clusters rather than singly. This gives them a better visual impact when they start to grow and also helps them feel a bit more secure in their new home.
Aftercare & Troubleshooting
Once your new Narcissus divisions are planted, water them in well. Keep the soil consistently moist but not waterlogged, especially during the first few weeks. Don’t overwater, as this is the quickest way to invite fungal problems.
The most common issue you might encounter is rot. If you notice bulbs becoming soft, mushy, and developing a foul smell, they have likely succumbed to rot. This is usually due to poor drainage or overwatering. Unfortunately, rotten bulbs are a loss, so remove them promptly to prevent the rot from spreading to healthy bulbs. If your bulbs simply fail to emerge the following spring, don’t give up! Sometimes, smaller offsets need a year or two to build up enough energy to bloom. Just keep them healthy, and they’ll likely surprise you the year after.
A Encouraging Closing
Propagating Narcissus pseudonarcissus is a simple yet incredibly rewarding way to fill your garden with even more of those delightful spring greetings. Be patient, trust the process, and celebrate each success, no matter how small. Happy gardening, and may your daffodil patches be ever-expanding!
Resource:
https://identify.plantnet.org/k-world-flora/species/Narcissus%20pseudonarcissus%20L./data