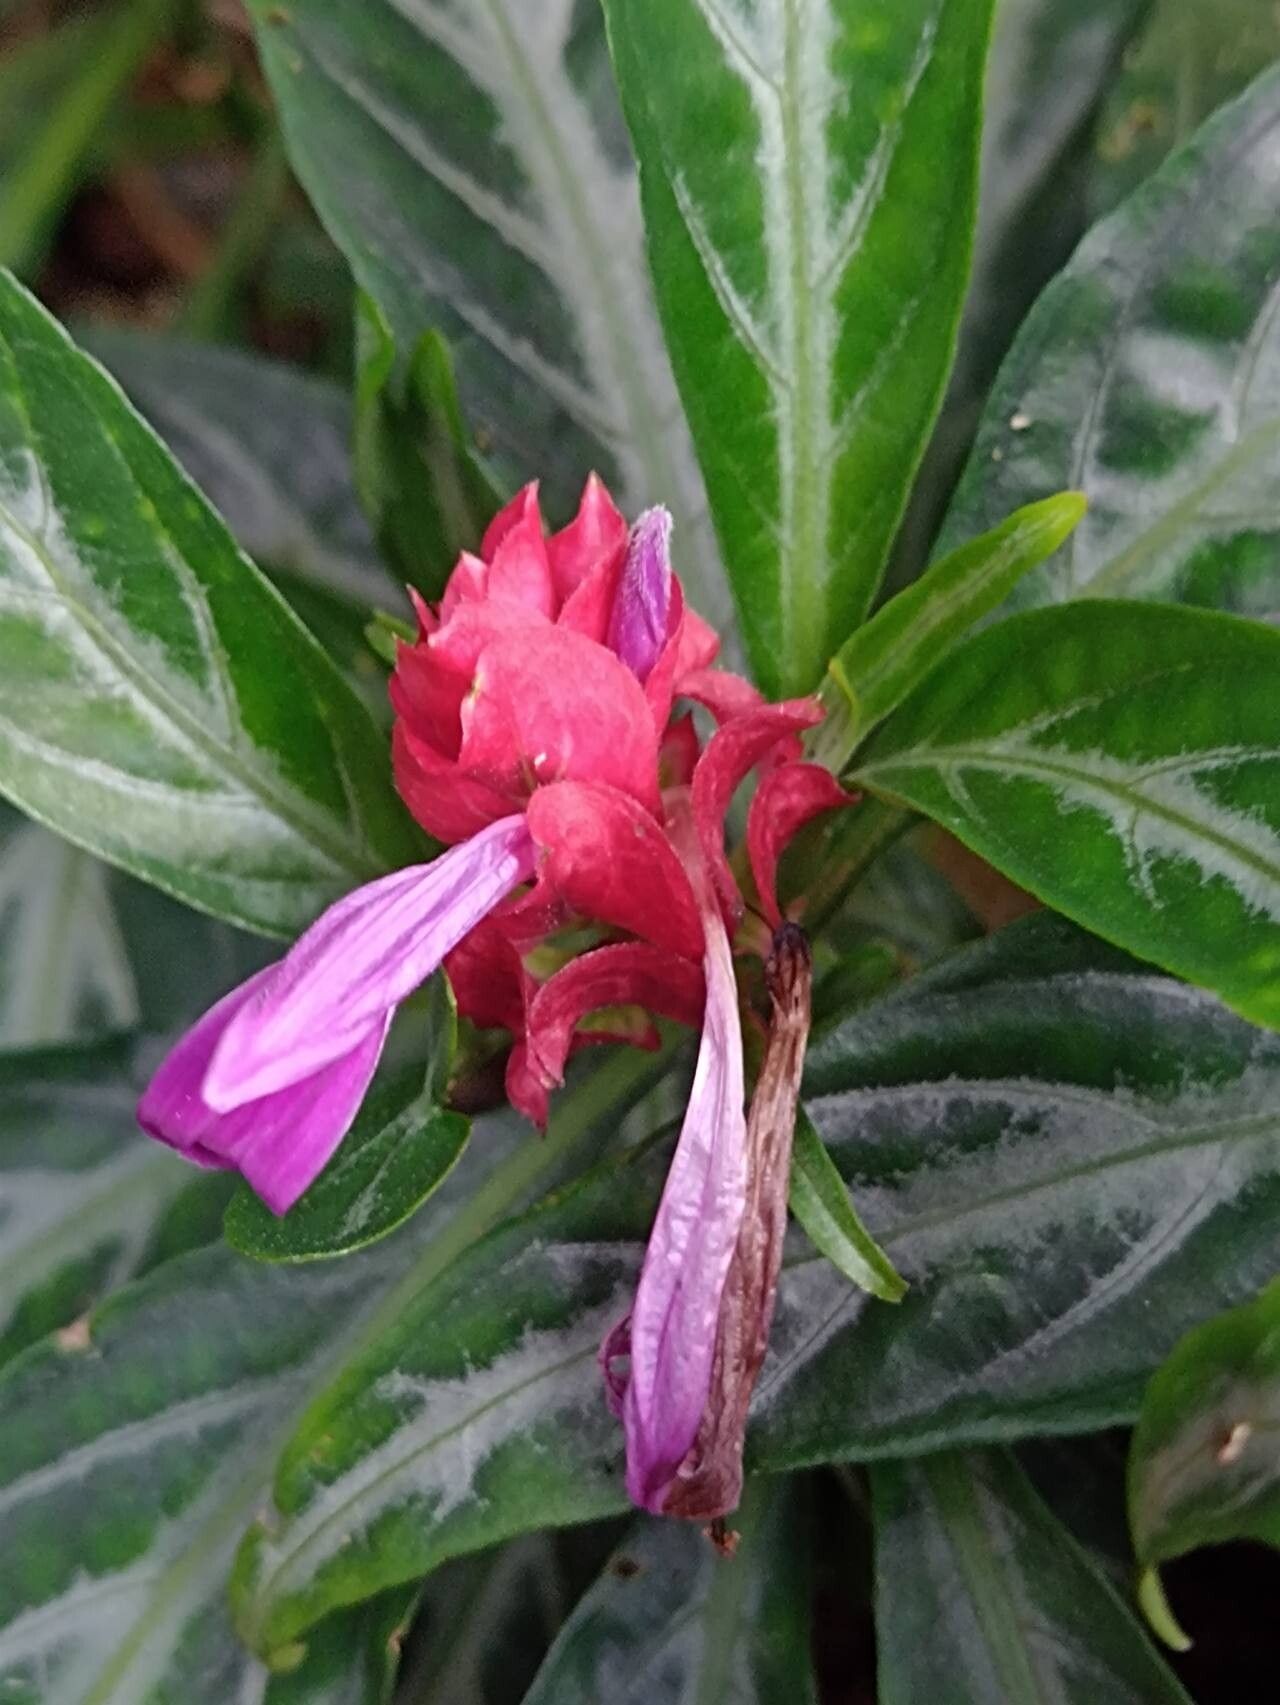
Oh, Justicias! If you haven’t met Justicia lanceolata yet, you’re in for a treat. Its delicate, almost ethereal blooms, often in shades of soft pink, lavender, or white, bring such a gentle elegance to any garden corner. And when you see those blooms, especially after a good rain, you just have to share the joy. Propagating them is a wonderfully rewarding way to do just that, or simply to fill your own space with more of their understated beauty. And guess what? For most of us, it’s surprisingly forgiving. Even if you’re just dipping your toes into the world of plant propagation, Justicia lanceolata is a great companion to start with.
The Best Time to Start
My personal preference, and where I’ve found the most success, is to take cuttings in late spring or early summer. The plant is in full swing, full of vigorous new growth. This energetic phase means your cuttings have a better chance of establishing themselves quickly. You can also try it in early fall, but the growth rate might be a bit slower, requiring a bit more patience.
Supplies You’ll Need
Gathering your tools beforehand makes the whole process feel much smoother. Here’s what I usually have on hand:
- Sharp pruning shears or a clean knife: For making clean cuts, which is crucial.
- A sterile potting mix: I like a blend of peat moss and perlite, or a good quality seed-starting mix. It needs to be well-draining.
- Rooting hormone (optional but helpful): A powder or gel can give your cuttings a little boost.
- Small pots or trays: Clean ones, of course! Small terracotta pots are my favorite because they breathe.
- Watering can or mister: For gentle watering.
- Clear plastic bags or a propagator: To create a humid environment for the cuttings.
- Labels: So you don’t forget what you’ve planted where!
Propagation Methods
Justicia lanceolata is a trooper, and it’s quite happy to be propagated from stem cuttings. This is my go-to method, and it’s straightforward.
- Select Your Cuttings: Look for healthy, non-flowering stems. You want stems that are slightly firm but still pliable, not woody or floppy. Aim for cuttings that are about 4-6 inches long.
- Make the Cut: Using your sharp shears or knife, make a clean cut just below a leaf node. A leaf node is where a leaf emerges from the stem – this is where new roots will form. Remove the leaves from the bottom half of the cutting. You can leave the top couple of leaves on, though. If they’re quite large, you can even snip them in half to reduce water loss.
- Apply Rooting Hormone (Optional): Dip the cut end into rooting hormone, if you’re using it. Tap off any excess.
- Plant Your Cuttings: Fill your clean pots with the sterile potting mix. Make a small hole in the center of the soil with your finger or a pencil. Gently insert the cut end of the stem into the hole, and firm the soil around it.
- Water Gently: Water the soil thoroughly but gently. You want it moist, not soggy.
- Create Humidity: Cover the pot with a clear plastic bag, or place it in a propagator. Make sure the bag doesn’t touch the leaves too much. Prop it up with a few stakes if needed. This creates a mini greenhouse effect, keeping the humidity high, which is essential for cuttings.
The “Secret Sauce” (Pro Tips)
Here are a few little things I’ve learned over the years that make a big difference:
- Don’t let the leaves touch the water: If you decide to try water propagation (which works for Justicia too, though soil is my preference), make sure only the stem is submerged. Leaves sitting in water are a one-way ticket to rot.
- Bottom heat is your friend: If you have a heating mat designed for plants, placing your pots on it can significantly speed up root development. It mimics the warmth of spring soil and gives these cuttings a real head start.
- Patience is key with leaf removal: When you’re stripping leaves from the bottom of the cutting, be gentle. If you tear the stem bark, it can create an entry point for disease. A clean removal is always best.
Aftercare & Troubleshooting
Once you’ve got your cuttings planted, place them in a bright spot, but out of direct sunlight. Direct sun can scorch those tender cuttings. Keep the soil consistently moist, but not waterlogged. You’ll know your cutting is happy when you start to see new leaf development. This usually takes anywhere from 3-6 weeks, depending on the conditions.
The most common issue you’ll face is rot. If a cutting starts to look limp, blackens at the base, or just fails to show any signs of life after a decent amount of time, it’s likely rotted. This is usually due to too much moisture and not enough air circulation. Don’t be discouraged if a few don’t make it – it happens to the best of us! Just try again.
A Encouraging Closing
See? Not so daunting, is it? Watching those tiny roots emerge and a new plant begin to unfurl is one of gardening’s simple, pure delights. Be patient with your little propagations. Give them a warm, bright spot and a consistent drink, and you’ll be rewarded. Happy planting, and may your Justicias flourish!
Resource:
https://identify.plantnet.org/k-world-flora/species/Justicia%20lanceolata%20(Chapm.)%20Small/data