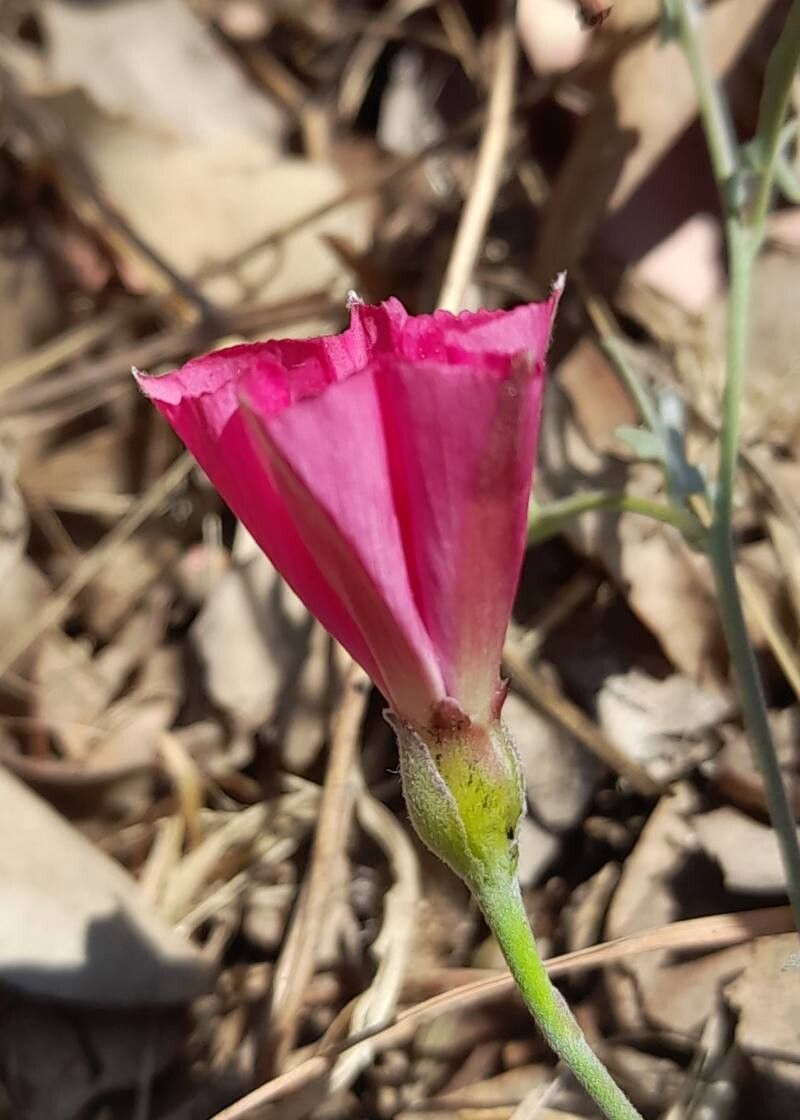
Oh, hello there! Pull up a chair and let’s chat about one of my favorite garden companions: Convolvulus chilensis, or Chilean Sea Bindweed. Isn’t it just a delight? With its charming, morning glory-like flowers and lovely trailing habit, it’s a real showstopper, perfect for spilling over pots or gracing the edges of a raised bed. And the best part? Bringing more of this beauty into your life by propagating it yourself is surprisingly satisfying. You might be wondering if it’s a tricky plant to multiply. Honestly, for most gardeners, including those just dipping their toes into propagation, Convolvulus chilensis is wonderfully forgiving. You’ll find success is well within reach!
The Best Time to Start
Timing is everything when it comes to getting those little cuttings to root. For Convolvulus chilensis, your best bet is to take cuttings in late spring or early summer. This is when the plant is actively growing and has plenty of healthy, semi-hardwood stems to offer. Think of it as a plant in its prime, full of vigor and ready to reproduce. Avoid taking cuttings when the plant is stressed, perhaps from extreme heat or drought.
Supplies You’ll Need
Gathering your tools beforehand makes the whole process much smoother. Here’s what I usually have on hand:
- Sharp Pruning Shears or a Craft Knife: Clean cuts are essential for healthy rooting.
- Rooting Hormone: While not always strictly necessary for Convolvulus chilensis, it can give your cuttings a helpful boost. I prefer powdered forms.
- Small Pots or Seed Trays: Clean ones are a must to prevent disease.
- Well-Draining Potting Mix: A good blend for me is equal parts perlite and seed-starting mix, or even just a light potting soil with added perlite.
- Watering Can or Spray Bottle: For gentle hydration.
- Plastic Bags or a Clear Dome: To create a humid microclimate.
Propagation Methods
Let’s get our hands dirty! Stem cuttings are my go-to method for Convolvulus chilensis.
- Select Your Cuttings: Look for healthy, non-flowering stems that are about 4-6 inches long. You want stems that are flexible but not floppy – what we call “semi-hardwood.” This means they’re not brand new and soft, but also not woody and old.
- Make the Cuts: Using your sharp shears or knife, make a clean cut just below a leaf node. A leaf node is where a leaf grows from the stem; it’s essentially a growth point where roots can often form. Remove the lower leaves from the cutting, leaving just a few at the tip.
- Apply Rooting Hormone (Optional but Recommended): Dip the cut end of the stem into your rooting hormone, tapping off any excess.
- Plant Your Cuttings: Gently insert the treated end of each cutting into your prepared potting mix. Make sure at least one leaf node is buried in the soil.
- Water Gently: Water the soil thoroughly but gently, so you don’t dislodge your cuttings.
- Create a Humid Environment: Cover the pots with a clear plastic bag, securing it loosely around the rim, or use a propagation dome. This traps moisture and prevents the cuttings from drying out before they can root. Place them in a bright spot, but out of direct sunlight, which can scorch the delicate cuttings.
Water Propagation: Some gardeners have success with water propagation for Convolvulus chilensis. Simply place your cuttings in a jar of clean water, making sure the leaf nodes are submerged. Change the water every few days to keep it fresh. Once you see tiny roots forming, you can carefully transplant them into potting mix.
The “Secret Sauce” (Pro Tips)
Here are a couple of little tricks that have served me well over the years:
- Don’t Let Leaves Touch the Soil (in the pot): When you plant your cuttings in pots, try to prune the lowest leaves so they don’t sit directly on the surface of the potting mix. Leaves submerged in damp soil are more prone to rot.
- Bottom Heat is Your Friend: If you have a propagation mat or even just a sunny windowsill that gets warm, placing your pots on it can significantly speed up rooting. The warmth encourages root development from the bottom up.
Aftercare & Troubleshooting
Once your cuttings start to show signs of life – you’ll see new leaf growth – that’s a good indication they’re rooting! Keep them consistently moist but not waterlogged. As they get a bit bigger and have a decent root system (you might gently tease them out of the pot to check), you can start gradually acclimatizing them to less humid conditions by removing the plastic bag for longer periods. Eventually, you can transplant them into their own individual pots.
The most common issue you might encounter is rot. If a cutting turns black and mushy, it’s likely rotted. This usually happens due to overwatering, poor air circulation, or using soil that doesn’t drain well. If you see this, discard the affected cutting immediately and ensure your other cuttings have good drainage and aren’t sitting in soggy soil. A lack of root development after a few weeks can also be disheartening, but remember patience is key. Sometimes they just take their sweet time!
A Encouraging Closing
Don’t be discouraged if your first few attempts aren’t perfect. Every gardener learns as they go, and Convolvulus chilensis is a forgiving plant that rewards your efforts. Enjoy the process of nurturing these little sprigs of life, and soon you’ll have more of their lovely blooms to brighten your garden and your days. Happy propagating!
Resource:
https://identify.plantnet.org/k-world-flora/species/Convolvulus%20chilensis%20Pers./data