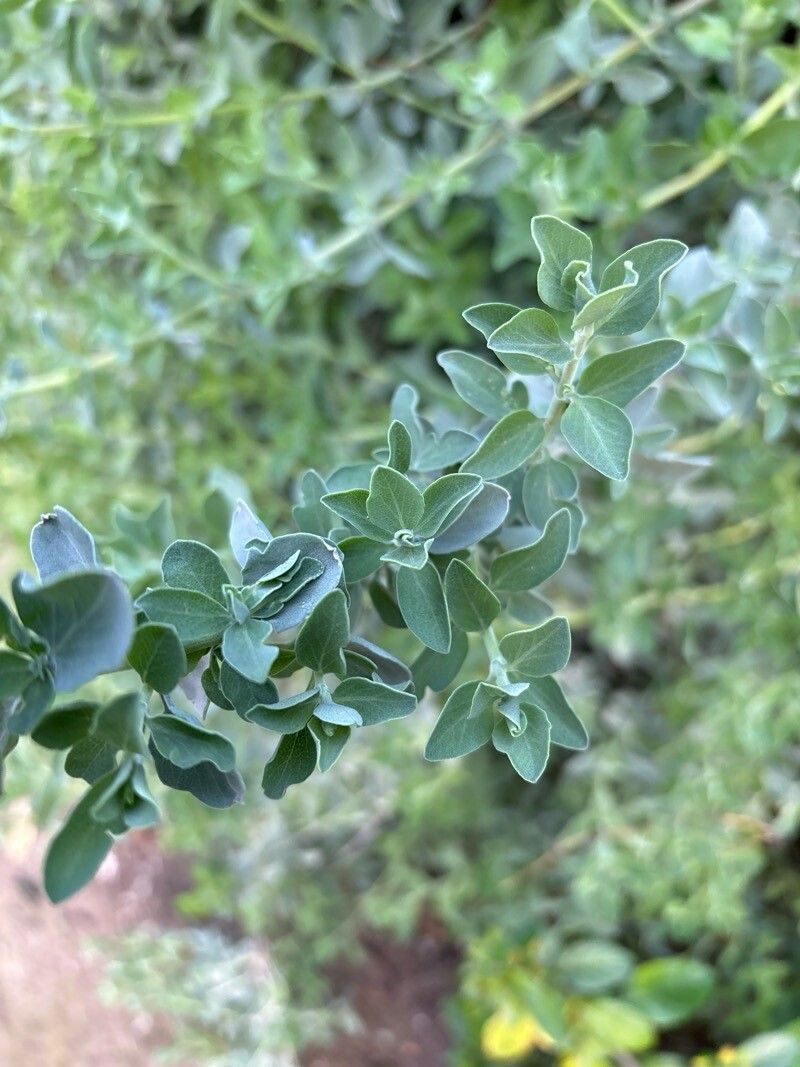
Oh, hello there! It’s so lovely to connect with you today. I’ve been dreaming about Salvia africana lately – that gorgeous, silvery foliage and the subtle, sweet fragrance… it’s a real gem in any garden, isn’t it? And the best part? It’s surprisingly easy to multiply! If you’ve ever looked at a mature Salvia africana and thought, “Gosh, I wish I had more of that,” well, you’re in luck. Propagating it is a wonderfully rewarding process, and I’m here to guide you through it. Don’t worry if you’re new to this; it’s a friendly plant to start with.
The Best Time to Start
For Salvia africana, the sweet spot for propagation is when the plant is actively growing, but not producing flowers. Think late spring or early summer. This gives the cuttings plenty of time to establish roots before the cooler weather sets in. You’re looking for new growth that’s becoming a bit firm, not those super soft, floppy tips that will just wilt away.
Supplies You’ll Need
Gathering your tools beforehand makes the whole process so much smoother. Here’s what I always have on hand:
- Sharp pruning shears or a clean knife: For taking nice, clean cuts.
- Small pots or seed trays: With drainage holes, of course!
- Well-draining potting mix: I like a blend of equal parts perlite and peat moss, or a specific seed-starting mix.
- Rooting hormone (optional but recommended): This gives your cuttings a little boost.
- Watering can with a fine rose: For gentle watering.
- Plastic bags or a propagator lid: To create a mini-greenhouse effect.
Propagation Methods
Let’s get your hands dirty! Stem cuttings are my go-to for Salvia africana, and it works beautifully.
- Take Your Cuttings: Find a healthy stem on your mature plant. Using your clean shears or knife, make a cut just below a leaf node (where a leaf attaches to the stem). You want cuttings that are about 4-6 inches long. Remove the lower leaves, leaving just a few at the top.
- Prepare for Rooting: If you’re using rooting hormone, dip the cut end of each stem into the powder. Gently tap off any excess.
- Pot Them Up: Fill your small pots or trays with your prepared potting mix. Make a small hole in the center of each pot with your finger or a pencil.
- Plant Your Cuttings: Insert the cut end of each cutting into the hole, ensuring at least one leaf node is below the soil surface. Gently firm the soil around the stem.
- Water Gently: Water the soil thoroughly but gently, so you don’t dislodge the cuttings.
- Create a Humid Environment: Cover each pot with a clear plastic bag, or place them under a propagator lid. This traps moisture, which is crucial for root development. Make sure the leaves aren’t touching the inside of the bag if possible.
The “Secret Sauce” (Pro Tips)
Here are a few little tricks I’ve learned over the years that really make a difference:
- Bottom Heat is Your Friend: Salvia africana cuttings absolutely love a bit of warmth from below. Pop your pots on a heat mat set to a gentle temperature (around 70-75°F or 20-24°C). This encourages root formation and really speeds things up.
- Don’t Drown Them: While they need moisture, overwatering is the quickest way to rot your cuttings. Water only when the top inch of the soil feels dry to the touch. The plastic bag helps retain moisture, so you won’t need to water too often.
- Patience is Key: I know it’s tempting to peek every day, but try to resist! Let them do their thing. Good root development takes time, and you’ll see encouraging signs before you know it.
Aftercare & Troubleshooting
Once you start to see new growth emerging from the top of the cutting, that’s a wonderful sign your roots are forming! Don’t be in a rush to remove the plastic bag just yet. Gradually acclimatize your new plants to open air over a few days by poking a few holes in the bag or opening the propagator lid for longer periods. Once they seem happy, you can remove the covering entirely.
Keep them in their pots and make sure the soil stays consistently moist but not soggy. When you can gently tug on the cutting and feel resistance, it means roots have developed. At this point, you can transplant them into slightly larger pots.
The most common issue you might encounter is rot. If your cuttings turn mushy or black at the base, it’s usually a sign of too much moisture and not enough air circulation. If you see this, remove the affected cutting immediately to prevent it from spreading.
A Little Encouragement
And there you have it! Propagating Salvia africana is a truly satisfying way to expand your collection or share the beauty of this plant with friends. Be patient with the process, trust your instincts, and remember that even if a few don’t make it, the successes are incredibly rewarding. Happy gardening!
Resource:
https://identify.plantnet.org/k-world-flora/species/Salvia%20africana%20L./data