Hey there, fellow plant enthusiasts! It’s so lovely to have you join me today. We’re going to dive into a really special plant that I absolutely adore: Galium asprellum, often known as Climbing Bedstraw or Rough Bedstraw.
The Charm of Climbing Bedstraw and Why You’ll Want More
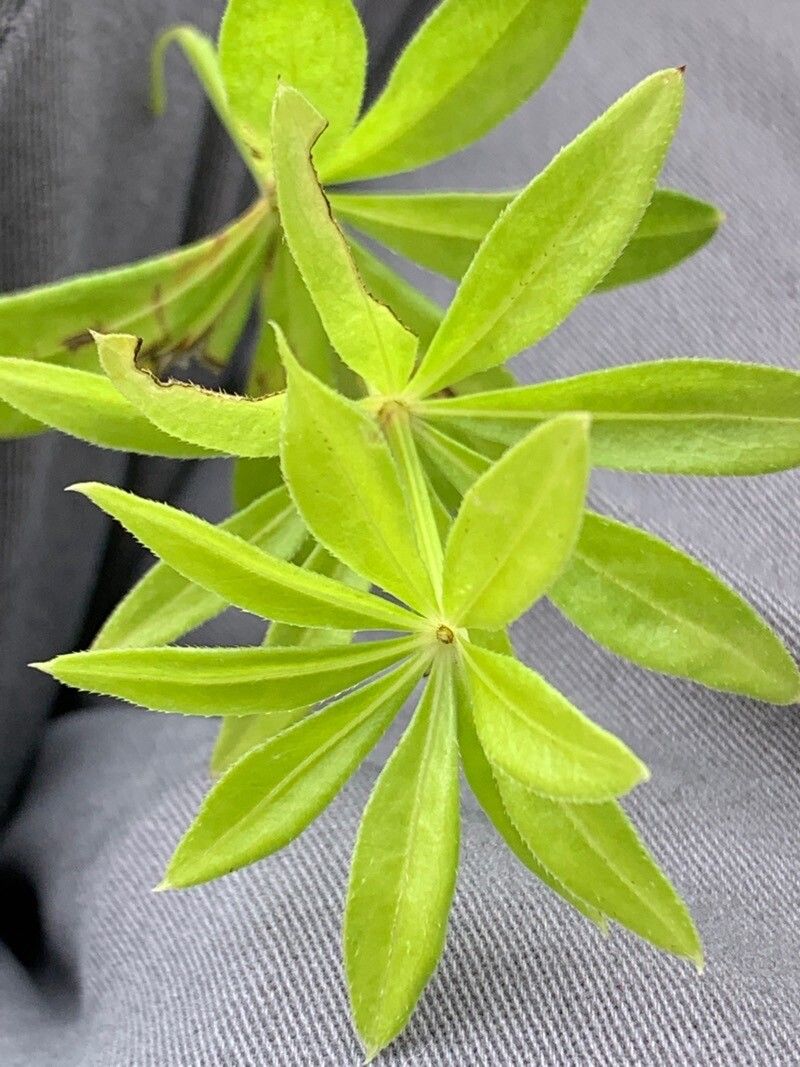
This delightful creeper brings such an airy, delicate texture to the garden. Its fine, almost lacy foliage and tiny white flowers create a soft haze, perfect for spilling over walls, softening edges, or even weaving through other plants. Propagating it yourself is incredibly rewarding. You get to multiply that beauty for free, and there’s a special kind of magic in nurturing a tiny cutting into a flourishing plant. For beginners, I’d say Galium asprellum is a pretty forgiving plant to propagate, which is wonderful news if you’re just getting your hands dirty!
When Your Bedstraw is Ready to Share
The absolute best time to start propagating Galium asprellum is in late spring or early summer. This is when the plant is actively growing and has plenty of energy to put into developing new roots. You’re looking for soft, new growth – the kind that bends easily and hasn’t gotten too woody yet. Trying this when the plant is dormant in winter is just asking for disappointment.
Your Propagation Toolkit
Gathering your supplies beforehand makes the whole process much smoother. Here’s what you’ll want to have on hand:
- Sharp Pruning Shears or a Craft Knife: For clean cuts.
- Rooting Hormone Powder (Optional but Recommended for Stem Cuttings): This really gives your cuttings a boost.
- Small Pots or Seedling Trays: Pro tip: don’t go too big, as small plants prefer slightly snug conditions.
- A Well-Draining Potting Mix: I like a blend of seedling starting mix and perlite (about 50/50) to ensure good aeration.
- Watering Can with a Fine Rose: For gentle watering.
- Clear Plastic Bags or a Propagator Lid: To create a humid environment.
- Labels and a Marker: So you don’t forget which is which!
Growing New Life: Propagation Methods
Galium asprellum is wonderfully amenable to propagation by stem cuttings. It’s straightforward and usually gives excellent results.
- Taking Your Cuttings: On a healthy stem, find a piece of growth that is about 4-6 inches long. Make a clean cut just below a leaf node (where a leaf meets the stem). This is where root hormones are most concentrated.
- Preparing the Cuttings: Gently remove the lower leaves from the cutting. You want to leave just a few leaves at the top. If the leaves are large, you can even cut them in half horizontally to reduce water loss.
- Applying Rooting Hormone (if using): Dip the cut end of the stem into the rooting hormone powder, tapping off any excess.
- Planting the Cuttings: Fill your small pots with your prepared potting mix. Make a small hole in the center with your finger or a pencil. Insert the cutting into the hole, ensuring the leaf nodes you removed are buried in the soil. Gently firm the soil around the stem.
- Creating a Humid Environment: Lightly water the soil. Then, cover the pots with a clear plastic bag (propping it up so it doesn’t touch the leaves) or place them under a propagator lid. This is crucial for keeping your cuttings from drying out.
- Placement: Place your pots in a bright spot but out of direct, scorching sunlight. A windowsill is often perfect.
The “Secret Sauce” for Extra Success
Over the years, I’ve picked up a few tricks that really seem to help my cuttings along.
- Bottom Heat is Your Friend: If you have a heated propagator or a heat mat, placing your cuttings on it can significantly speed up root development. The warmth encourages those roots to get going quicker. It’s like giving your little plant babies a cozy underfloor heating system!
- Don’t Drench, But Don’t Dry: This is a fine balance. The soil should be consistently moist, but never waterlogged. Overwatering is one of the quickest ways to lose a cutting to rot. Check the soil by gently poking your finger in; if it feels dry a centimeter down, it’s time to water.
- Patience with the Potting Mix: While you want good drainage, avoid a mix that dries out too quickly. A young cutting needs consistent moisture to establish. If your mix is very sandy, you might find yourself watering more often than you’d like.
Aftercare and What to Watch For
Once your cuttings have started to show signs of life – usually you’ll see new growth appearing at the top – it’s time to start thinking about aftercare.
- Gradual Acclimatization: Once roots have formed (you can often tell by gentle tug of the cutting; if there’s resistance, there are roots!), start gradually opening the plastic bag or vented propagator lid over a week or two. This helps the new plant adjust to the drier ambient air.
- First Potting Up: When the plant looks well-established and you can see a good network of roots through the drainage holes, it’s time to pot it up into a slightly larger pot with regular potting compost.
- Troubleshooting: The biggest culprits are usually rot and dehydration. If your cutting looks black or mushy at the base, it’s likely rotted. This is often due to overwatering and lack of air circulation. If the leaves are wilting and the stem is still firm, it’s likely dehydration, and you need to ensure your humidity dome is doing its job and the soil is moist. Don’t be discouraged if a few don’t make it; it’s all part of the learning process!
Happy Propagating!
Watching those tiny stems sprout roots and unfurl new leaves is such a joy. Growing Galium asprellum from cuttings is a wonderful way to expand your garden and share the joy of these beautiful plants. Be patient, enjoy the process, and happy gardening!
Resource:
https://identify.plantnet.org/k-world-flora/species/Galium%20asprellum%20Michx./data