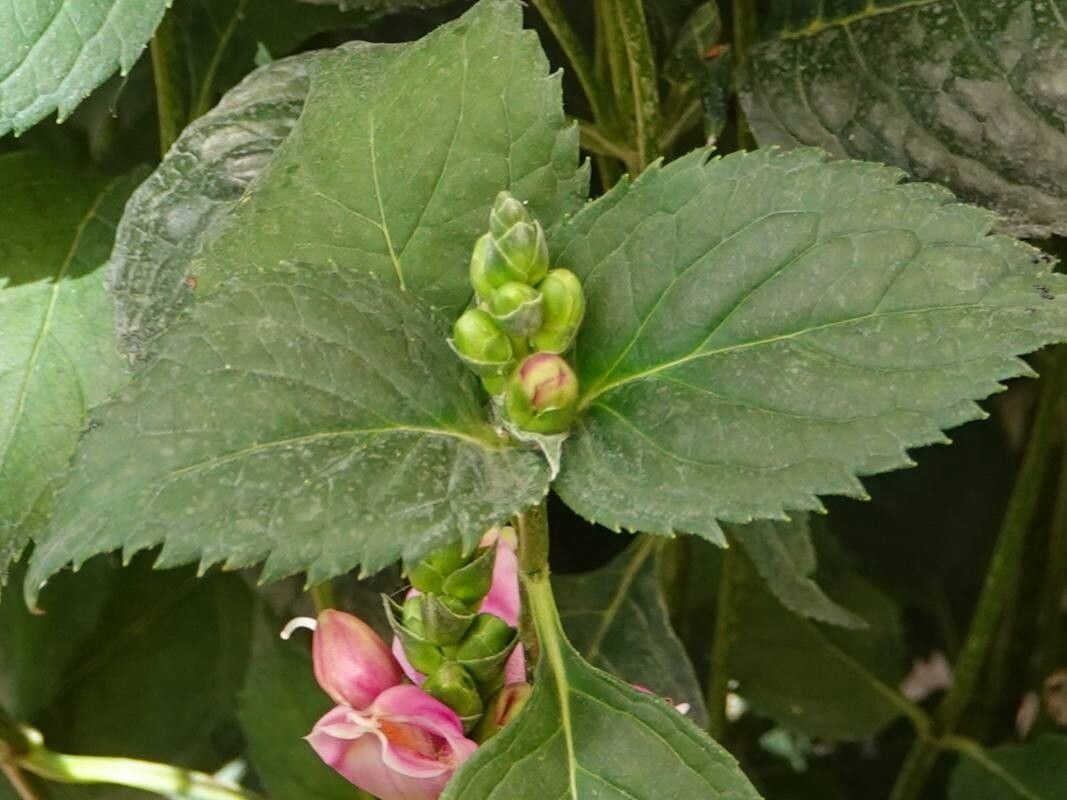
Hello, fellow garden enthusiasts! I’m so glad you’re here. Today, we’re going to talk about a plant that truly brings a touch of charm to any garden: Chelone lyonii, or Turtlehead. Its lovely, hooded flowers, often in shades of pink or rose, are such a welcome sight in late summer and fall. More than that, they’re a magnet for pollinators! And the best part? Propagating Chelone lyonii is a wonderfully rewarding way to fill your garden beds or share these beauties with friends. If you’re new to plant propagation, you’ll be pleased to know that Chelone is relatively straightforward. You’ve got this!
The Best Time to Start
For the highest success rate with propagating Chelone lyonii, I find that starting in late spring or early summer is ideal. You want to catch the plant when it’s actively growing and has plenty of fresh, sappy stems. This is when the plant is most vigorous and ready to put its energy into forming new roots. Waiting until the heat of mid-summer can be more stressful for both you and the plant.
Supplies You’ll Need
Here’s what you’ll want to have on hand before you get started:
- Sharp Pruning Shears or a Clean Knife: For making precise cuts.
- A Potting Mix: A mix specifically designed for propagating or seed starting works beautifully. It’s usually lighter and drains well. You can also create your own by mixing equal parts peat moss or coco coir and perlite.
- Rooting Hormone (Optional but Recommended): This little boost helps encourage root development. Look for a powdered or gel form.
- Small Pots or Propagation Trays: Clean pots are essential to prevent disease.
- Plastic Bags or a Propagation Dome: To create a humid environment.
- Watering Can or Spray Bottle: For gentle watering.
- Labels: To keep track of what you’re growing!
Propagation Methods
Let’s get our hands dirty! The most effective way to propagate Chelone lyonii is usually through stem cuttings.
Stem Cuttings
- Select Your Stems: Look for healthy, non-flowering stems on your Chelone plant. You want stems that are about 4-6 inches long. Gently snap or cut a stem – it should be firm but still pliable. Avoid woody or super soft tips.
- Make the Cut: Using your clean shears or knife, make a clean cut just below a leaf node. A leaf node is where the leaves attach to the stem. This is a prime spot for root formation.
- Prepare the Cuttings: Remove the lower leaves from the cutting, leaving just a couple of pairs at the top. This prevents them from rotting when they’re in the soil.
- Dip in Rooting Hormone (Optional): If you’re using rooting hormone, dip the cut end of the stem into the powder or gel. Tap off any excess.
- Plant the Cuttings: Fill your small pots or trays with your prepared potting mix. Make a small hole with your finger or a pencil. Insert the cut end of the Chelone cutting into the hole, ensuring the leaf nodes are below the soil surface. Gently firm the soil around the stem.
- Water Gently: Water the soil thoroughly but gently, ensuring it’s moist but not waterlogged.
- Create Humidity: Place a plastic bag over each pot or put the pots under a propagation dome. This keeps the humidity high, which is crucial for cuttings to root. You can secure the bag with a rubber band around the pot.
- Find a Bright Spot: Place your pots in a location that receives bright, indirect light. Avoid direct sun, which can scorch the delicate cuttings.
Division (Another Option)
If your plant is mature and you’re looking to create larger divisions quickly, you can also propagate by dividing the root ball in the spring.
- Dig Up the Plant: Carefully dig up the entire plant, trying to disturb the roots as little as possible.
- Separate the Roots: Gently shake off excess soil. You can often pull apart sections of the plant with healthy roots and shoots. If the roots are tangled, you might need to use a clean trowel or even a sharp knife to divide them.
- Replant Immediately: Plant these divisions into their new locations or into pots with fresh soil. Water them well.
The “Secret Sauce”
Here are a couple of tricks I’ve learned over the years that really help with Chelone propagation:
- Don’t Let Those Leaves Drip: When you water your cuttings, make sure none of the leaves are touching the soil surface or sitting in excess water. This is a fast track to rot and mildew on very young cuttings.
- Bottom Heat is Your Friend: If you have it, placing your propagation tray on a gentle heat mat can significantly speed up root development. It mimics the warmth of spring soil and gives those roots a happy start.
Aftercare & Troubleshooting
Once your cuttings have been planted, the waiting game begins!
- Check for Roots: After about 3-6 weeks, gently tug on a cutting. If you feel resistance, it’s a good sign that roots have formed! You can also look for new leaf growth at the top.
- Acclimatize Gradually: When you see good root development, it’s time to gradually remove the plastic bag or dome over a few days. This helps the new plant get used to normal humidity levels.
- Potting Up: Once the roots have filled their initial small pots, you can transplant them into slightly larger containers or plant them directly into your garden if the danger of frost has passed and they’re strong enough.
- Signs of Trouble (and what to do): The most common issue is rot. If a cutting looks limp, slimy, or mushy, it’s likely rotted. Unfortunately, you’ll need to discard it and try again. Overwatering or poor drainage is usually the culprit. If you see wilting despite moist soil, it might mean the cutting hasn’t rooted yet and is drying out too quickly. Ensure your humidity is high enough.
Happy Planting!
Taking cuttings and nurturing them into new plants is one of the most satisfying aspects of gardening. Be patient with your Chelone lyonii cuttings; they’ll reward your effort with beautiful blooms. Enjoy the process, learn from each attempt, and soon you’ll have a delightful collection of these charming Turtleheads to admire!
Resource:
https://identify.plantnet.org/k-world-flora/species/Chelone%20lyonii%20Pursh/data