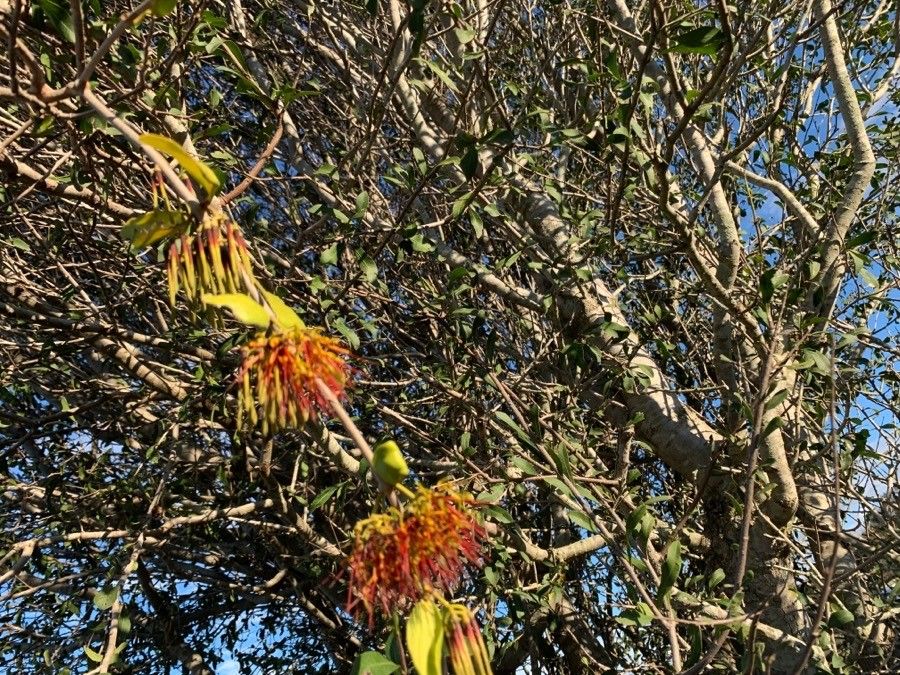
Oh, Amyema congener! If you’ve ever admired that beautiful, often trailing vine with its delicate flowers, you’re not alone. It’s a charmer, isn’t it? And the thought of creating more of these little beauties from your existing plant? Pure garden joy! Now, I won’t lie to you, Amyema congener can be a little particular, so it might not be the absolute first plant I’d suggest for a brand-new beginner. But with a bit of patience and a few key pointers, you’ll be well on your way to success. Trust me, the reward of seeing your own propagated plant thrive is immense.
The Best Time to Start
For the highest chance of success with Amyema congener, I always aim to take cuttings in late spring or early summer. This is when the plant is actively growing, and cuttings taken during this vibrant period tend to root more readily. Think of it as capturing the plant at its most energetic. If you miss that window, don’t despair; you can sometimes get away with it in mid-autumn, but spring is definitely king.
Supplies You’ll Need
To get your propagation station ready, you’ll want to gather a few things:
- Sharp, clean pruning shears or a sharp knife: For making clean cuts.
- Rooting hormone (powder or gel): This encourages root development. Look for one that’s suitable for semi-hardwood cuttings.
- Well-draining potting mix: I personally love a mix of equal parts perlite and a good quality potting soil, or even a specialized succulent/cactus mix. Sand can also be a good addition.
- Small pots or trays: Clean ones are essential to prevent disease.
- Plastic bags or a propagator: To create a humid environment.
- Water: For watering your cuttings.
- Optional: Bottom heat mat: This can significantly speed up rooting.
Propagation Methods: Stem Cuttings
This is generally the most reliable method for Amyema congener.
- Select your stems: Look for healthy, non-flowering stems that are about 4-6 inches long. The stem should be firm but not woody – think of it as slightly bendy, not brittle.
- Make the cut: Using your clean, sharp shears or knife, make a clean cut just below a leaf node. A leaf node is that little bump where a leaf grows from the stem. This is where the magic of root formation often happens.
- Prepare the cutting: Gently remove the lower leaves from the bottom half of the cutting. You want to expose those leaf nodes, as this is where roots will emerge. If the remaining leaves are very large, you can trim them in half to reduce water loss.
- Apply rooting hormone: Dip the cut end of the stem into your rooting hormone. Tap off any excess.
- Plant your cuttings: Make small holes in your prepared, moistened potting mix with a pencil or your finger. Carefully insert the callused end of each cutting into the hole, ensuring the leaf nodes are buried. Gently firm the soil around the base of the cutting.
- Water gently: Water the soil thoroughly but gently to settle the mix around the cuttings. Avoid a heavy downpour that could dislodge them.
- Create humidity: Cover the pots or trays with a plastic bag or the lid of your propagator. Make sure the leaves aren’t touching the plastic if possible, as this can encourage rot. Place the propagator in a bright spot, but out of direct sunlight.
The “Secret Sauce” (Pro Tips)
Here are a couple of things I’ve learned over the years that can make a real difference:
- Don’t overwater: This is probably the biggest killer of cuttings. The soil should be consistently moist, but never soggy. Letting it dry out slightly between waterings can actually encourage roots to seek out moisture.
- Bottom heat is your friend: If you can swing it, placing your propagation tray on a gentle bottom heat mat will significantly speed up the rooting process. It mimics the warmth of the soil in spring and really gives those roots a boost.
- Patience with the leaves: If a leaf starts to yellow or droop, don’t panic immediately. Sometimes this is just the cutting adjusting. However, if the whole stem turns mushy or black, that’s a sign of rot, and it’s best to discard it and try again.
Aftercare & Troubleshooting
Once your cuttings have developed a good root system (you can gently tug on them – if there’s resistance, they’ve likely rooted!), it’s time for a little more care.
- Gradually acclimate: Once you see new growth, you can slowly start to ventilate your propagator by opening the bag or lid a little each day. This helps them get used to normal humidity levels.
- Repotting: When the roots have filled the pot, you can carefully transplant your new Amyema congener into a slightly larger pot with fresh, well-draining soil. Continue to water them sparingly, allowing the soil to dry out a bit between drinks.
- Troubleshooting: The most common issue you’ll face is rot. This is usually caused by too much moisture or poor air circulation. If you see stem rot, it’s often a sign it’s too late, so prevention is key. Yellowing leaves can be a sign of overwatering, underwatering, or insufficient light. Observe your cuttings closely!
So there you have it! Propagating Amyema congener takes a little finesse, but it’s a deeply satisfying endeavor. Don’t be discouraged if your first attempt isn’t a roaring success. Gardening is all about learning and trying again. Enjoy the process, and happy propagating!
Resource: