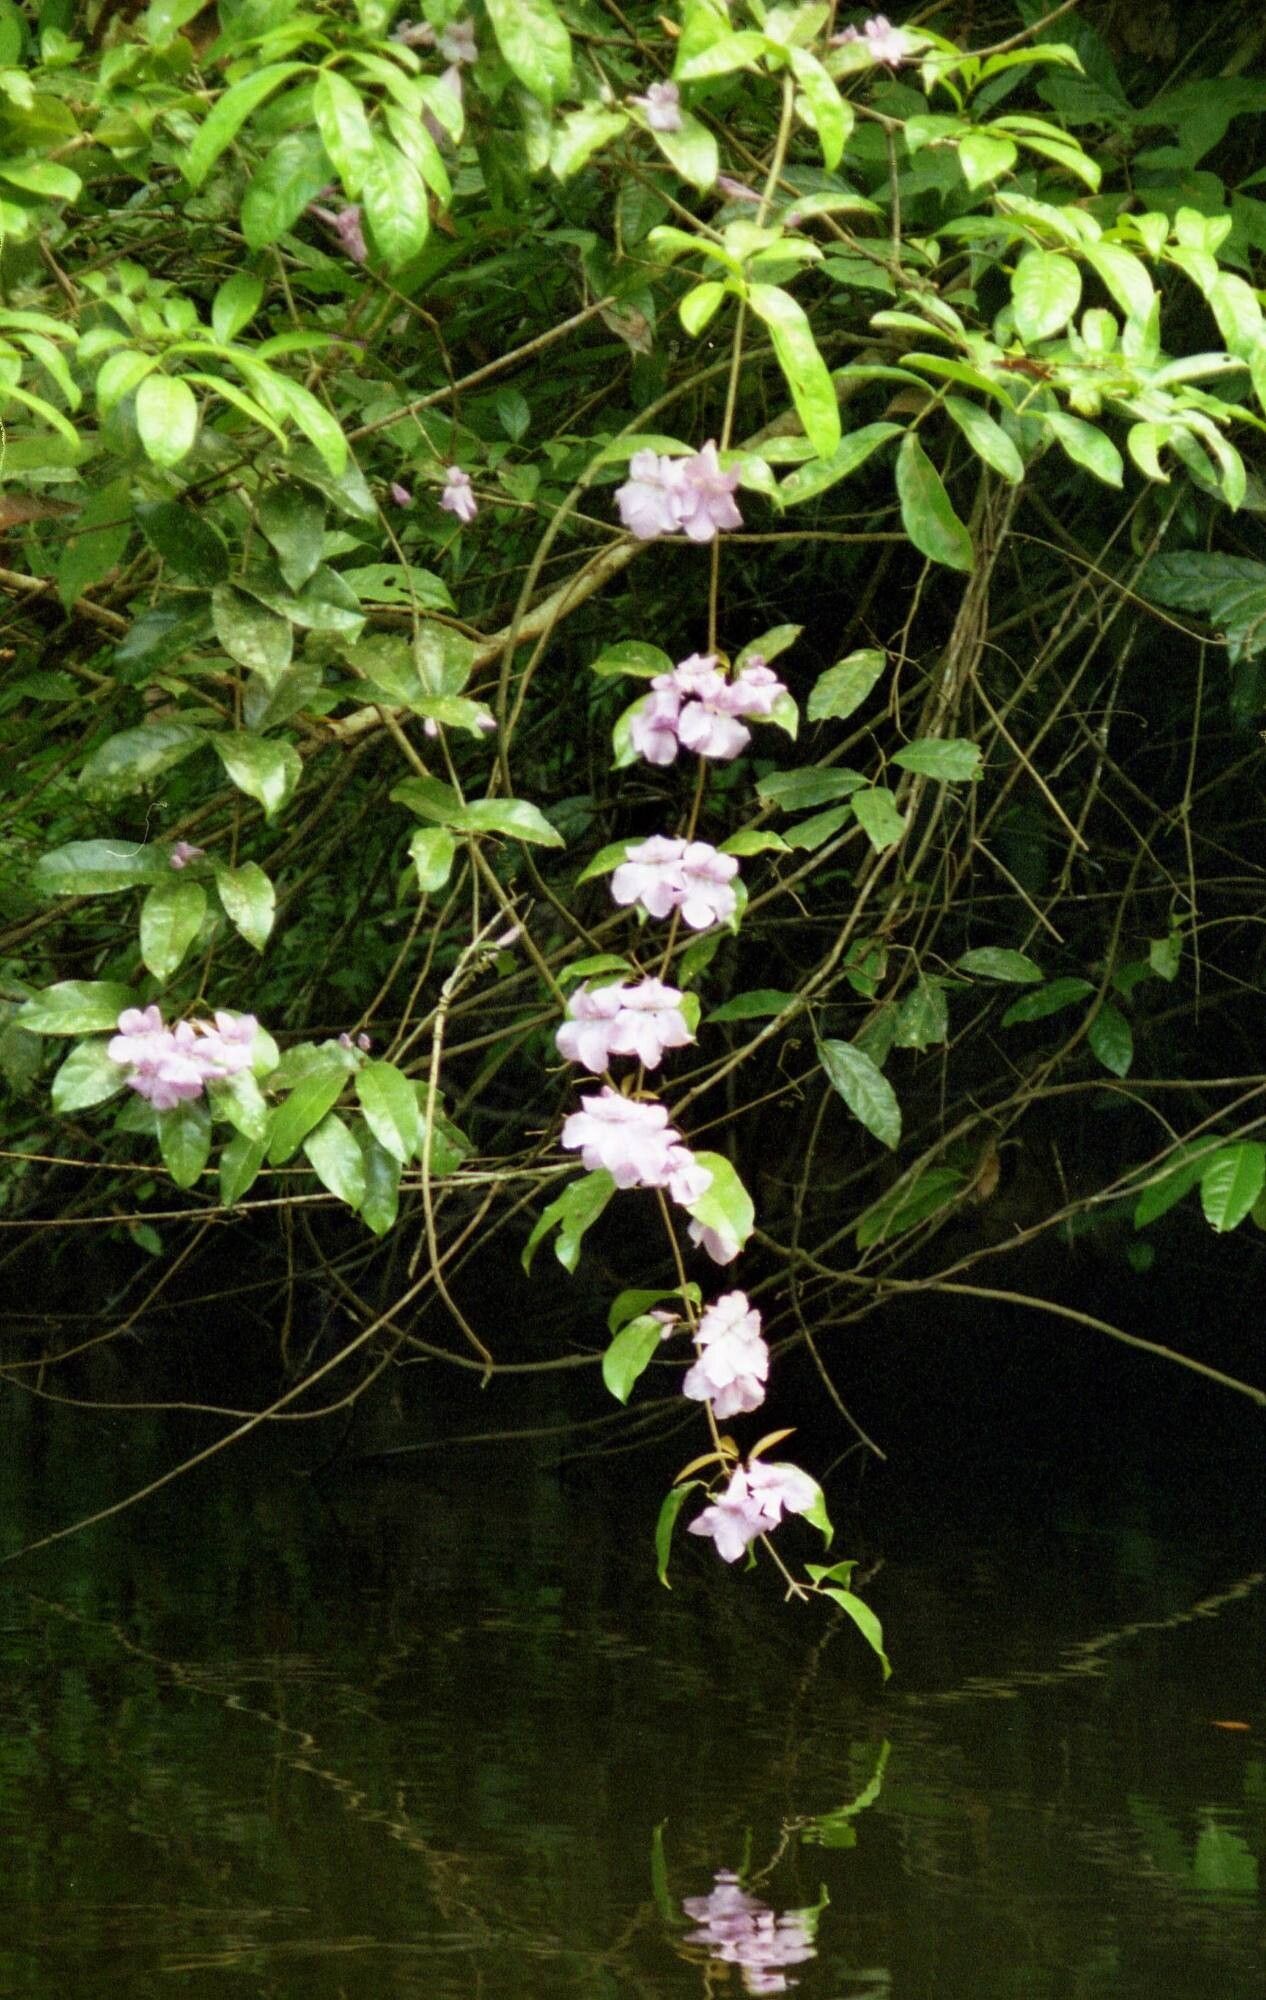
Oh, hello there! Come on in, grab a cuppa. Let’s talk about Bignonia. If you’ve ever seen one of these beauties sprawling over a fence or climbing a pergola, you know exactly why I’m so smitten. That vibrant, trumpet-shaped bloom, often in shades of orange and red, just shouts “sunshine” and “summer joy.” And the fragrance? Pure magic.
Now, you might be wondering if bringing more of this loveliness into your garden is a tricky business. I’m happy to report that for Bignonia, propagation is quite forgiving. Even if you’re just dipping your toes into the wonderful world of plant multiplication, you’ll likely find success here. It’s a wonderfully rewarding venture, watching a tiny cutting transform into a flourishing plant you grew yourself.
The Sweetest Spot: When to Propagate
For Bignonia, the absolute best time to get started is in late spring or early summer. This is when the plant is actively growing, full of energy, and ready to put out new shoots. You’re essentially catching it at its peak, which gives your cuttings the best chance to root and thrive. Wait until the stems are somewhat mature, not just the brand new, floppy green growth, but those that have started to firm up a bit.
Your Propagation Toolkit
Gathering your supplies beforehand makes the whole process so much smoother. Here’s what you’ll want to have on hand:
- Sharp Pruning Shears or a Clean Knife: For precise cuts that don’t crush the stems.
- Rooting Hormone (Optional but Recommended): This isn’t strictly essential for Bignonia, but it can give your cuttings a helpful boost. Look for a powder or gel.
- Well-Draining Potting Mix: A mix of equal parts peat moss or coco coir and perlite or coarse sand works beautifully. You can also buy specialized seedling or cutting mixes.
- Small Pots or Trays: Clean pots, about 4-6 inches in diameter, or even take-out containers with drainage holes poked in them will do.
- Plastic Bags or a Propagator Lid: To create a humid environment for your cuttings.
- Labeling Sticks and a Pen: To keep track of what you’ve planted, especially if you’re propagating different varieties.
Bringing New Bignonias to Life: Stem Cuttings
This is my go-to method for Bignonia, and it’s remarkably effective.
- Selecting Your Cuttings: On a healthy Bignonia plant, find stems that have started to mature and are firm, not soft and floppy. Look for stems that have at least two or three sets of leaves.
- Making the Cut: Using your clean, sharp shears, take stem cuttings that are about 4-6 inches long. Make your cut just below a leaf node (where a leaf attaches to the stem).
- Preparing the Cuttings: Gently remove the lower leaves, leaving just the top one or two sets. If the remaining leaves are very large, you can even cut them in half. This reduces water loss.
- The Rooting Hormone Dip (If Using): Dip the cut end of the stem into rooting hormone, tapping off any excess.
- Planting Them Up: Fill your small pots with the well-draining potting mix. Make a hole in the center with your finger or a pencil. Insert the cutting into the hole, ensuring the leaf nodes are buried.
- Firm the Soil: Gently firm the soil around the cutting to ensure good contact.
- Water Gently: Water the potting mix thoroughly but gently, so you don’t dislodge the cuttings.
- Create Humidity: Cover the pots loosely with a clear plastic bag or a propagator lid. This traps moisture and creates that essential humid microclimate. Place the pots in a bright spot, but out of direct, harsh sunlight.
The Gardener’s Little Secrets
Over the years, I’ve learned a few tricks that really make a difference:
- Bottom Heat is Your Friend: Especially if your house tends to be a bit cooler, placing your pots on a gentle heat mat can significantly speed up root formation. The warmth encourages root development from the soil upwards.
- Don’t Let Leaves Touch Water (If Water Propagating): While I prefer soil for Bignonia, if you ever try water propagation with other plants, a common mistake is letting the foliage sit in the water. This encourages rot. Always ensure only the stem is submerged.
- A Gentle Mist Now and Then: Even with the plastic bag, giving the leaves a light mist of water every few days keeps them hydrated and happy while they’re waiting for roots to appear.
Nurturing Your New Arrival
Once you start to see signs of new growth (tiny leaves unfurling at the top), it’s a good indication that roots are forming! You can gently tug on the cutting; if there’s resistance, roots are present.
Once your cuttings have developed a good root system, it’s time to gradually acclimate them to drier conditions. Remove the plastic bag for increasing periods each day over a week or so. Then, you can transplant them into individual, slightly larger pots, using a good quality potting mix. Keep them well-watered in their new homes and continue to provide bright, indirect light.
What if things go wrong? The most common issue you’ll encounter is rot. This usually happens when the cuttings are kept too wet or don’t have enough air circulation. If you see mushy, black stems, unfortunately, that cutting is likely lost. Don’t get discouraged! Just remove the affected cutting and check your watering and humidity levels for the remaining ones. Sometimes, propagation is a numbers game.
So, there you have it! Your own Bignonia-producing adventure. Be patient with your little green babies. Some might take longer than others, and that’s perfectly okay. The joy of watching them grow is truly one of gardening’s greatest pleasures. Now, go forth and multiply those Bignonias! You’ve got this.
Resource:
https://identify.plantnet.org/k-world-flora/species/Bignonia%20noterophila%20Mart.%20ex%20DC./data