Hello fellow plant lovers! Today, we’re diving into the delightful world of propagating Leontodon incanus, that charming, sunny-faced wildflower. If you’ve ever admired its bright yellow blooms gracing a sunny meadow or a specially designed prairie garden, you know how much joy it can bring. Propagating it yourself is an incredibly rewarding way to multiply that sunshine. Don’t worry if you’re new to this; Leontodon incanus is a fairly forgiving plant to experiment with, making it a wonderful choice for those just starting their propagation journey.
The Best Time to Start
For the most success, think about starting your propagation efforts in the early spring, when the plant is just waking up and putting on new growth. Alternatively, late summer or early fall, after the main flowering flush has passed, can also be a good time. You’re looking for active growth, not when the plant is dormant or stressed.
Supplies You’ll Need
- Sharp pruning shears or a clean knife: For making clean cuts.
- Well-draining potting mix: A blend of peat moss, perlite, and compost works wonders. You can also use a commercially available seed-starting mix.
- Rooting hormone powder (optional but recommended for cuttings): This can give your cuttings a real boost.
- Small pots or seed trays: With drainage holes, of course!
- Watering can or spray bottle: For gentle watering.
- Labels and a marker: To keep track of your projects!
- A warm, bright location: For starting your new plants.
Propagation Methods
Leontodon incanus can be propagated quite effectively through division and seed sowing. While cuttings can work, I’ve found these two methods to be the most straightforward and reliable for this particular plant.
1. Division (The “Chop and Drop” Method)
This is probably the easiest way to multiply your Leontodon incanus.
- Step 1: Prepare your tools. Make sure your pruning shears or knife are clean and sharp.
- Step 2: Gently lift the parent plant. In the spring or fall, carefully dig around the base of a mature Leontodon incanus plant, loosening the soil. Gently lift the whole clump out of the ground.
- Step 3: Separate the crowns. You’ll likely see distinct clumps or rosettes originating from the main root. Gently pull these apart with your hands or use your knife to make clean cuts to separate them. Ensure each piece has some roots attached.
- Step 4: Replant immediately. Pot up each division into its own pot filled with your well-draining potting mix. Water thoroughly.
- Step 5: Provide initial care. Keep the newly divided plants in a slightly shaded, protected spot for a week or two until they show signs of new growth, then gradually introduce them to more sun.
2. Seed Sowing (Capturing That Wild Charm)
If you have access to fresh seed from your own plants or a trusted source, this is how you capture that natural charm.
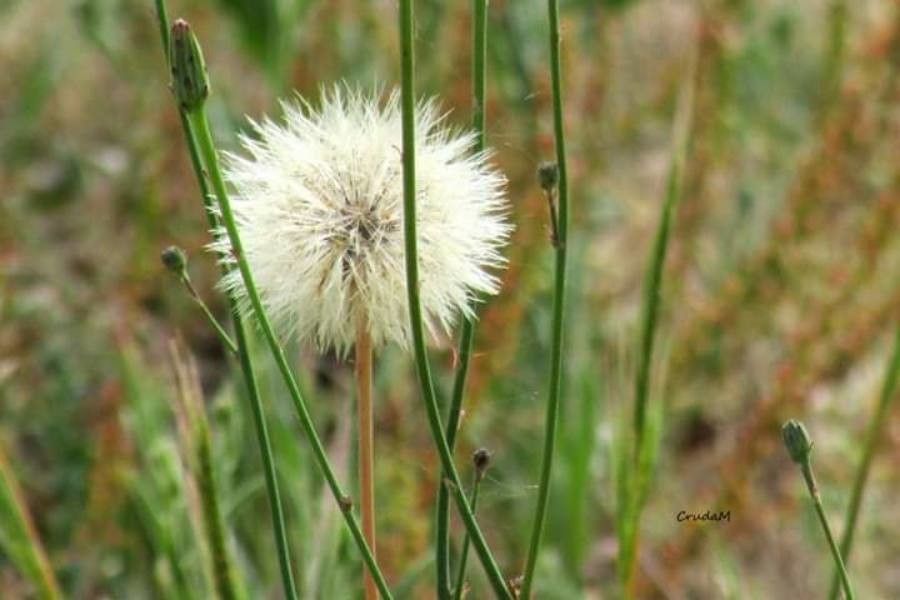
- Step 1: Gather seeds. Collect seed heads as they mature and dry on the plant. The fluffy pappus (the parachute-like part) will indicate they are ready.
- Step 2: Prepare your seed trays. Fill small pots or trays with your well-draining seed-starting mix.
- Step 3: Sow the seeds. Sprinkle the seeds evenly over the surface of the soil. You can sow them fairly densely.
- Step 4: Cover lightly. Dust a very thin layer of soil over the seeds – just enough to cover them.
- Step 5: Water gently. Use a spray bottle or a fine-rose watering can to mist the soil. You want it moist, not waterlogged.
- Step 6: Provide warmth and light. Place the trays in a warm spot (around 65-70°F or 18-21°C) with bright, indirect light.
- Step 7: Patience is key! Germination can take anywhere from a week to a month. Keep the soil consistently moist.
The “Secret Sauce” (Pro Tips)
Here are a few things I’ve learned over the years that have made propagation smoother:
- For division, don’t be afraid of the roots! While you don’t want to decimate them, you also don’t need to be overly precious. Leontodon are pretty resilient when divided, as long as each piece has some good root structure.
- Freshness matters with seed. If you can, sow your Leontodon incanus seeds when they are fresh. Many of these hardy natives benefit from experiencing a period of cold stratification (a natural chilling period), which they’ll get if sown in late fall, or you can mimic it in the fridge. However, for beginners, sowing in spring often works well without this extra step.
Aftercare & Troubleshooting
Once your divisions or seedlings show signs of new growth (meaning they’ve hopefully established roots), it’s time to treat them like young plants.
- Watering: Keep the soil consistently moist but not soggy. It’s better to water thoroughly when the top inch of soil feels dry, rather than giving them frequent sips.
- Light: Gradually introduce them to more direct sunlight. Leontodon incanus thrives in full sun.
- Repotting: Once your young plants have a good root system and have outgrown their starter pots, you can transplant them into larger containers or directly into their permanent garden spot.
What if things go wrong? The most common issue you might encounter is rot, often caused by overwatering or poor drainage. If your plant looks limp and mushy, or if you see mold on the soil surface, it’s a sign that things are too wet. If you catch it early, you can try to gently remove the affected part, allow the roots to dry out a bit, and repot in fresh, dry soil. Don’t be disheartened if a few don’t make it; it happens to all of us!
A Little Bit of Patience Goes a Long Way
Propagating plants is a bit like tending to a tiny garden within your garden. It takes observation, a gentle hand, and a good dose of patience. Celebrate each new bud, each tiny leaf, and enjoy the process of bringing more of these cheerful yellow blooms into your world. Happy propagating!
Resource:
https://identify.plantnet.org/k-world-flora/species/Leontodon%20incanus%20(L.)%20Schrank/data