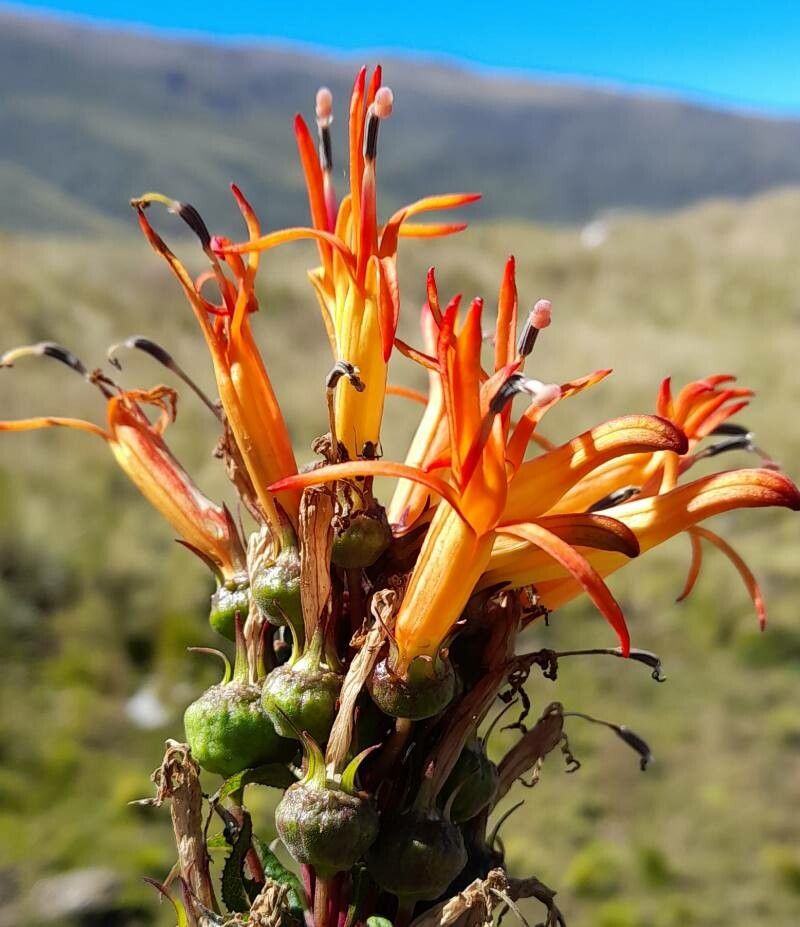
Hello fellow garden lovers! It’s me, your friendly neighborhood plant whisperer, ready to chat about a truly special bloom: Siphocampylus nemoralis. For years, this beauty has graced my garden with its vibrant, tubular flowers, attracting hummingbirds and delighting my eyes. If you’ve ever admired its unique charm, you’re in luck! Propagating your own Siphocampylus nemoralis is a deeply satisfying endeavor. And for those of you just dipping your toes into the wonderful world of plant propagation – don’t worry, this one is quite forgiving once you get the hang of it!
The Best Time to Start
The prime time to get your hands dirty with Siphocampylus nemoralis propagation is in the late spring or early summer. This is when the plant is actively growing, and new shoots are developing. You’ll find a much higher success rate with cuttings taken during this vibrant growth phase.
Supplies You’ll Need
Here’s a little collection of handy items to have by your side:
- Sharp Pruning Shears or a Craft Knife: For clean cuts that heal quickly.
- Rooting Hormone Powder or Gel: This is a secret weapon for encouraging root development.
- Well-Draining Potting Mix: A good blend is usually peat moss, perlite, and a little bit of compost. I often use a mix designed for succulents or cacti.
- Small Pots or Seedling Trays: About 3-4 inches in diameter works nicely. Make sure they have drainage holes!
- Plastic Bags or a Propagator: To create a humid environment for your cuttings.
- A Spray Bottle: For misting your cuttings.
- Labels and a Marker: So you remember what’s what!
Propagation Methods
Let’s get down to the nitty-gritty! The easiest and most effective way to propagate Siphocampylus nemoralis is through stem cuttings.
- Gather Your Cuttings: Select healthy, non-flowering shoots from a mature plant. Look for stems that are about 4-6 inches long. Make a clean cut just below a leaf node (the point where a leaf attaches to the stem). This is where roots are most likely to form.
- Prepare the Cuttings: Gently remove the lower leaves from your cuttings, leaving just the top two or three. This prevents them from rotting in the soil. If your leaves are quite large, you can even cut them in half to reduce water loss.
- Apply Rooting Hormone: Dip the cut end of each stem into your rooting hormone powder or gel. Tap off any excess.
- Plant Your Cuttings: Fill your small pots with your well-draining potting mix. Make a small hole with your finger or a pencil, then gently insert the treated cutting. Firm the soil gently around the base of the stem.
- Create a Humid Environment: Water the soil lightly. Then, lightly mist the cuttings themselves. Cover the pots with a clear plastic bag and secure it with a rubber band, or place them in a propagator. This traps humidity, which is crucial for root development.
The “Secret Sauce” (Pro Tips)
Here are a few little tricks I’ve learned over the years that can really boost your success:
- Bottom Heat is Your Friend: If you have a seedling heat mat, placing your pots on it will significantly speed up root formation. It mimics the warmth of spring soil and gives those roots a real kickstart.
- Don’t Over-Water: It’s tempting to keep your cuttings super moist, but too much water is a fast track to rot. The humid environment created by the plastic bag should be enough. Only water if the soil feels dry to the touch.
- Air Them Out: Every couple of days, lift the plastic bag or open the propagator for a few minutes. This allows for air circulation and helps prevent fungal diseases.
Aftercare & Troubleshooting
Once your cuttings have been potted, place them in a bright spot that gets indirect sunlight. Avoid direct, scorching sun, which can dry them out too quickly. Be patient! It can take anywhere from 4 to 8 weeks for new roots to form. You’ll know they’re ready when you feel a gentle resistance when you tug them ever so slightly, or when you see new leaf growth.
The most common issue you might encounter is rot. If you notice your cuttings turning mushy or black at the base, it’s usually a sign of too much moisture or insufficient airflow. Sadly, rotten cuttings are usually a lost cause. If this happens, pull them out, discard them, and start again, paying closer attention to your watering and ventilation.
Closing Thoughts
Propagating Siphocampylus nemoralis is a journey, not a race. Enjoy the process of nurturing these tiny new plants. Each success is a little victory, and even the failures teach us something valuable. So grab your tools, pick a sunny spot, and happy propagating! I can’t wait to hear about your blooming successes.
Resource:
https://identify.plantnet.org/k-world-flora/species/Siphocampylus%20nemoralis%20Griseb./data