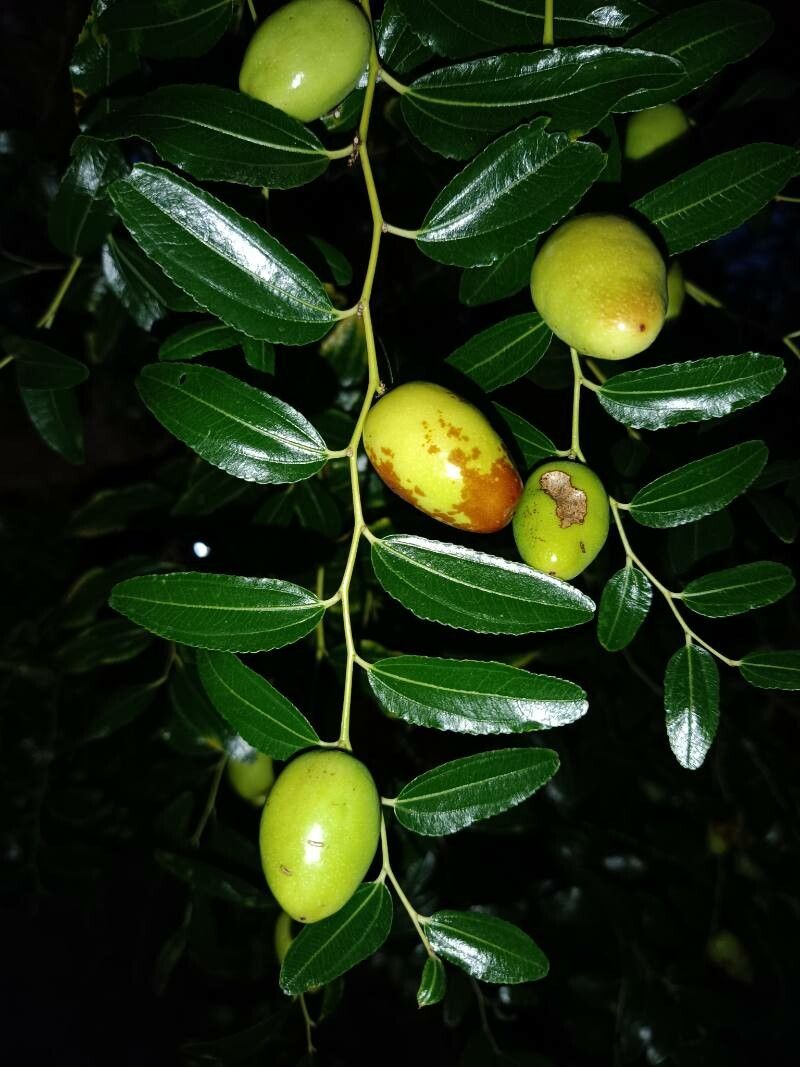
Oh, hello there! Grab your mug, let’s chat about a plant that, to me, holds a special kind of magic: the Ziziphus lotus, or as some fondly call it, the Jujube. If you’ve ever seen its pretty, silvery-green leaves or heard about its potential for delicious fruit (yes, it’s related to the date!), you’ll understand why wanting more of them is completely natural. It’s wonderfully rewarding to watch a tiny snippet of plant life flourish into a whole new specimen. Now, for beginners eyeing this gem, I’d say it’s moderately straightforward. It’s not quite as foolproof as a pothos, but with a little care and attention, you’ll do just fine!
When Spring Whispers Hints of Warmth
My absolute favorite time to get Ziziphus lotus going is in late spring or early summer. Think of it like this: the plant is waking up from its winter slumber and is bursting with vigorous growth. This is when it has the most energy to put into developing new roots, giving you the best chance of success. Look for new shoots that have just hardened off a bit – they shouldn’t be floppy and green, but they also shouldn’t be old and woody.
Your Propagator’s Toolkit
Here’s what I like to have on hand before I start:
- Sharp Pruning Shears or a Craft Knife: Cleanliness is key to preventing disease.
- Rooting Hormone: This is like a little boost for your cuttings. I usually opt for a powder, but gel works too.
- Well-Draining Potting Mix: I often use a 50/50 mix of perlite and peat moss or coco coir. You want it to be light and airy.
- Small Pots or Seedling Trays: Clean ones, of course!
- Plastic Bags or a Propagator Lid: This creates a humid microclimate.
- Watering Can or Spray Bottle: For gentle watering.
- Labels and a Marker: So you don’t forget what’s what!
Bringing New Life: Stem Cuttings
This is my go-to method for Ziziphus lotus. It’s efficient and usually gives great results.
- Select Your Cuttings: Head out to your Ziziphus lotus plant when it’s putting on that lovely new growth. Choose healthy, non-flowering stems that are about 4-6 inches long. Make a clean cut just below a leaf node (where a leaf attaches to the stem).
- Prepare the Cuttings: Gently remove the lower leaves from your cuttings, leaving just a couple at the very top. This prevents them from rotting in the soil or water. If the remaining leaves are quite large, I’ll even snip them in half to reduce water loss.
- Apply the Magic Dust (or Gel): Dip the cut end of each stem into your rooting hormone, tapping off any excess.
- Plant Them Up: Fill your small pots with the well-draining potting mix. Make a hole in the center with a pencil or your finger and carefully insert the cutting, ensuring the rooting hormone-coated part is in the soil. Gently firm the soil around the stem.
- Create a Humid Haven: Water the soil gently. Then, I like to place a clear plastic bag over the pot, supported by stakes so it doesn’t touch the leaves, or pop on a propagator lid. This traps humidity, which is crucial for cuttings to root.
My “Secret Sauce” for Success
- Bottom Heat is Your Friend: If you can, place your pots on a seedling heat mat. This warmth from below encourages root development much faster than just ambient room temperature. It truly makes a difference!
- Don’t Drown Them: When you water, water thoroughly but allow the soil to dry out slightly between waterings. Overwatering is the quickest way to invite rot, and no one wants that. Stick your finger in the soil; if it feels damp, hold off.
- Patience, Young Grasshopper: Ziziphus lotus can be a bit of a slow starter when it comes to rooting. Don’t be discouraged if you don’t see progress for several weeks. Really, it can take six to eight weeks, sometimes even longer. Keep that humidity up and resist the urge to tug on them!
Nurturing Your New Sprouts & Nibbling Problems
Once you start to see new leaf growth appearing on your cuttings, that’s a fantastic sign that roots have formed! At this point, you can gradually introduce them to more normal air by opening the bag or lid a little more each day over the course of a week. Once they’re fully acclimated, you can treat them like any other young seedling.
The most common issue you’ll encounter is rot. If your cutting turns black and mushy, it’s usually a sign of too much moisture and insufficient air circulation. Unfortunately, once rot sets in, it’s very difficult to save the cutting. This is why getting the watering right and ensuring good drainage are so vital. If you see mold on the soil surface, it’s also a signal that things are a bit too damp.
So there you have it! Propagating Ziziphus lotus is a journey, and like all good gardening projects, it requires a bit of patience and a lot of love. Don’t be afraid to get your hands dirty, experiment a little, and most importantly, enjoy the process of creating new life. Happy propagating!
Resource:
https://identify.plantnet.org/k-world-flora/species/Ziziphus%20lotus%20(L.)%20Lam./data