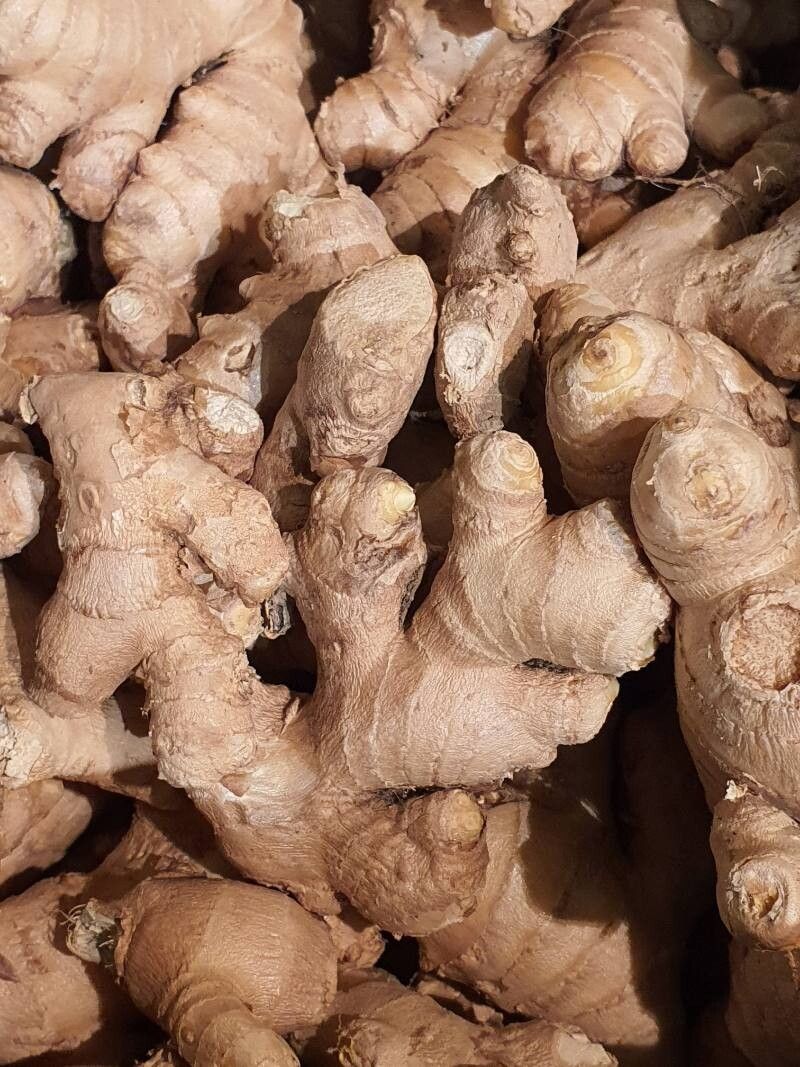
Hello fellow plant lovers! Today, I want to talk about a kitchen staple that also happens to be a wonderfully rewarding plant to grow: Ginger, or Zingiber officinale. Growing your own ginger is like unlocking a little bit of magic. Imagine snipping fresh ginger from your own pot, knowing you nurtured it from a humble start. It’s more accessible than you might think, and even for beginners, it’s a journey worth taking.
The Best Time to Start
The absolute sweet spot for propagating ginger is during late winter or early spring. This is when new growth is just starting to emerge, and the rhizomes (that’s the underground stem we use for propagation) are bursting with energy. You’ll have the best luck if you can get your hands on healthy-looking rhizomes that are plump and have visible “eyes” or buds.
Supplies You’ll Need
Here’s what I recommend having on hand before you get started:
- Healthy Ginger Rhizomes: Look for pieces with at least 2-3 eyes.
- Sharp Pruning Shears or a Clean Knife: For dividing the rhizomes.
- Well-Draining Potting Mix: A mix designed for houseplants or a blend of potting soil with perlite and compost works beautifully.
- Pots or Containers: With drainage holes, of course!
- Optional: Rooting Hormone: While not strictly necessary, it can give your ginger a little boost.
- Optional: Small Pebbles or Perlite: To help with drainage.
Propagation Methods
Ginger is primarily propagated through division of its rhizomes. It’s a straightforward process, and I find it incredibly satisfying to break apart a chunk and see the potential for new plants.
- Prepare Your Rhizomes: Take your purchased (or home-grown!) ginger rhizome. Examine it carefully for those little swollen buds, called “eyes.” These are where new shoots will emerge.
- Divide the Rhizomes: Using your sharp pruning shears or a clean knife, carefully cut the rhizome into smaller sections. Each section should have at least one or two healthy eyes. Don’t worry if the cuts look a bit raw; they’ll heal.
- Let Them Callus (Optional but Recommended): For a day or two, let the cut ends of the rhizome pieces air dry in a warm, dry spot. This helps them callus over, which reduces the risk of rot once planted.
- Planting: Fill your pots with your well-draining potting mix. Make a shallow hole, about 2-4 inches deep. Place your ginger piece eye-side up in the hole. Cover gently with soil. You can plant multiple pieces per pot, as long as they have a bit of space.
- Water Lightly: Give the soil a gentle watering. You want it to be moist, not soggy.
The “Secret Sauce” (Pro Tips)
I’ve learned a few tricks over the years that can really make a difference:
- Warmth is Key: Ginger loves warmth! If your home tends to be on the cooler side, especially in late winter, consider placing your pots on a heating mat designed for seedlings or propagation. This bottom heat mimics its tropical origins and encourages root development.
- Don’t Overwater (Especially at First!): This is probably the most common culprit for failure. Until you see new shoots emerging, err on the side of drier soil. Overwatering at this stage can easily lead to rot, as the rhizome has no roots to soak up the excess moisture.
- Patience with the “Eyes”: Sometimes, those little eyes can be deceiving. They might look dormant, but with the right conditions, they’ll sprout. I’ve had ginger take several weeks to show much outward activity, so don’t give up too soon!
Aftercare & Troubleshooting
Once you start seeing those cheerful green shoots emerge from the soil, you’re on your way!
- Continue Consistent Watering: Keep the soil consistently moist but not waterlogged. Water when the top inch of soil feels dry to the touch.
- Provide Bright, Indirect Light: Ginger prefers bright light, but direct, harsh sunlight can scorch new leaves. A sunny windowsill that gets morning sun is often ideal.
- Fertilizing (Later On): Once your plant is established and growing vigorously, you can start feeding it with a balanced liquid fertilizer every 4-6 weeks during the growing season.
- Signs of Trouble: The most common issue is rot. If your rhizome section looks mushy, dark, or smells foul, it’s likely rotted. This is often due to overwatering or poor drainage. Yellowing leaves on a young plant can sometimes indicate overwatering or a lack of light.
So, there you have it! Growing your own ginger is a delightful endeavor. Be patient with the process, enjoy the small victories, and before you know it, you’ll have your very own spicy harvest. Happy gardening!
Resource:
https://identify.plantnet.org/k-world-flora/species/Zingiber%20officinale%20Roscoe/data