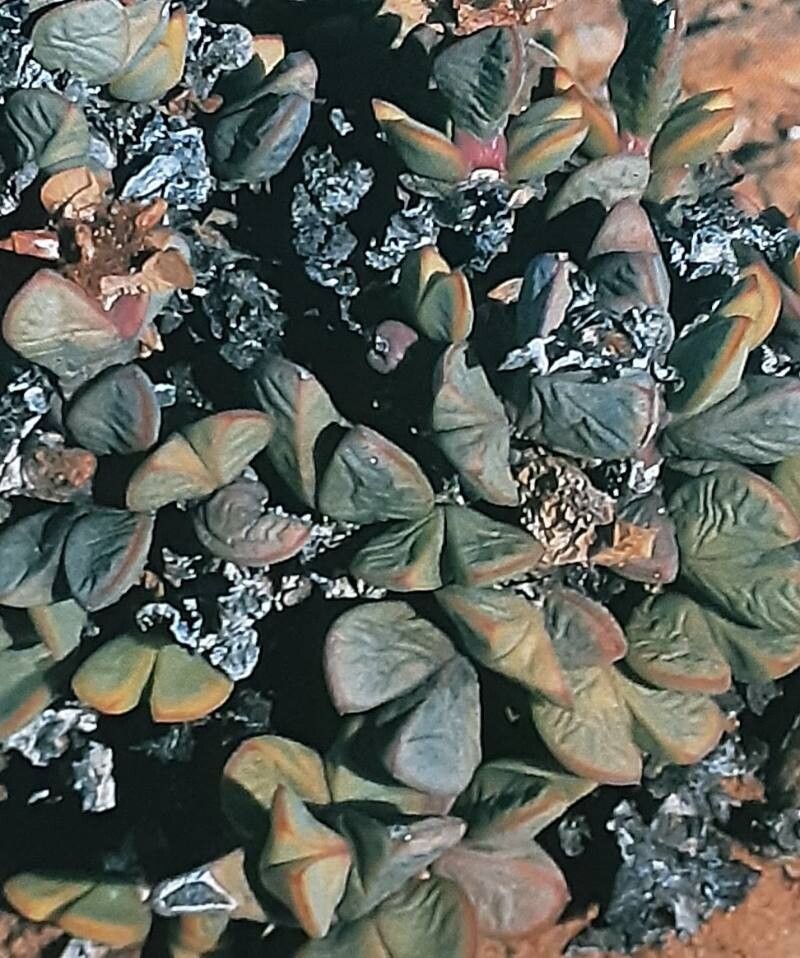
Oh, hello there, fellow plant lover! I’m so excited to dive into today’s topic with you. We’re going to get our hands dirty (in the best way!) and talk about propagating Zeuktophyllum calycinum.
If you’ve ever admired this beauty, you know its charm is undeniable. Those chubby, grey-green leaves really do have a way of catching the eye, don’t they? And honestly, there’s nothing quite like the satisfaction of watching a tiny piece of your favorite plant unfurl into a whole new life. It’s a little bit of magic, right in your own home. Now, I won’t lie, some succulents can be a bit of a diva when it comes to propagation, but Zeuktophyllum calycinum? Well, let’s just say it’s surprisingly forgiving. Even if you’re new to the propagation game, you’ve got a great chance of success here.
The Best Time to Start
For the absolute best results, I find spring is your golden ticket. This is when the plant is really starting to wake up from its winter slumber and has some healthy, vigorous growth to offer. You want to catch it during its active growing season – that’s when it’s most inclined to put out those lovely roots. Think of it like planting seeds when the soil is just right; everything just flows more easily. Trying to take cuttings in the dead of winter, when growth is slow, is just asking for disappointment.
Supplies You’ll Need
Gathering your tools beforehand makes the whole process so much smoother. You don’t need anything too fancy, just the essentials:
- Sharp, clean pruning shears or a knife: Essential for making clean cuts that heal well.
- Drying tray or paper towels: For letting your cuttings callus over.
- Well-draining potting mix: A succulent or cactus mix is perfect. You can also make your own by mixing equal parts potting soil, perlite, and coarse sand. Drainage is key!
- Small pots or containers: Clean, with drainage holes, of course.
- Rooting hormone (optional but helpful): Especially if your cuttings seem a bit reluctant.
- Watering can or spray bottle: For gentle watering.
- A bright spot with indirect sunlight: Where your new babies can happily grow.
Propagation Methods
Zeuktophyllum calycinum is pretty happy with a couple of common propagation methods. I typically go for stem cuttings, as it’s often the most straightforward.
Stem Cuttings
- Select a healthy stem: Look for a stem that’s firm and has plump leaves. You want a piece that’s at least 2-3 inches long.
- Make a clean cut: Using your sharp pruning shears or knife, cut the stem just above a leaf node. A clean cut helps prevent disease.
- Remove lower leaves: Gently pull off the bottom few leaves. This exposes the little nodes where roots will emerge.
- Let it callus: This is a crucial step! Lay your cuttings on a clean tray or paper towels in a dry, well-ventilated spot for a few days to a week. You want the cut end to dry out and form a protective callus. This prevents rot when you plant it.
- Plant your cuttings: Once callused, you can plant them. I like to dip the callused end in rooting hormone if I’m using it, but it’s not strictly necessary for this plant. Gently insert the cut end into your well-draining potting mix, just deep enough to be stable. You can plant several cuttings in one pot, giving them a little space.
- Water sparingly: Resist the urge to water deeply right away. Water very lightly, or just mist the soil surface. You want the soil to be barely moist. Overwatering at this stage is the fastest way to lose your cutting.
The “Secret Sauce” (Pro Tips)
Over the years, I’ve picked up a few little tricks that seem to give my propagations a helpful nudge.
- Don’t let the leaves touch the water (if you decide to water propagate): While I generally prefer planting directly into soil, some people like to try water propagation. If you do, make sure only the cut stem touches the water, not the leaves. Any submerged leaves will rot and can take your cutting down with them.
- Bottom warmth is your friend: If you have a propagation mat, placing your pots on gentle bottom heat can significantly speed up root development. It mimics the warmth of spring soil and encourages those roots to push out eagerly.
- Be patient with watering: This is a big one for succulents. When I say “water sparingly,” I really mean it. Wait until the soil is bone dry before watering again. It’s far better to underwater than to overwater a new cutting.
Aftercare & Troubleshooting
Once you start seeing signs of roots – perhaps the cutting feels a bit more anchored or you might even see tiny new leaves appearing – you can begin to water a little more freely, but always let the soil dry out between waterings. Gradually introduce it to brighter, but still indirect, light.
The most common problem you’ll encounter is rot. If your cutting turns mushy and black at the base, it’s likely gotten too much moisture. Unfortunately, if it’s rotted, it’s usually a goner. Another sign of trouble is a cutting that just won’t root and starts to shrivel. This could mean it’s too dry, or it simply didn’t have enough energy to begin with. Don’t be discouraged if a few don’t make it; it’s part of the learning process!
And there you have it! Propagating Zeuktophyllum calycinum is a wonderfully rewarding way to expand your collection, and with a little care and patience, you’ll be surrounded by these gorgeous plants in no time. Happy propagating!
Resource: