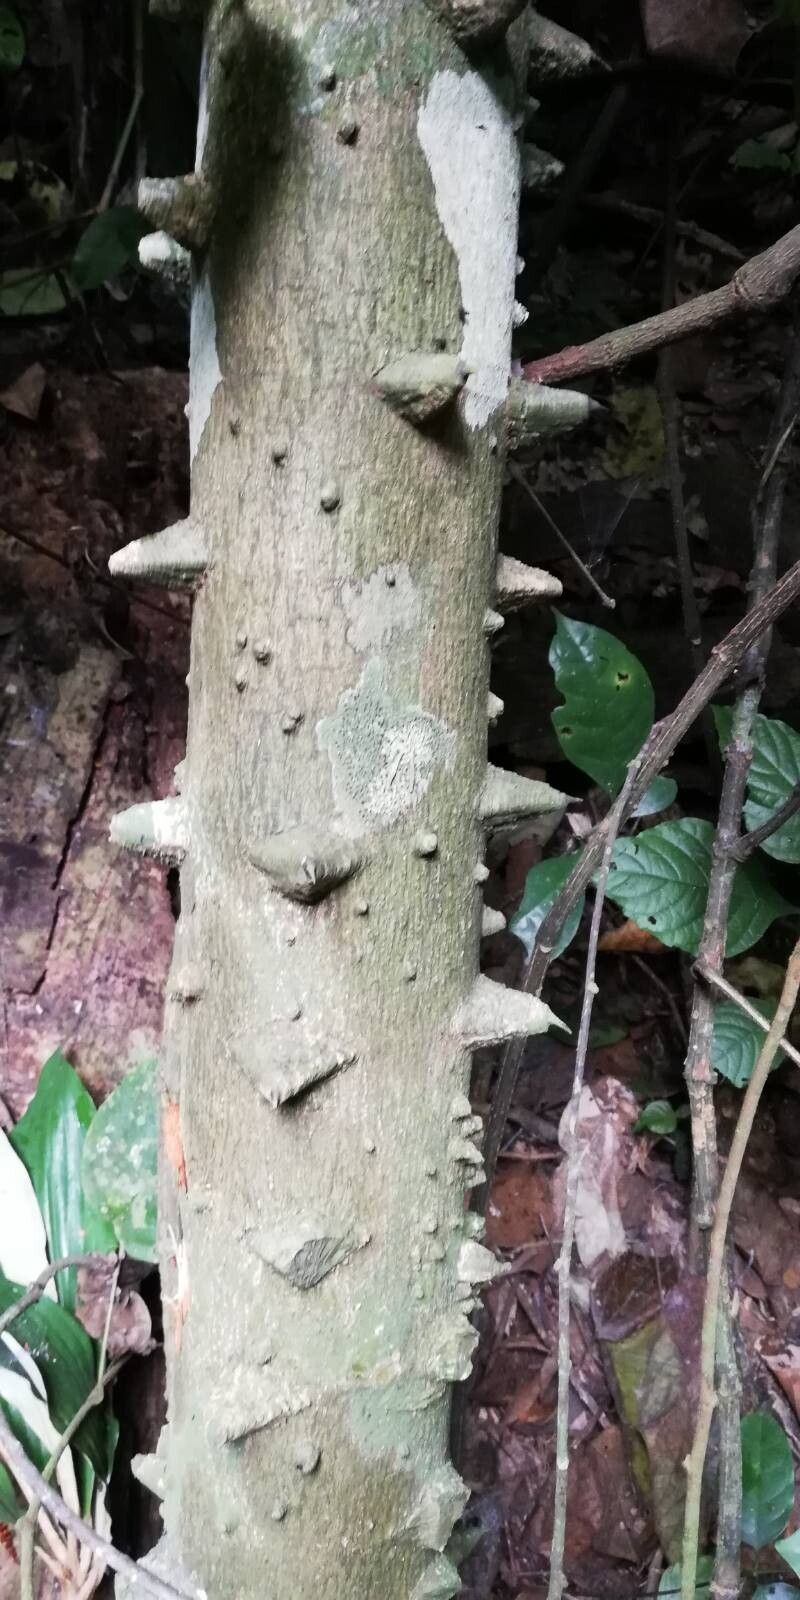
Hey there, fellow garden enthusiasts! Today, we’re diving into the wonderful world of propagating a plant I absolutely adore: Zanthoxylum heitzii. If you’ve ever admired its glossy foliage, its fragrant leaves, or the promise of those intriguing seed pods, you’re in for a treat. Getting more of these beauties from a plant you already own is incredibly rewarding. Think of it as multiplying your garden’s joy! For those just starting their propagation journey, I’d say Zanthoxylum heitzii leans a little toward the “moderately easy” side. It’s not quite as forgiving as a pothos, but it’s definitely achievable with a bit of care and attention.
The Best Time to Start
My go-to time for propagating Zanthoxylum heitzii is late spring to early summer. This is when the plant is actively growing, meaning it has plenty of energy to put into developing new roots. You want to catch it when the stems are semi-hardwood – not brand new and floppy, but not woody and old either. Think of a pencil in terms of thickness. You can gently snap a stem; if it bends and then breaks, it’s usually perfect.
Supplies You’ll Need
Before we get our hands dirty, let’s gather our tools:
- Sharp pruning shears or a clean knife
- Rooting hormone (optional, but I find it really boosts success)
- A well-draining potting mix. I like a blend of equal parts perlite, coco coir, and a good quality potting soil.
- Small pots or trays for your cuttings, with drainage holes
- A plastic bag or a propagation dome
- A spray bottle for misting
- Water! Of course.
Propagation Methods
While Zanthoxylum heitzii can be propagated by seed, I much prefer the speed and reliability of stem cuttings. It’s my most successful method.
Stem Cuttings: My Favorite Route
- Select Your Cuttings: Find a healthy, established plant and identify those semi-hardwood stems I mentioned earlier. Look for stems with at least two leaf nodes. A node is where a leaf meets the stem. This is where roots will emerge.
- Take Your Cuttings: Using your clean shears or knife, take cuttings that are about 4-6 inches long. Make your cut just below a leaf node.
- Prepare the Cuttings: Gently remove the lower leaves, leaving just a couple at the very top. This prevents them from rotting in the soil. If the top leaves are very large, you can even snip them in half to reduce moisture loss.
- Apply Rooting Hormone (Optional but Recommended): Dip the cut end of the stem into your rooting hormone powder or gel. Tap off any excess.
- Plant the Cuttings: Fill your small pots with your prepared, moistened potting mix. Make a hole with your finger or a pencil and gently insert the cutting, ensuring the node where you removed the leaves is below the soil surface. Firm the soil gently around the base.
- Create a Humid Environment: This is crucial! Water the soil thoroughly until it drains from the bottom. Then, cover the pot with a clear plastic bag, or place it in a propagation dome. If using a bag, you can use stakes to ensure the plastic doesn’t touch the leaves.
- Provide Light and Warmth: Place your pots in a bright location with indirect light. Avoid direct sun, which can scorch the delicate cuttings. A bit of bottom heat from a heat mat can significantly speed up root development, but it’s not strictly necessary if your indoor temperatures are consistently warm.
The “Secret Sauce” (Pro Tips)
Here are a couple of things I’ve learned over the years that make a real difference:
- Don’t Let the Leaves Touch the Water/Soil (If Using Water Propagation): While I primarily use soil for Zanthoxylum heitzii, if you dabble in water propagation for other plants, remember this rule. Submerged leaves become a breeding ground for rot. Always keep them above the water line.
- Bottom Heat is Your Friend: Seriously, a propagation mat set to around 70-75°F (21-24°C) is a game-changer for many woody cuttings, including Zanthoxylum heitzii. It encourages root formation from below, mimicking ideal soil conditions.
- Sterilize Everything: Before you start, give your pruning shears, knife, and pots a good wash with soap and water, and consider an extra wipe-down with rubbing alcohol. This helps prevent disease from jumping from an old plant to your new baby cuttings.
Aftercare & Troubleshooting
Once your cuttings are planted, the patience game begins! Mist them regularly – just enough to keep the leaves feeling slightly moist, but not soggy. You’ll want to open the bag or dome for a few minutes each day to allow for air circulation and prevent fungal issues.
You’ll know your cuttings are rooting when you see new leaf growth at the top or feel a gentle tug when you carefully wiggle the stem. This can take anywhere from 4 to 8 weeks, sometimes longer.
What if things go wrong? The most common issue is rot. If your cutting turns black and mushy, it’s likely succumbed to rot. This usually happens because of too much moisture, poor drainage, or lack of air circulation. If you see signs of rot, it’s best to discard the affected cutting to prevent it from spreading. If the cutting looks dry and shriveled, it might not be getting enough moisture, or it’s just not rooting. Don’t give up on the others!
A Bit More Patience, A Lot More Plants!
Propagating plants takes a little practice and a lot of observation. Don’t get discouraged if your first few attempts aren’t perfect. Each cutting is a learning opportunity. Celebrate the small victories, like seeing that first tiny root emerge. Before you know it, you’ll be surrounded by new Zanthoxylum heitzii plants, ready to share with friends or fill every sunny corner of your garden. Happy propagating!
Resource: