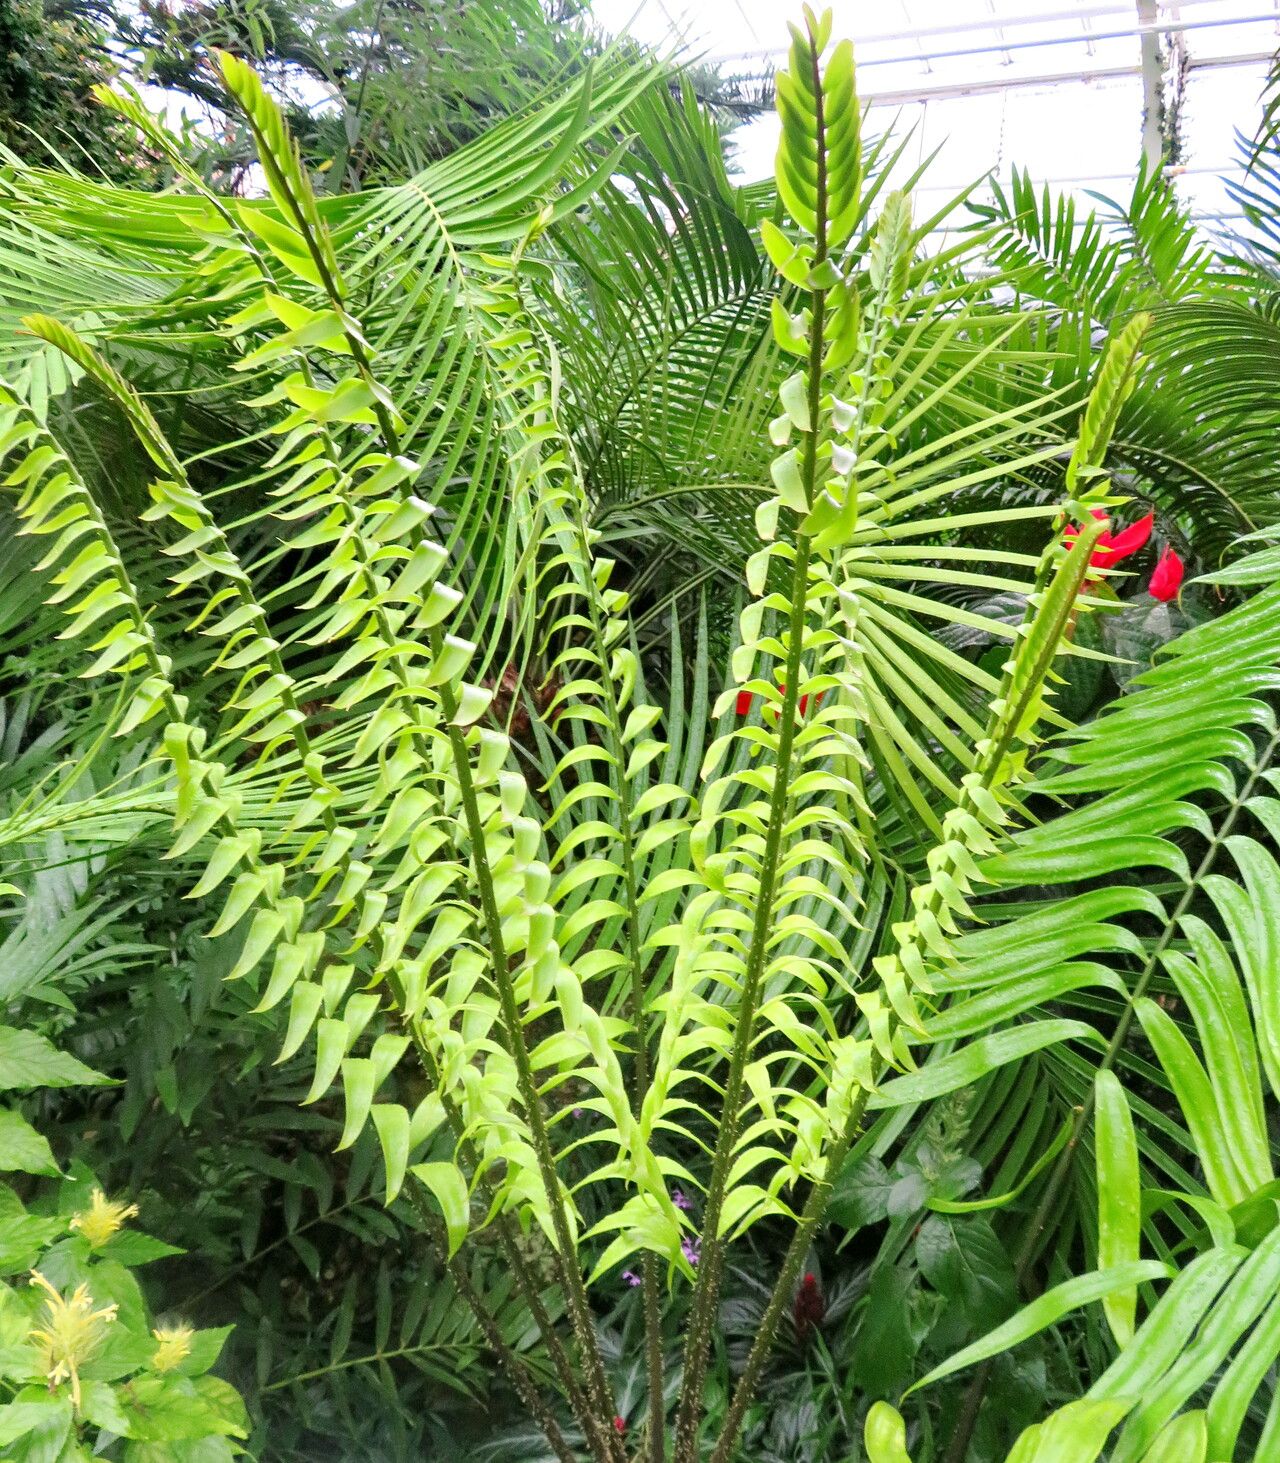
Oh, Zamia fairchildiana! What a magnificent cycad. Those deeply serrated, almost fern-like fronds are a true statement piece in any garden or indoor collection. They bring such a tropical, primeval feel, don’t they? And the thought of creating more of these beauties from your own specimens? Absolutely thrilling!
Now, about propagating Zamia fairchildiana. Let me be honest upfront – it’s not always the easiest plant to get started for absolute beginners, but with a little patience and the right approach, it’s totally achievable. The reward of seeing a tiny new plant emerge is worth every bit of effort.
The Best Time to Start
For Zamia, timing is key. You’ll have the most success propagating these beauties when they are in an active growth phase. This typically means late spring through summer. Look for your mature plant to be putting out new flushes of leaves. That’s your signal that energy is high and it’s ready to share!
Supplies You’ll Need
Gathering your tools beforehand makes the whole process much smoother. Here’s what I always have on hand:
- Sharp, clean pruning shears or a sterile knife: Essential for making clean cuts.
- Rooting hormone (optional but recommended): A powder or gel to give your cuttings a bit of a boost.
- Well-draining potting mix: I prefer a blend of coarse sand, perlite, and a good quality potting soil. Think cactus and succulent mix, but maybe a little more aeration.
- Small pots or trays: Clean, with drainage holes, of course.
- Labels and a permanent marker: Don’t underestimate the power of labeling, especially if you’re trying a few things at once!
- A watering can with a fine rose or a spray bottle: Gentle watering is crucial for new propagations.
- A propagation mat (optional but highly beneficial): This provides consistent bottom heat.
Propagation Methods
Zamia fairchildiana primarily reproduces through what’s called offsets or pups. These are essentially baby plants that grow from the base of the mature plant. It’s the most reliable and common method for this species.
Here’s how I do it:
- Locate the Offsets: Gently clear away some of the soil at the base of your mature Zamia. You’re looking for smaller plantlets that have emerged from the main trunk. They’ll often have their own tiny crown and possibly a few small leaves.
- Prepare Your Tools: Make sure your pruning shears or knife are spotlessly clean. This is non-negotiable to prevent introducing any diseases.
- Gently Detach: Carefully cut or pry the offset away from the parent plant. Aim to get it with as much of its own root system attached as possible. Sometimes they detach quite easily; other times, you might need to work at it a bit.
- Allow to Callus: This is a crucial step, especially for cycads. Take the detached offset and place it in a warm, dry, and well-ventilated spot for a few days to a week. The cut end needs to dry out and form a callus. This prevents rot when you plant it.
- Potting Up: Once callused, plant the offset in your prepared well-draining potting mix. I usually plant them just deep enough so the base is covered and they stand upright. Don’t pack the soil too tightly around it.
- Initial Watering: Water very lightly. The goal isn’t to soak it, but just to moisten the soil.
The “Secret Sauce” (Pro Tips)
Here are a few things I’ve learned over the years that make a real difference:
- Be Patient with the Callus: Seriously, don’t rush this. A good callus is your best defense against rot, and Zamias are prone to it if their cutting is too wet.
- Bottom Heat is Your Friend: If you have a propagation mat, use it! Consistent, gentle bottom heat encourages root development like nothing else. It mimics the warmth they’d get naturally during their growing season.
- Avoid Overwatering Like the Plague: This is the number one killer of new propagations. Wait until the soil has dried out considerably before watering again. Err on the side of underwatering for the first few weeks.
Aftercare & Troubleshooting
Once your offset is planted and has callused, the real waiting game begins. You won’t see much activity above ground for a while, possibly weeks or even months. This is normal!
Continue to water sparingly. Mist the leaves occasionally if the air is very dry, but ensure the soil doesn’t stay wet. Place the pot in a bright, indirect light location. Direct sun can scorch delicate new plants.
Signs of failure usually point to rot. If the offset turns mushy, black, or develops a foul smell, it’s likely rotted. This is usually due to too much moisture. If you see this, unfortunately, it’s time to discard it.
However, if you start to see new leaf growth emerge from the crown, congratulations! You’ve got yourself a brand new Zamia fairchildiana! This is your indicator that roots are forming and the plant is establishing itself. Once it’s showing steady growth and the soil dries out a bit more quickly between waterings, you can gradually introduce it to slightly more light and begin watering a little more regularly.
A Encouraging Closing
Growing new plants is such a rewarding journey, and propagating Zamia fairchildiana is no different. It takes a bit of observation, some careful handling, and a whole lot of patience. Don’t be discouraged if your first attempt isn’t a perfect success. Learn from it, adjust your method, and try again. The satisfaction of nurturing a new life from an existing one is truly special. Happy propagating!
Resource:
https://identify.plantnet.org/k-world-flora/species/Zamia%20fairchildiana%20L.D.Gómez/data