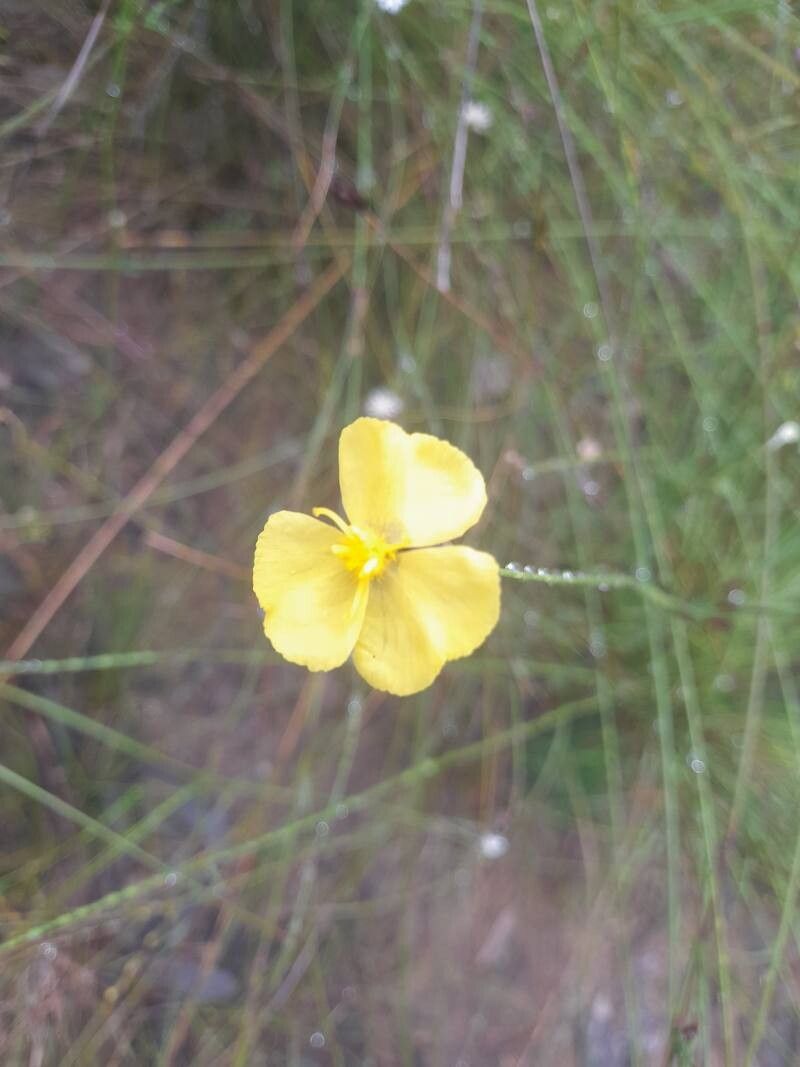
Well hello there, fellow plant lovers! It’s so good to be chatting with you from my little corner of the garden. Today, we’re diving into the wonderful world of Xyris gracilis, also known as Slender Yellow-eyed Grass. If you’ve ever had the pleasure of seeing its delicate, star-like yellow flowers sprinkled amongst greenery, you know exactly why it’s so special. It has this lovely, understated elegance that can really bring a unique texture to your garden beds or containers. And the best part? Learning to propagate it yourself is incredibly rewarding, though I’d say it leans towards being a bit of a project for those who have a little bit of gardening under their belt. Nothing a bit of patience and these tips won’t solve, though!
The Best Time to Start
For Xyris gracilis, the sweet spot for propagation is really during its active growing season. Think late spring through early summer. This is when the plant has plenty of energy to put into developing new roots and shoots. Trying to propagate when it’s dormant, like in the dead of winter, is just asking for disappointment, believe me. You want to catch it when it’s feeling good and ready to burst with new life.
Supplies You’ll Need
Getting your supplies ready beforehand makes the whole process so much smoother. Here’s what I usually have on hand:
- Sharp, clean pruning shears or a sharp knife: For making precise cuts.
- Well-draining potting mix: A blend of peat moss, perlite, and coarse sand works wonderfully. You can also find specialized succulent or cactus mixes that are a good starting point.
- Small pots or trays: With drainage holes, of course!
- Rooting hormone (optional but recommended): A powder or gel can give your cuttings a helpful boost.
- Watering can or spray bottle: For gentle watering.
- Labels and a permanent marker: To keep track of what you’ve potted.
- A warm, bright location: For your new propagations.
Propagation Methods
Now, let’s get our hands dirty! Xyris gracilis is generally best propagated through division. It forms small clumps, which makes this method quite straightforward.
- Locate your mature plant: Choose a healthy, well-established clump that you’re willing to divide.
- Gently dig it up: Carefully lift the entire plant from its pot or the ground. Try to disturb the root ball as little as possible initially.
- Examine the root ball: You’ll see distinct sections or crowns forming within the clump.
- Separate the divisions: This is where your clean pruning shears or knife come in handy. Gently pull apart or cut the root ball into smaller sections. Each division should have at least one good crown (where leaves emerge from) and a healthy portion of roots.
- Trim any damaged roots: Snip off any roots that look mushy, broken, or unhealthy.
- Pot up your divisions: Plant each division into its own small pot filled with your well-draining potting mix. Make sure the crown is just at or slightly above the soil surface.
- Water gently: Water thoroughly but gently after potting to settle the soil around the roots.
The “Secret Sauce” (Pro Tips)
Here are a few little tricks I’ve picked up over the years that can truly make a difference:
- Don’t overwater new divisions: This is probably the biggest killer of new propagations. The goal is to keep the soil consistently moist, not soggy. Soggy soil is an invitation for rot, and Xyris gracilis, with its delicate root system, is quite susceptible.
- Provide a humid environment: New divisions need a little extra TLC to encourage root formation. You can achieve this by placing the potted divisions inside a clear plastic bag or a propagation dome. Just make sure to vent it daily to prevent excessive moisture buildup and potential mold.
- Patience is key with root formation: It can take several weeks, sometimes even a couple of months, for divisions to establish a strong new root system. Resist the urge to tug on them to check for roots – this can damage delicate new growth.
Aftercare & Troubleshooting
Once your Xyris gracilis divisions are happily potted, the real waiting game begins.
- Placement: Keep them in a place that receives bright, indirect light. Direct sun can scorch tender new growth.
- Watering: Continue to water sparingly but consistently. Let the top inch of soil dry out slightly before watering again.
- Signs of success: You’ll start to see new leaf growth emerging from the crown. This is your signal that roots are forming and the plant is settling in.
- Troubleshooting – Rot: If you notice the leaves turning yellow and mushy, or the base of the plant looking dark and soft, it’s a strong indicator of rot due to overwatering. If you catch it early, you might be able to save the division by removing it from the pot, trimming away the rotted parts with clean shears, and repotting it into fresh, dry potting mix. Let it sit dry for a few days before watering very lightly.
- Troubleshooting – Drying Out: Conversely, if the leaves start to wilt and crisp up, it’s likely too dry. Give it a gentle watering.
A Little Encouragement
Look, gardening is a journey, and sometimes we have a few bumps along the way. Propagating plants like Xyris gracilis is a beautiful way to connect with nature and multiply the things you love. Don’t get discouraged if your first attempt isn’t perfect. Each season is a new learning opportunity. Just keep trying, keep observing, and most importantly, enjoy the process of nurturing new life. Happy gardening!
Resource:
https://identify.plantnet.org/k-world-flora/species/Xyris%20gracilis%20R.Br./data