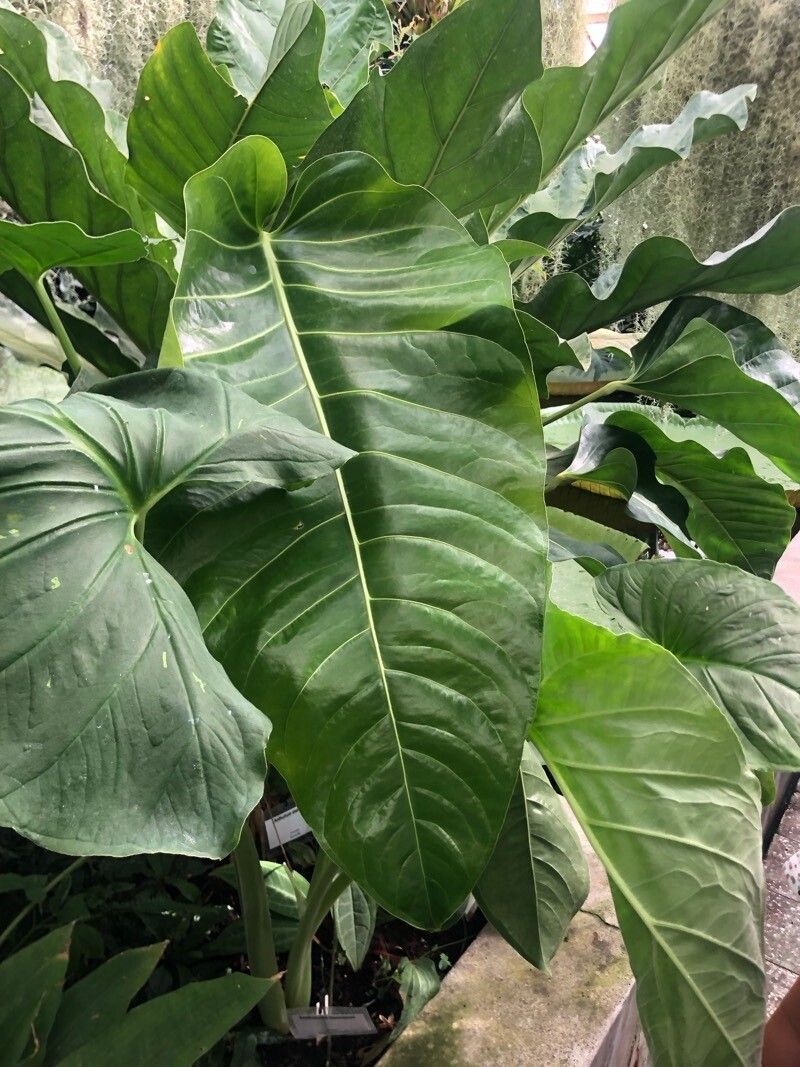
Oh, the joy of coaxing new life from an existing plant! It’s like magic, isn’t it? And today, we’re diving into the wonderful world of Xanthosoma mexicanum, also known as the ‘Giant Taro’ or ‘Ollie’. This plant is a stunner with its massive, heart-shaped leaves and tropical vibe. If you’ve ever admired a mature specimen and thought, “I wish I had one of those!”, good news – propagating them is wonderfully rewarding, and thankfully, not overly challenging for beginners. You can certainly grow your own lush jungle!
The Best Time to Start
For Xanthosoma, spring and early summer are your golden ticket. This is when the plant is actively growing, full of energy, and most receptive to being divided or having cuttings taken. You want to tap into that robust growth spurt for the best chance of success. Waiting until the plant has really settled in and is showing good, healthy new growth is key.
Supplies You’ll Need
Gathering your tools beforehand makes the whole process smoother. Here’s what I always have on hand:
- Sharp, clean pruning shears or a sharp knife: Crucial for clean cuts that heal well.
- Potting mix: A well-draining mix is essential. I like a blend of good quality peat-based potting soil mixed with perlite and a bit of orchid bark.
- Small pots or seed trays: For your new propagates. Make sure they have drainage holes!
- Rooting hormone (optional but helpful): Especially for stem cuttings, this can give them a little boost.
- Water: For watering and, well, water propagation.
- Clear plastic bag or propagation dome: To create a humid environment.
- Labels and a marker: To keep track of what you’ve planted and when.
Propagation Methods
Xanthosoma mexicanum is a generous plant, and there are a couple of super reliable ways to get more from your existing one.
1. Division: The easiest way for beginners
This is the most straightforward method and usually gives you the quickest results. Mature Xanthosoma plants often produce offsets or pups around the base of the main plant.
- Gently unpot your Xanthosoma. You might need to loosen the soil around the edges first.
- Inspect the root ball. Look for smaller plants emerging from the base of the parent. You’re looking for a section that has its own roots and at least one healthy leaf or bud.
- Carefully separate the offset from the parent plant. If the roots are intertwined, you can use your clean knife or hand to gently pull them apart. Avoid forcing it if it feels too stuck – a clean cut is better than tearing.
- Pot the new offset into its own pot with your well-draining potting mix.
- Water gently to settle the soil.
2. Stem Cuttings: For the more adventurous
While less common for Xanthosoma than division, you can sometimes propagate from stem cuttings, especially if your plant has gotten a bit leggy or you want to experiment.
- Select a healthy stem that has at least one or two nodes (the small bumps where leaves emerge).
- Using your clean shears, cut a section of the stem, about 4-6 inches long, making sure to include at least one node. Remove any lower leaves to prevent them from rotting in the soil.
- You can dip the cut end into rooting hormone, if you’re using it. This encourages root development.
- Plant the cutting in your prepared, well-draining potting mix. Make sure the node is buried.
- Water thoroughly and place the pot in a warm spot with bright, indirect light.
The “Secret Sauce” (Pro Tips)
Here are a few little tidbits I’ve picked up over the years that can make a big difference:
- Don’t be afraid of imperfection. Sometimes a slightly damaged leaf on an offset is perfectly fine! The plant has plenty of energy to push out new growth.
- Consider bottom heat. If you’re doing stem cuttings, especially in cooler months, placing the pot on a seedling heat mat can significantly speed up root formation. It mimics the warmth of the soil in their natural habitat.
- Patience is a virtue. Especially with division, sometimes it takes a couple of weeks for those pups to really show they’re happy in their new home. Give them time to settle in.
Aftercare & Troubleshooting
Once your new Xanthosoma babies are potted, it’s time to nurture them.
- Humidity is their friend. When you just pot up divisions or plant cuttings, cover them with a clear plastic bag or a propagation dome. This traps moisture and creates a humid microclimate that really helps them establish without drying out. Make sure the leaves aren’t touching the plastic if possible.
- Watering: Keep the soil consistently moist but not soggy. Overwatering is the quickest way to invite root rot, which is the most common sign of failure. If you see yellowing leaves that aren’t explained by other factors, or if the base of the stem looks mushy, that’s a red flag for rot.
- Light: Place them in a spot with bright, indirect light. Too much direct sun can scorch delicate new growth.
- When to remove the cover: Once you see new leaf growth emerging from your propagate – a sure sign they’ve rooted and are happy – you can gradually start to remove the plastic bag or dome for a few hours a day. Eventually, they won’t need it at all.
A Encouraging Closing
Watching a new plant unfurl its first leaf is one of gardening’s purest joys. Don’t get discouraged if not every attempt is a roaring success right away. Learn from your experiences, adjust your approach, and most importantly, enjoy the process of coaxing more green beauty into your life. Happy propagating!
Resource:
https://identify.plantnet.org/k-world-flora/species/Xanthosoma%20mexicanum%20Liebm./data