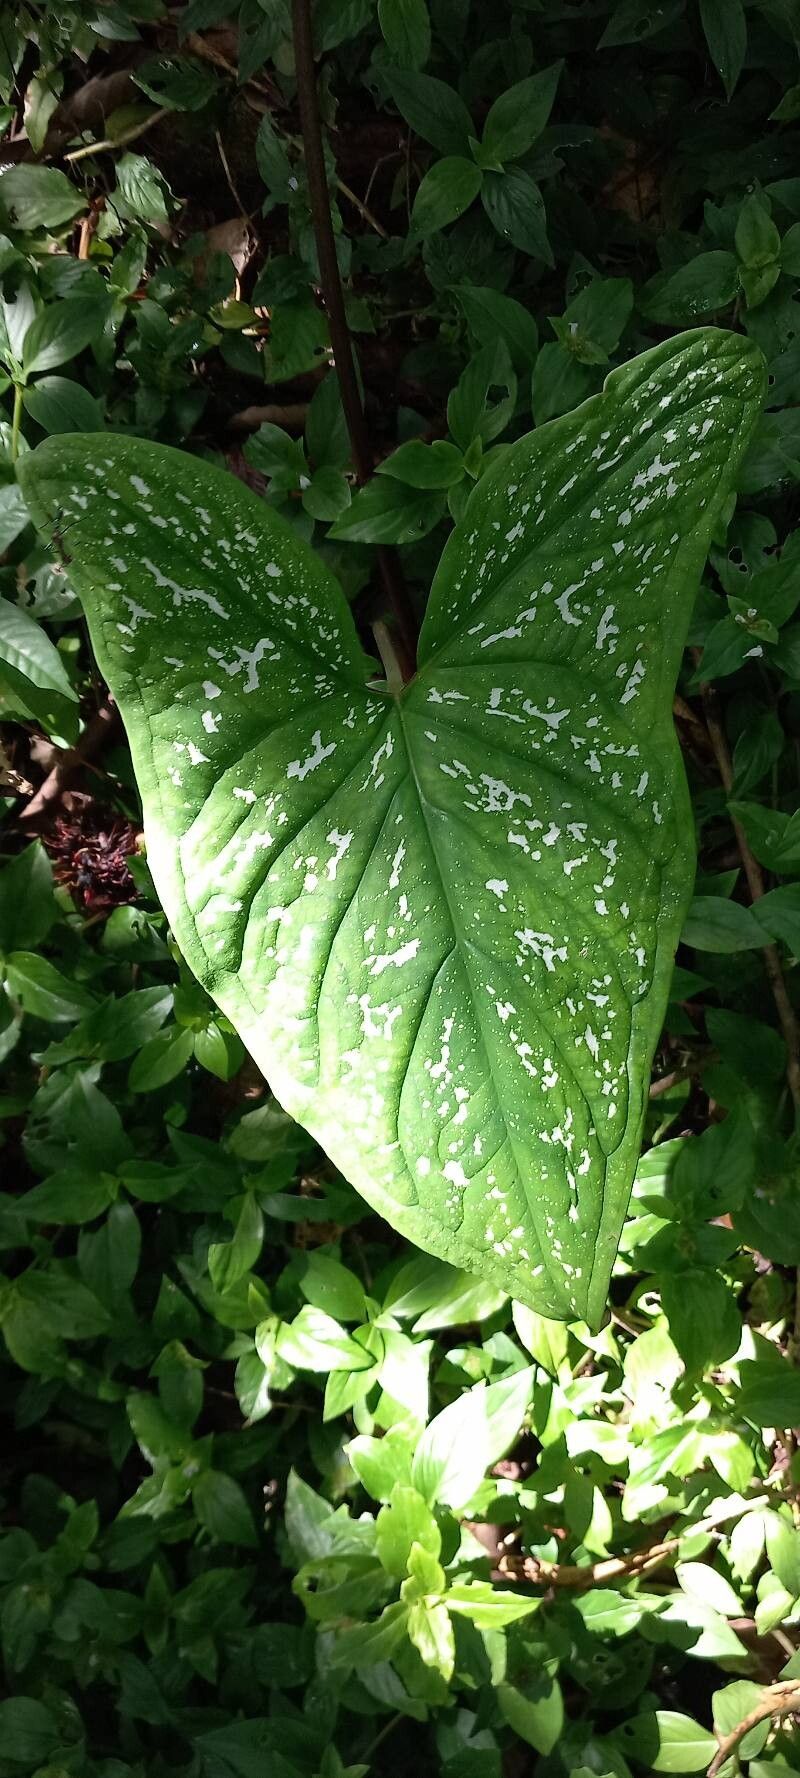
Hello, fellow plant lovers! I’m so thrilled to be sharing a little bit about one of my absolute favorites: Xanthosoma conspurcatum. The leaves on these beauties are just stunning – a vibrant green canvas splashed with incredible white markings. They bring such a tropical flair to any space, and honestly, coaxing a new plant into existence from a piece of an old one is one of the most rewarding feelings for a gardener. If you’re new to the plant world, don’t shy away from this one. I find Xanthosoma surprisingly forgiving, making it a fantastic choice for beginners eager to expand their collection.
The Best Time to Start
For the highest success rates with Xanthosoma conspurcatum, spring and early summer are your golden windows. This is when the plant is actively growing, brimming with energy, and more receptive to being divided or having cuttings taken. You’ll want to wait until your plant has produced at least a few healthy, established leaves before you start thinking about propagation. Trying to propagate from a plant that’s just settling in or is stressed is like asking a tired napper to run a marathon – it’s just not going to go well.
Supplies You’ll Need
Gathering your tools beforehand makes the whole process so much smoother. Here’s what I always have on hand:
- Sharp, clean pruning shears or a knife: For making clean cuts. Sterilizing is key to preventing disease.
- A well-draining potting mix: I like a blend of peat moss, perlite, and a bit of compost. You can also find specific aroid mixes.
- Small pots or trays: For your new propagations.
- Rooting hormone (optional but recommended): Especially helpful for cuttings.
- A spray bottle: For misting.
- Clear plastic bags or propagation domes: To create a humid environment.
- Gloves (optional): Some people find the sap a bit irritating.
Propagation Methods
Xanthosoma conspurcatum is primarily propagated through division, which is my go-to method. It’s essentially like splitting a happy family – you’re just gently separating the members and giving them their own space to thrive.
Division:
- Gently remove the mother plant from its pot. You might need to coax it out if it’s really snug.
- Inspect the root ball. You’re looking for natural breaks where new shoots or offshoots are emerging from the main rhizome.
- Using your clean shears or knife, carefully separate the sections. Each division should have at least one healthy shoot and a good portion of the root system. Don’t be afraid to get a little messy here; the plant is robust.
- Allow the cut surfaces to callus over for a few hours. This helps prevent rot. You can also dust them lightly with cinnamon, which has natural antifungal properties.
- Pot up each division into its own small container filled with your prepared potting mix. Ensure the rhizome is just covered.
- Water gently to settle the soil.
- Place the pots in a warm, bright location with indirect light.
The “Secret Sauce” (Pro Tips)
Here are a couple of things I’ve learned over the years that can really give your propagations a boost:
- Don’t overcrowd the pot when dividing. Even though they look like they’re all connected, giving each new division enough space from the get-go prevents them from competing for resources and reduces the risk of root rot. Think of it as giving each baby a comfortable bed.
- Bottom heat works wonders! If you have a seedling heat mat, placing your pots on it can significantly speed up root development. It simulates that warm, tropical soil environment that Xanthosoma absolutely adores. Just make sure the heat isn’t too intense, especially if you’re using a new mat.
Aftercare & Troubleshooting
Once your divisions are potted up, keep the soil consistently moist but not soggy. Mist the leaves daily, especially if you’re not using a humidity dome. You’re looking for new growth to emerge – a tiny unfurling leaf is a sure sign your new plant is happy.
The most common issue you might face is rot. If you notice mushy stems or leaves turning yellow and wilting without any apparent cause (like lack of water), it’s likely rot. This usually stems from overwatering or poor drainage. If you catch it early, you can try to cut away the affected parts, let the healthy bit callus, and repot in fresh, dry soil. Prevention is truly the best medicine here – err on the side of slightly drier rather than waterlogged.
Happy Propagating!
Witnessing a new life emerge from your own hands is such a special experience. Be patient with your Xanthosoma conspurcatum propagations. Sometimes they take their sweet time, but when they finally put out that first new leaf, it’s a little victory we can all celebrate. Enjoy the journey and the beautiful new plants you’ll create!
Resource:
https://identify.plantnet.org/k-world-flora/species/Xanthosoma%20conspurcatum%20Schott/data