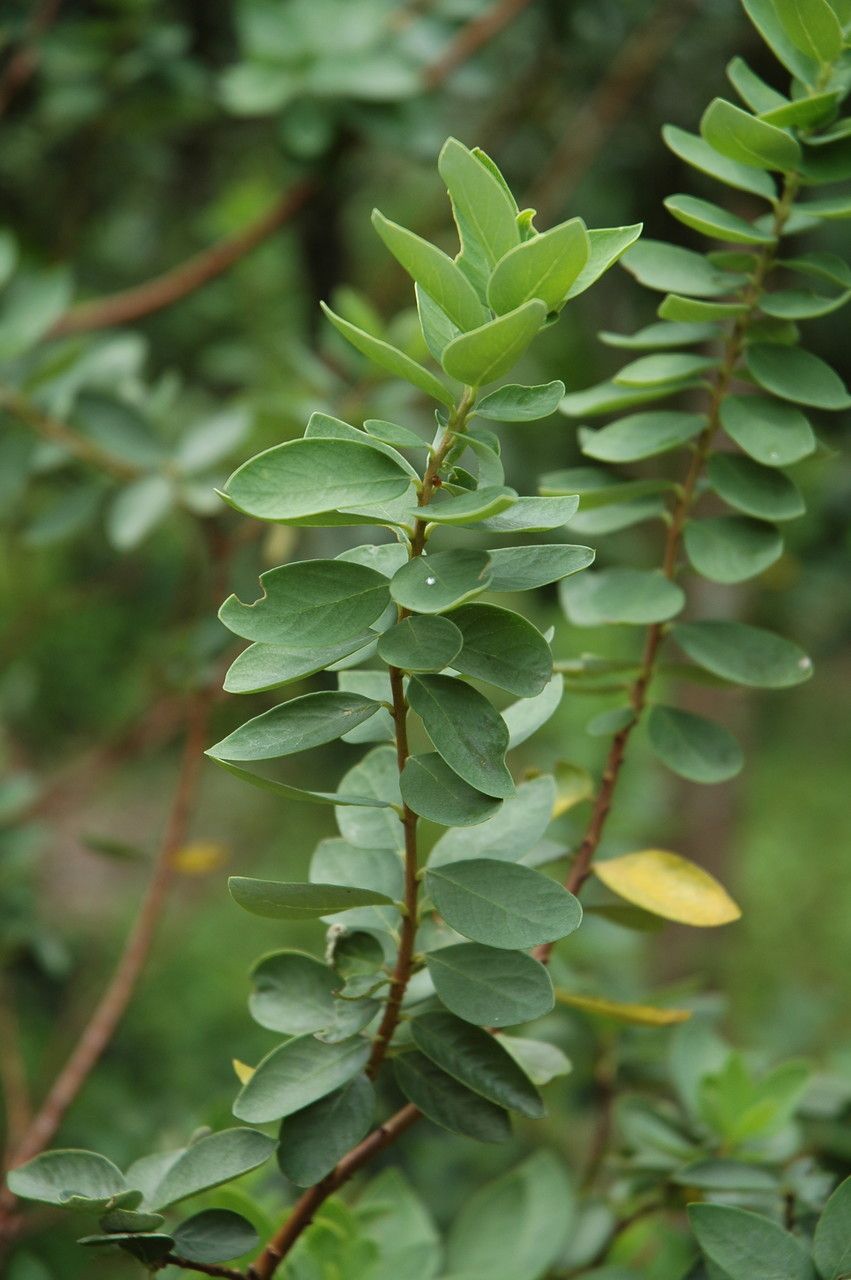
Oh, Wikstroemia phillyreifolia! What a gem. You know, I’ve always been drawn to its delicate, often fragrant blooms and its tidy, shrubby form. It’s the kind of plant that adds a touch of understated elegance to any garden. And the best part? Bringing new life into the world from your existing beauties is incredibly satisfying. It’s not the absolute easiest plant for a complete beginner, but with a little care and the right approach, you’ll find it’s quite achievable. Think of it as a rewarding challenge you’ll be so proud of.
The Best Time to Start
When it comes to getting new Wikstroemia babies started, I’ve found late spring into early summer is your golden window. This is when the plant is in active growth after its spring flush. You want to take cuttings from stems that are semi-hardwood. That means they’re not brand new, flimsy growth, but also not completely woody and mature. They should have a bit of flexibility to them.
Supplies You’ll Need
Gathering your tools beforehand makes the whole process so much smoother. Here’s what I always have on hand:
- Clean, sharp pruning shears or a knife: Crucial for making clean cuts that heal well.
- Rooting hormone (powder or gel): This is a real game-changer for encouraging root development.
- A well-draining potting mix: I like a blend of perlite, vermiculite, and a good quality peat-free compost. Think light and airy!
- Small pots or propagation trays: Clean ones, of course!
- Plastic bags or a propagation dome: To create a humid environment.
- Watering can with a fine rose or misting bottle: For gentle watering.
- Labels and a marker: So you don’t forget what you planted where!
Propagation Methods
I find that stem cuttings are the most reliable way to go with Wikstroemia phillyreifolia.
- Take Your Cuttings: On your chosen plant, select a semi-hardwood stem that’s about 4-6 inches long. Make your cut just below a leaf node (where a leaf attaches to the stem). This is where the magic happens, where roots are more likely to form.
- Prepare the Cuttings: Gently remove the leaves from the lower half of the cutting. You want just a couple of leaves left at the very top to help with photosynthesis. If the remaining leaves are very large, you can even cut them in half horizontally to reduce water loss through transpiration.
- Dip in Rooting Hormone: Dip the cut end of the stem into your rooting hormone, tapping off any excess. This step really gives your cuttings a boost.
- Pot Them Up: Make a small hole in your rooting medium with a pencil or your finger. Insert the treated end of the cutting into the hole and gently firm the soil around it. Make sure those leaf nodes you removed are under the soil line.
- Create a Humid Environment: Water the potting mix gently until it’s evenly moist, but not waterlogged. Then, cover the pots with a clear plastic bag or place them in a propagation dome. You want to create a mini-greenhouse effect to keep the humidity high.
The “Secret Sauce” (Pro Tips)
Here are a few things I’ve learned over the years that really make a difference:
- Never let the leaves touch the water: Whether you’re doing stem cuttings or even if you decide to try water propagation for some reason, ensure the leaves are kept above the water or soil. Submerged leaves will rot, and that’s a fast track to losing your cutting.
- Bottom heat is a friend: If you have a heat mat, now’s the time to use it! A little warmth from below really encourages root initiation. I’ve found it significantly speeds up the rooting process and increases success rates, especially if your ambient temperature isn’t super warm.
Aftercare & Troubleshooting
Once your cuttings are potted, place them in a bright spot out of direct sunlight. Misting them occasionally and ensuring the soil stays consistently moist (but not soggy) is key. You’ll know they’re rooting when you see new leaf growth or feel a slight resistance when you gently tug on the cutting. This usually takes anywhere from 4-8 weeks, sometimes longer.
The most common issue you’ll encounter is rot, which usually happens due to overwatering or poor drainage. Your cutting will turn black and mushy. If you see this, sadly, it’s best to discard it to prevent it from spreading. Another sign of failure is if the cutting simply turns brown and dries out. This can happen if the humidity isn’t high enough or the cutting didn’t take properly.
A Encouraging Closing
Don’t be discouraged if not every single cutting takes. Gardening is all about learning and experimenting! Be patient with your new little Wikstroemia babies, give them a little love, and you’ll soon be rewarded with beautiful new plants to share or add to your collection. Happy propagating!
Resource:
https://identify.plantnet.org/k-world-flora/species/Wikstroemia%20phillyreifolia%20A.Gray/data