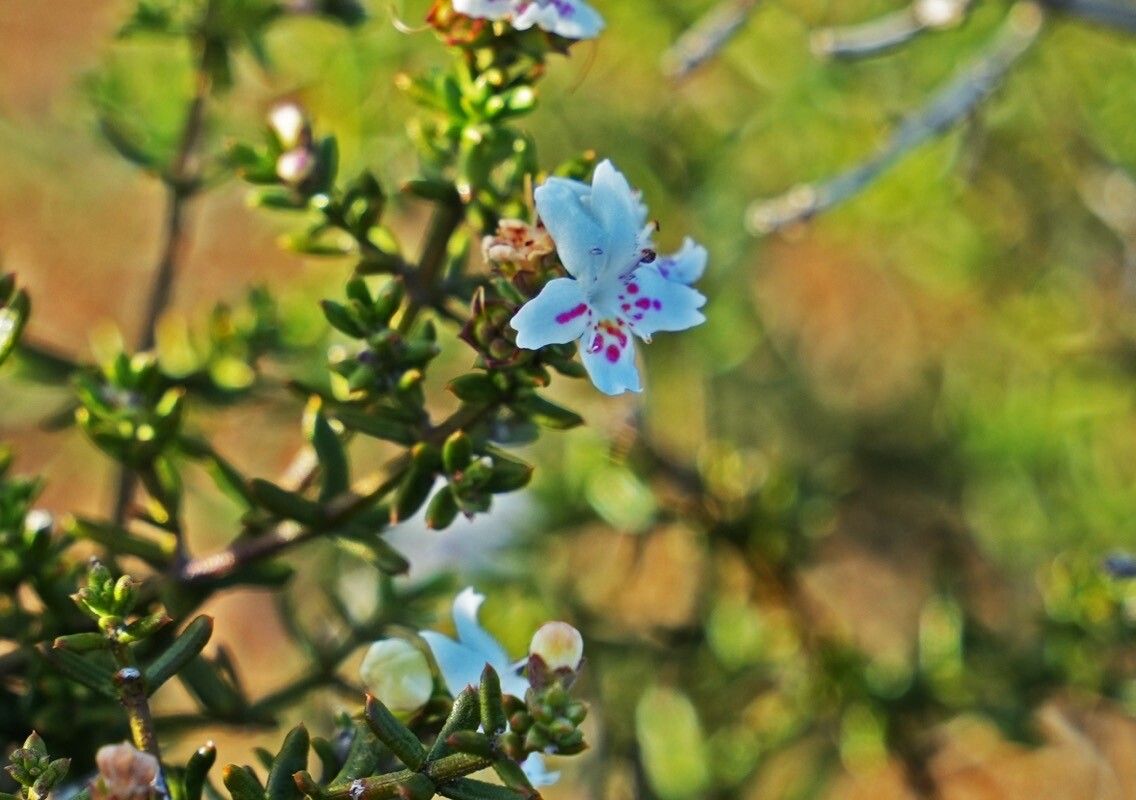
Hey there, fellow plant enthusiasts! I’m so excited to chat with you today about a plant that’s become a real favorite in my garden: Westringia rigida, often called Rosemary bush or Native Rosemary. It’s just delightful with its grey-green, rosemary-like foliage and pretty white or pale lilac flowers that seem to appear almost year-round. Plus, it’s incredibly tough and drought-tolerant once established, making it a real workhorse for coastal gardens and beyond.
Now, if you’re thinking about adding more of these beauties to your yard, or maybe sharing them with friends, propagating them yourself is incredibly satisfying. And I’m here to tell you, Westringia rigida is a wonderfully accessible plant for beginners looking to try their hand at propagation. You’ll be amazed at how easily you can create new plants!
The Best Time to Start
For Westringia rigida, the sweet spot for propagation is typically late spring through summer. This is when the plant is actively growing and has plenty of vibrant, semi-hardened new growth that’s perfect for taking cuttings. You want to avoid taking cuttings from brand-new, soft, floppy growth, or from wood that’s already woody and old. Look for stems that are flexible but hold their shape – you know, the kind that snap cleanly rather than bend.
Supplies You’ll Need
Here’s what you’ll want to gather before you get started:
- Sharp pruning shears or a clean knife: For taking your cuttings. Sterilize them!
- Rooting hormone powder (optional but recommended): This really gives your cuttings a good boost.
- Gritty propagation mix: I like a blend of equal parts perlite and peat moss or coir. Good drainage is key.
- Small pots or seed trays: Clean ones, please!
- Plastic bags or a propagator: To create a humid environment.
- Watering can with a fine rose: For gentle watering.
Propagation Methods: Stem Cuttings
This is how I get the most success with Westringia rigida, and it’s quite straightforward.
- Take the Cuttings: Head out to your Westringia and select healthy, vigorous stems. Using your sterilized pruning shears, snip off pieces that are about 4-6 inches long. Try to make your cuts just below a leaf node – that little bump where the leaves attach to the stem.
- Prepare the Cuttings: Gently remove the lower leaves from the cuttings. You want to leave just a few leaves at the top to keep the plant going. If the leaves are quite large, I sometimes snip them in half to reduce water loss.
- Dip in Rooting Hormone (Optional): Dip the cut end of each stem into your rooting hormone powder. Tap off any excess.
- Pot Them Up: Fill your small pots or trays with your gritty propagation mix. Make a little hole with your finger or a pencil for each cutting.
- Insert Cuttings: Gently push the prepared cuttings into the holes, making sure the leaf nodes you cleared of leaves are buried in the soil. Firm the soil around them gently.
- Water Gently: Give them a good, gentle watering to settle the soil.
- Create Humidity: Now, this is important! Cover the pots with a plastic bag, a clear plastic dome, or pop them into a propagator. This traps moisture and keeps your cuttings from drying out while they’re trying to root.
The “Secret Sauce” (Pro Tips for Westringia)
Over the years, I’ve picked up a few tricks that really seem to make a difference for my Westringia cuttings:
- Bottom Heat is Your Friend: If you have a heated propagator or can place your pots on a heat mat, do it! A little warmth from below encourages root development like magic. It’s not absolutely essential, especially in warmer months, but it’s a real game-changer.
- Don’t Let Leaves Touch the Water: If you’re doing any water propagation (though I find cuttings in soil are generally more reliable for Westringia), never let the leaves sit in the water. They’ll just rot. Roots need to form from the stem. For soil cuttings, this means ensuring all the bare stem is buried and the remaining leaves are well above the soil line.
- Consider the “Heel”: Sometimes, when I’m taking cuttings, I try to find a slightly older section of stem and take a small sliver of bark with it. It’s not always easy to do with Westringia, but if you can get a little “heel” or piece of older material attached to your cutting, it can sometimes aid in rooting.
Aftercare & Troubleshooting
Once your cuttings are potted, place them in a bright spot out of direct sun. Keep an eye on the moisture – the soil should be consistently damp but not waterlogged. You should start to see new growth appearing after a few weeks. A good sign is when the cuttings are harder to pull out of the soil; that means roots have formed!
When new leaves are unfurling and they feel firm, it’s time to gradually acclimatize them to normal conditions. You can start by opening the plastic bag a little more each day, or raising the lid on your propagator. Once they’re truly rooted, you can pot them up into slightly larger pots with a good quality potting mix.
The most common issue you might encounter is rot, usually caused by overwatering or poor drainage. If you see stems turning mushy or black, that’s a sure sign things have gone wrong. Don’t be discouraged by this; it happens to all gardeners! Just try again, perhaps with a slightly drier mix or a bit more airflow.
A Little Patience, A Lot of Reward
Propagating Westringia rigida is such a rewarding process. It takes a little patience, a bit of observation, and a whole lot of the simple joy of watching nature at work. Don’t be afraid to experiment, learn from any setbacks, and most importantly, enjoy the journey of creating new life from your favorite plants. Happy gardening!
Resource:
https://identify.plantnet.org/k-world-flora/species/Westringia%20rigida%20R.Br./data