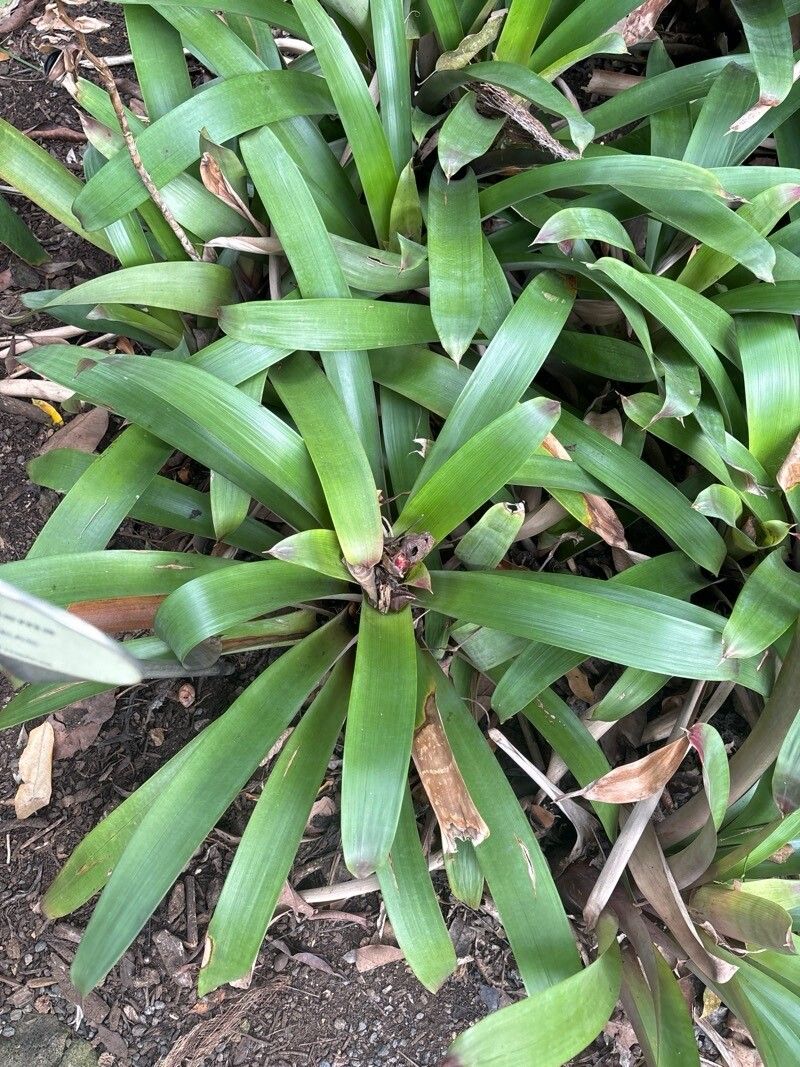
Oh, hello there! Come on in and pull up a chair. I’m so glad you’re interested in Vriesea platynema. It’s a bromeliad that truly captures the essence of a tropical jungle, isn’t it? With its striking, architectural foliage and vibrant inflorescences, it’s a real showstopper. And the best part? You can easily multiply these beauties yourself! Propagating Vriesea platynema might sound a bit intimidating, but I promise, with a few simple steps, you’ll be on your way to a mini bromeliad nursery. For beginners, I’d say it’s moderately easy. There’s a bit of a learning curve, but the rewards are certainly worth it.
The Best Time to Start
When it comes to getting those new Vriesea babies going, spring and early summer are your best friends. This is when the plant is actively growing and has the most energy to dedicate to new growth. You’ll often find that the pups (those adorable little baby plants that sprout from the base) are most developed and ready to be separated around this time. It’s like nature’s gentle nudge, telling you it’s the perfect moment to get your hands dirty.
Supplies You’ll Need
Before we dive in, let’s make sure you have everything ready. A little preparation goes a long way!
- Sharp, clean pruning shears or a sharp knife: For making clean cuts. Sterilize them with rubbing alcohol between uses!
- Well-draining potting mix: A blend of orchid bark, perlite, and peat moss works beautifully. Bromeliads hate soggy feet!
- Small pots or propagation trays: Whatever you’ll be potting your new pups into.
- Rooting hormone (optional but recommended): This can give your pups a little extra boost.
- Spray bottle: For keeping things lightly misted.
- Clear plastic bags or a mini greenhouse: To create a humid environment for your new propagations.
- A warm, bright location: But avoid direct, scorching sunlight.
Propagation Methods
The most common and successful way to propagate Vriesea platynema is by dividing the pups. These are the offsets that grow from the base of the parent plant.
- Wait for the pups to grow: The key is to let the pups develop. You’re looking for them to be at least a third of the size of the mother plant, and ideally, to have developed their own tiny root system. This usually takes a good year or more from when they first appear.
- Gently remove the parent plant from its pot: Carefully tip the pot to the side and ease the plant out. Try not to disturb the roots too much.
- Locate the pups: You’ll see them nestled around the base of the main plant.
- Make a clean cut: Using your sterilized pruning shears or knife, carefully cut the pup away from the mother plant. Try to get a bit of root attached to the pup if possible. If the pup is very small and seems firmly attached, it’s sometimes easier to wait a little longer for it to grow stronger.
- Allow the cut to callous: This is a crucial step! Let the cut surfaces of both the mother plant and the pup dry and callous over for a day or two in a dry, airy spot. This prevents rot.
- Pot up your new pups: Fill your small pots with your well-draining mix. If you’re using rooting hormone, gently dip the cut end of the pup into it, tapping off any excess. Then, place the pup in the pot, burying the base just enough so it’s stable. Water very sparingly, just enough to settle the soil.
- Create a humid environment: Place the potted pups in a clear plastic bag or a mini greenhouse. This traps humidity, which is essential for root development. Make sure the leaves aren’t pressed directly against the plastic.
The “Secret Sauce” (Pro Tips)
After years of coaxing new life from my Vrieseas, I’ve picked up a few tricks that really make a difference.
- Don’t let the leaves touch the water when misting: If you’re misting your pups (which can be helpful for humidity), make sure the water doesn’t sit in the “cup” of the bromeliad’s leaves for too long. Bromeliads are adapted to catch rainwater, but stagnant water can lead to rot, especially on a young, vulnerable plant. Light misting on the soil and foliage is fine, just ensure good air circulation.
- Bottom heat is your friend: If you can, place your propagation tray or pots on a gentle heat mat designed for seedlings. This consistently warm temperature from below mimics the jungle floor and significantly speeds up root formation. Just a low, steady warmth will do wonders.
- Be patient with pup separation: Sometimes, a pup might look ready, but if it still feels a bit wobbly or doesn’t have tiny roots visible, give it a bit more time on the mother plant. A pup with some established roots will have a much better chance of survival.
Aftercare & Troubleshooting
Once your pups are potted up, keep that humidity high and the light bright but indirect. Check the soil periodically. It should feel slightly moist, never soggy. You’ll start to see new leaf growth emerging from the center of the pup within a few weeks to a couple of months. That’s your sign that roots are forming!
The most common issue you might encounter is rot. If you notice your pup turning mushy, black, or smelling foul, it’s likely rotted. This is usually due to overwatering or insufficient air circulation. If you catch it early, you might be able to cut away the rotten parts and let the remaining healthy section callous over again, but often, it’s a sign that the propagation has failed. If your pup just sits there and doesn’t grow after a few months, it might not have rooted. Don’t despair – sometimes it just takes longer, or the conditions weren’t quite right. You can try repotting it or placing it in a slightly warmer spot.
A Encouraging Closing
Growing new plants is such a fulfilling part of gardening. It’s about patience, observation, and a little bit of love. Don’t be discouraged if your first attempt isn’t a roaring success. Each plant you propagate is a learning experience. Enjoy the journey of watching these little Vriesea platynema start their own lives. Happy growing!
Resource:
https://identify.plantnet.org/k-world-flora/species/Vriesea%20platynema%20Gaudich./data