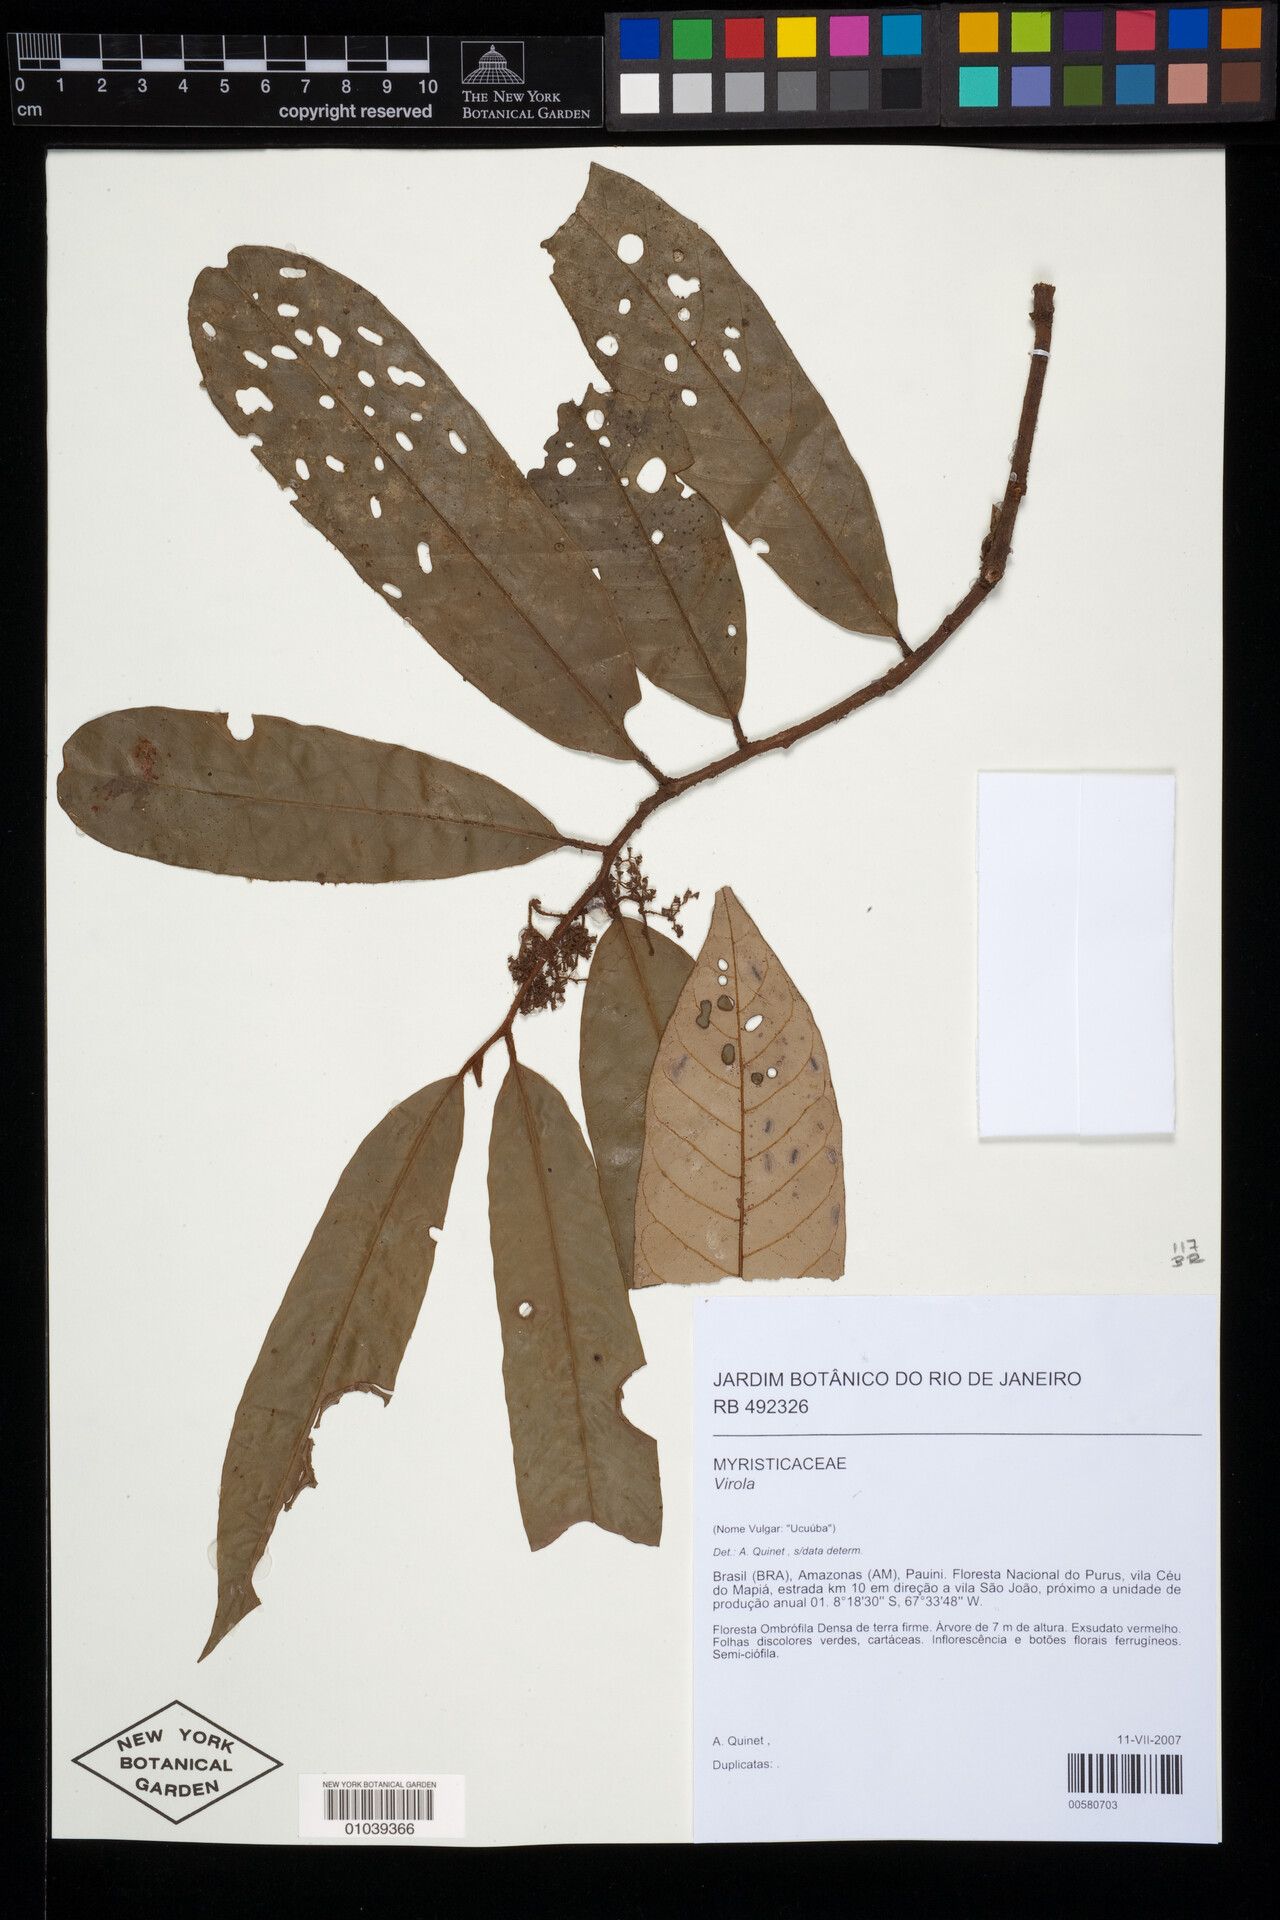
Oh, hello there! Pull up a chair and let’s chat about a truly special plant: Virola marleneae. If you’ve ever seen this beauty, you’ll understand why it captures the heart. Its lush foliage is just so… tropical and inviting. Plus, there’s a real joy in coaxing new life from an existing plant. It’s a fantastic way to expand your collection or share the green goodness with friends. Now, honestly, is it a beginner-friendly plant to propagate? I’d say it’s moderately challenging. It’s not as straightforward as a pothos, but with a little care and attention, you can absolutely succeed. Don’t let that deter you; rewarding plants are worth a bit of extra effort!
The Best Time to Start
For Virola marleneae, the sweet spot for propagation is definitely during its active growing season. Think late spring through early to mid-summer. When the plant is buzzing with energy, it’s more likely to put that energy into creating roots rather than just languishing. You’re looking for healthy, vigorous stems. Avoid anything that looks stressed or dormant.
Supplies You’ll Need
Here’s what you should gather before you dive in:
- Sharp, clean pruning shears or a razor blade: Sanitation is key to preventing disease.
- Rooting hormone powder or gel: This is a must-have to give your cuttings a fighting chance. Look for one with a good concentration of auxins.
- Well-draining potting mix: I like to use a blend of equal parts perlite, peat moss, and a bit of coarse sand. Some folks swear by coco coir too. The goal is to keep it airy and prevent waterlogging.
- Small pots or propagation trays: Clean pots are essential. Terracotta can be nice as they allow the soil to breathe.
- A clear plastic bag or a humidity dome: This creates a mini-greenhouse environment, which is crucial for cuttings.
- Watering can with a fine rose or a spray bottle: Gentle watering is important.
- Optional: Heat mat: This can significantly speed up root development.
Propagation Methods
While you could try air layering, for Virola marleneae, stem cuttings are generally the most reliable and successful method I’ve found.
- Take Your Cuttings: With your sharp shears, select a healthy, semi-hardwood stem. You want a piece that’s about 4-6 inches long. Make your cut just below a leaf node. These nodes are where roots are most likely to emerge. Remove the lower leaves from the cutting, leaving just a few at the top. This helps the cutting focus its energy on rooting, not on supporting unnecessary foliage.
- Apply Rooting Hormone: Dip the cut end of the stem into your rooting hormone, tapping off any excess. Make sure the entire cut surface is coated.
- Planting: Fill your small pots with your prepared, moistened potting mix. Make a little hole in the center with your finger or a pencil. Gently insert the coated end of the cutting into the hole, pushing it down about an inch or so. Firm the soil around the cutting to ensure good contact.
- Create the Humid Environment: Water the soil gently, just enough to settle it around the cutting. Then, cover the pot with a clear plastic bag, securing it with a rubber band or placing it under a humidity dome. Make sure the leaves aren’t touching the plastic if possible – poke them up with a skewer if needed.
- Placement is Key: Place your pots in a bright location, but out of direct sunlight. Too much sun can scorch those tender cuttings. Ideally, this is where a heat mat comes in handy – placing the pots on a gentle, warming surface helps stimulate root growth from below.
The “Secret Sauce”
Alright, here are a couple of things that have made a big difference for me over the years:
- The Bottom Water Trick: Instead of watering from the top which can dislodge cuttings, try bottom watering. Place your pots in a shallow tray of water. Let the water wick up through the soil. Once the surface feels moist, remove the pots from the tray. This provides consistent moisture without disturbing the cutting.
- Don’t Disturb Too Soon! I know the urge is strong to check for roots, but resist the temptation for at least 4-6 weeks. You can gently tug on a cutting; if you feel some resistance, you likely have roots. Pulling too early can break off those delicate new root hairs.
Aftercare & Troubleshooting
Once you feel that resistance and are confident roots have formed, it’s time to transition your new Virola. Gradually remove the plastic bag or dome over a week or so, allowing the plant to acclimate to normal humidity. Continue to keep the soil consistently moist but not soggy. You’ll know it’s really taken off when you see new leaf growth.
The biggest culprit for failure? Rot. If your cutting looks mushy, black, or smells off, it’s likely rotted. This usually happens from too much moisture in the soil and not enough air circulation. If you see the leaves wilting and drying out, it might be too dry, or the cutting simply didn’t have enough energy to start. Don’t despair if a few don’t make it; it’s part of the learning process.
A Rewarding Journey
Propagating Virola marleneae is a journey, and like any good journey, it requires a little patience and a lot of love. Don’t get discouraged if your first attempt isn’t a resounding success. Learn from it, try again, and celebrate every tiny sign of progress. Soon enough, you’ll have your own little Virola family, and that, my friend, is a truly beautiful thing. Happy propagating!
Resource:
https://identify.plantnet.org/k-world-flora/species/Virola%20marleneae%20W.A.Rodrigues/data