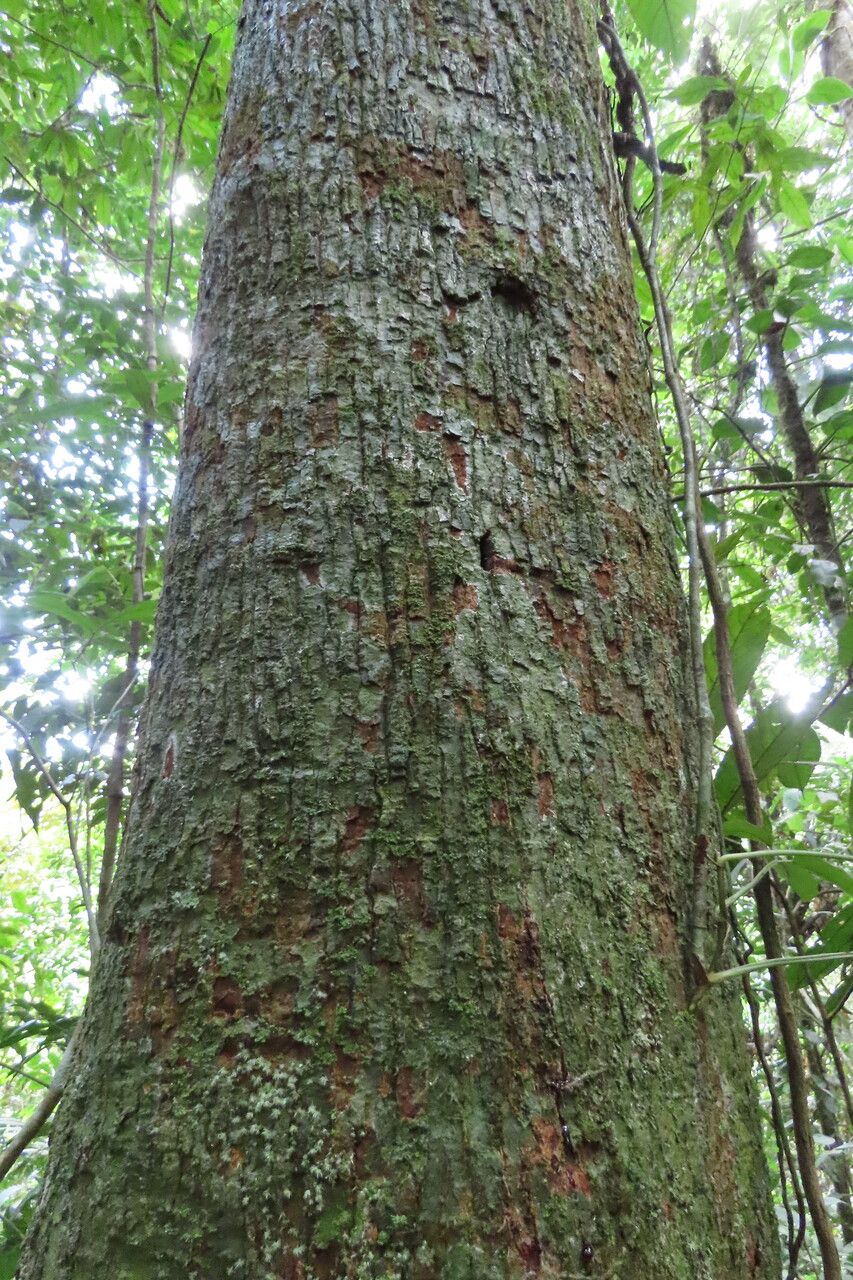
Oh, Virola koschnyi! What a beauty. If you’ve ever seen its lush, tropical foliage and dreamt of bringing that vibrancy into your own garden, you’re in for a treat. This gorgeous tree, with its glossy leaves and often stunning bark, really does add a touch of exotic flair. And the best part? You can share that beauty by propagating it yourself. It’s incredibly rewarding to nurture a new plant from a tiny cutting or seed. Now, for the honest truth – Virola koschnyi isn’t the easiest plant for absolute beginners. It prefers specific conditions, but with a little care and attention, even a less experienced gardener can achieve success. Think of it as a rewarding challenge!
The Best Time to Start
When it comes to getting your Virola koschnyi off to the best start, spring and early summer are your golden windows. This is when the plant is actively growing and has plenty of energy to put into developing new roots. Look for semi-hardwood cuttings. These are stems that have started to mature a bit but are still flexible enough to root. You’ll know you have a good candidate when you can snap a young stem and it breaks cleanly, rather than bending. Avoid old, woody growth or brand-new, soft shoots.
Supplies You’ll Need
Gathering your supplies beforehand makes the whole process so much smoother. Here’s what I always have on hand:
- Sharp Pruning Shears or a Knife: Clean cuts are essential!
- Rooting Hormone: A powder or gel to give your cuttings a helping hand.
- Well-Draining Potting Mix: I prefer a blend of perlite, peat moss, and a good quality potting soil. Some growers use coco coir too.
- Small Pots or Propagation Trays: With drainage holes, of course.
- Plastic Bags or a Propagation Dome: To create a humid environment.
- Watering Can with a Fine Rose: For gentle watering.
- Enthusiasm and Patience!
Propagation Methods
Virola koschnyi can be propagated by a couple of methods, but stem cuttings are usually the most successful and widely used. Let’s dive in:
Stem Cuttings:
- Select Your Cuttings: As we discussed, look for those semi-hardwood stems in spring or early summer. Aim for cuttings that are about 4-6 inches long and have at least two sets of leaves.
- Prepare the Cuttings: Using your clean shears or knife, take a cutting just below a leaf node (where a leaf attaches to the stem). Remove the lower leaves, leaving just the top two or three. This helps reduce water loss and prevents leaves from rotting in the soil.
- Apply Rooting Hormone: Dip the cut end of the stem into your rooting hormone, tapping off any excess.
- Plant Your Cuttings: Fill your pots or trays with your prepared potting mix. Make a small hole in the center with your finger or a pencil and gently insert the cutting, ensuring the base is firmly in the soil.
- Water Gently: Lightly water the soil to settle it around the cutting.
- Create Humidity: Cover the pot or tray with a plastic bag, a clear plastic dome, or place the whole setup inside a larger clear plastic bag. Make sure the leaves aren’t touching the plastic if possible. Place them in a warm spot with bright, indirect light.
The “Secret Sauce” (Pro Tips)
Here are a few little tricks I’ve learned over the years that can really boost your success rate:
- Bottom Heat is Your Friend: Virola koschnyi loves warmth. If you can, place your pots on a heated propagation mat. This encourages root development from below and makes a world of difference, especially in cooler conditions.
- Don’t Over-Water (the Cuttings): It’s a delicate balance. You want the soil to be moist but not soggy. Soggy soil is the quickest way to invite rot, and we definitely don’t want that for our precious cuttings. Check the soil moisture with your finger regularly.
- Cleanliness is Key: I can’t stress this enough. Sanitize your tools before and after use. Bacteria and fungi are the enemies of successful propagation, and a clean start prevents a lot of future heartache.
Aftercare & Troubleshooting
Once your cuttings have been in their humid environment for a few weeks, start gently checking for roots. Tug lightly on a stem – if you feel resistance, you’ve likely got roots! You can also look for new leaf growth, which is a good sign.
When roots have formed, slowly acclimate your new plant to drier air. Gradually lift the plastic bag or dome for longer periods each day over a week or so. Once your new Virola koschnyi is established in its small pot, you can move it to a slightly larger container with fresh potting mix. Continue to provide bright, indirect light and keep the soil consistently moist but not waterlogged.
What if things go wrong? The most common culprit is rot. If your cutting turns mushy, dark, or develops black spots and smells unpleasant, it’s a sign of rot. This is often due to overwatering or poor air circulation. If you see this, unfortunately, that cutting is likely lost. Don’t despair! Just try again, paying close attention to soil moisture and humidity.
A Encouraging Closing
Propagating Virola koschnyi is a journey, and like any good journey, it requires patience. Don’t be discouraged if your first few attempts aren’t perfect. Each cutting you try is a learning experience. Celebrate the small victories, learn from the setbacks, and most importantly, enjoy the process of bringing new life into your garden. Happy growing!
Resource:
https://identify.plantnet.org/k-world-flora/species/Virola%20koschnyi%20Warb./data