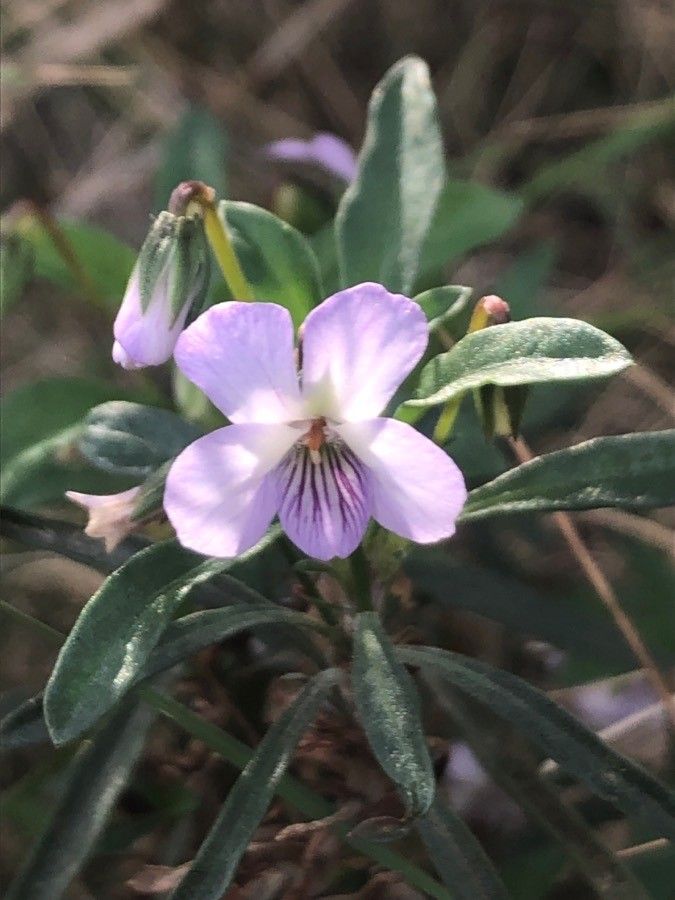
Hello fellow plant lovers! Today, we’re diving into the wonderful world of Viola arborescens, also known as tree viola. I’ve always been charmed by its delicate, often vibrant blooms and the lovely shrubby habit it develops. It brings a touch of Mediterranean flair to any garden, and truthfully, seeing a little viola seedling sprout into a full plant you nurtured yourself is pure magic. If you’re new to propagating, you might be wondering if this is a good starter plant. I’d say, with a little patience, it’s quite manageable for beginners, especially with one particular method I’ll share.
The Best Time to Start
For the most success, I always recommend taking cuttings in late spring or early summer. This is when the plant is actively growing and has plenty of fresh, pliable stems to work with. You’re essentially catching it at its peak energy, which gives those new cuttings the best chance to root and thrive.
Supplies You’ll Need
Gathering your tools before you begin makes the whole process so much smoother. Here’s what I usually have on hand:
- Sharp pruning shears or a clean, sharp knife: For taking clean cuts.
- Rooting hormone (optional, but recommended): Helps speed up the rooting process. Look for one suitable for softwood cuttings.
- A good potting mix: I like a mix that drains well. A blend of peat moss or coco coir with perlite or vermiculite is ideal. I often make my own by mixing equal parts potting soil, perlite, and coco coir.
- Small pots or trays: Clean pots are crucial to prevent disease.
- Plastic bags or a propagator lid: To create a humid environment.
- Watering can or spray bottle: For gentle watering.
- Labels: So you don’t forget what you’ve planted where!
Propagation Methods
I find that stem cuttings are your best bet for Viola arborescens. It’s reliable and you can get several new plants from just one parent.
- Select Your Cuttings: Look for healthy, non-flowering stems. You want pieces that are about 4-6 inches long, with plenty of leaves. They should be somewhat flexible, not woody.
- Make the Cut: Using your sharp shears or knife, make a clean cut just below a leaf node. A leaf node is where a leaf attaches to the stem; this is where the magic of rooting often happens.
- Prepare the Cuttings: Gently remove the lower leaves from the cutting, leaving just the top few at the very tip. If you’re using rooting hormone, dip the cut end into it now, tapping off any excess.
- Planting: Fill your small pots with your well-draining potting mix. Make a hole in the center with your finger or a pencil. Insert the prepared cutting, making sure the leaf nodes you stripped are below the soil surface. Gently firm the soil around the base of the cutting.
- Watering and Humidity: Water the soil gently until it’s evenly moist. Then, cover the pot with a clear plastic bag or place it in a propagator. This creates a mini-greenhouse, keeping the humidity high, which is essential for cuttings to root before they can take up water through roots.
The “Secret Sauce” (Pro Tips)
Here are a few things I’ve learned over the years that can really boost your success:
- Don’t overcrowd your pots. Give each cutting a little breathing room so they don’t compete for light and air, and to help prevent fungal issues.
- Be patient with bottom heat. If you have a seedling heat mat lying around, place your pots on it. A gentle warmth from below encourages root development significantly faster. Just a little bit goes a long way!
- While you want high humidity, make sure the leaves aren’t constantly sitting in condensation. If you see a lot of water droplets on the plastic, open the bag or lid for a few hours to let it air out a bit. This prevents leaf rot.
Aftercare & Troubleshooting
Once your cuttings are planted and in their humid environment, keep the soil consistently moist but not waterlogged. Place them in a bright spot that receives indirect sunlight. Direct sun can scorch those tender new cuttings.
You’ll know your cuttings have rooted when you see new leaf growth or feel a slight resistance when you gently tug on the cutting. This usually takes anywhere from 4 to 8 weeks.
The most common issue you might encounter is rot. If a cutting turns mushy and black, it’s usually a sign of too much moisture and not enough air circulation. Unfortunately, if a cutting rots, it’s usually best to discard it and try again, focusing on those pro tips about humidity and well-draining soil.
A Encouraging Closing
Propagating plants is a journey, and sometimes there are a few bumps along the way. Don’t be discouraged if not every cutting takes. Each attempt is a learning opportunity. Just keep at it, enjoy the process of watching these tiny beginnings transform into new life, and soon you’ll be sharing your lovely Viola arborescens with friends! Happy growing!
Resource:
https://identify.plantnet.org/k-world-flora/species/Viola%20arborescens%20L./data