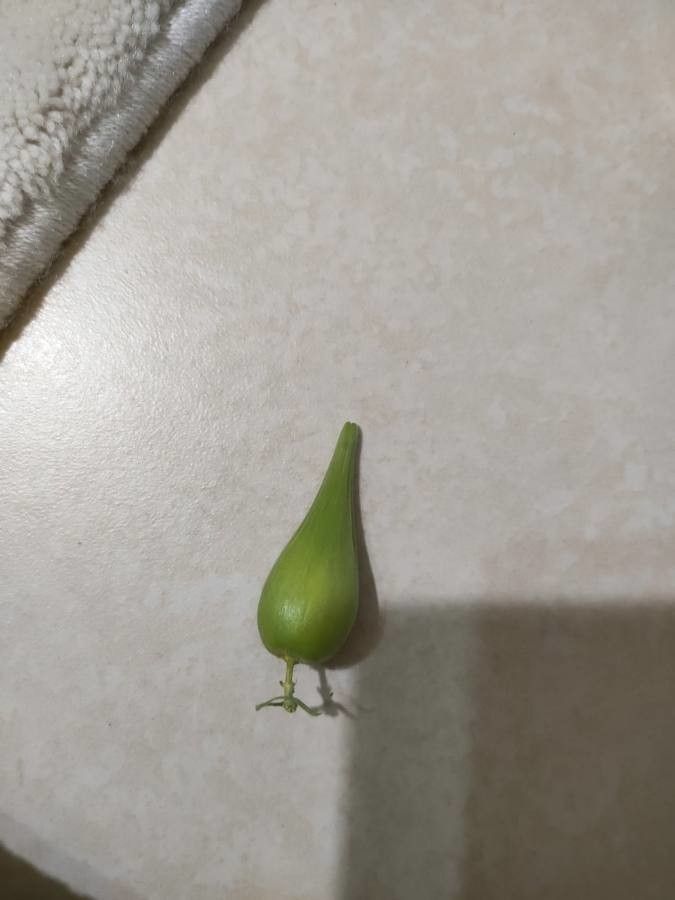
Oh, hello there! Come on in, grab a mug. I’m so glad you’re interested in Vincetoxicum canescens. This lovely plant, with its delicate star-shaped flowers and graceful foliage, is a real charmer. And the best part? It’s wonderfully rewarding to multiply! You’ll be filling your garden, or sharing with friends, in no time.
Now, I know you might be wondering if this is a “beginner-friendly” plant to propagate. Honestly, I’d put it in the moderately easy category. It’s not as foolproof as, say, a Pothos, but with a little care and attention, you’ll find success. And that success feels pretty fantastic, doesn’t it?
The Best Time to Start
For Vincetoxicum canescens, I’ve found that starting in late spring or early summer generally gives the best results. This is when the plant is actively growing and has plenty of energy to put into developing new roots. You want to select stems that are mature but not woody – think of a young, flexible twig rather than a thick, old branch.
Supplies You’ll Need
Here’s a rundown of what you’ll want to have on hand:
- Sharp Pruning Shears or a Knife: For clean cuts.
- Rooting Hormone (Optional but Recommended): A little boost can go a long way. I prefer powdered forms.
- Small Pots or Propagation Trays: Clean and with drainage holes!
- Well-Draining Potting Mix: A good starting point is a mix of equal parts peat moss or coco coir and perlite. Some gardeners also swear by a mix with a bit of sand.
- Plastic Bags or a Clear Dome: To create a humid environment.
- Watering Can or Spray Bottle: For gentle watering.
- Labels: To keep track of what you’ve propagated!
Propagation Methods
Let’s get our hands dirty! The most reliable ways I’ve found to propagate Vincetoxicum canescens are through stem cuttings and division.
Stem Cuttings:
This is my go-to method when I want to increase my plant numbers quickly.
- Select Your Cuttings: Look for healthy, non-flowering stems that are about 4-6 inches long.
- Make the Cut: Using your sterilized shears, cut just below a leaf node (where a leaf attaches to the stem). This is where roots are most likely to form.
- Prepare the Cutting: Gently remove the lower leaves, leaving only the top two or three. If the leaves are large, you can even cut them in half to reduce water loss.
- Apply Rooting Hormone: Dip the cut end of the stem into your rooting hormone, tapping off any excess.
- Plant Your Cuttings: Fill your small pots with your prepared potting mix. Make a small hole in the center with your finger or a pencil. Insert the cutting into the hole, ensuring the leaf nodes are buried. Gently firm the soil around the base.
- Create Humidity: Water the soil gently. Then, cover the pot with a plastic bag or place it under a clear dome. Make sure the leaves aren’t touching the plastic.
Division:
This is a great option for older, larger plants.
- Gently Remove from Pot: Carefully tip the Vincetoxicum out of its pot.
- Examine the Root Ball: You’ll likely see dense root growth and possibly several crowns (where the stems emerge from the roots).
- Separate the Divisions: Using your hands or a clean trowel/knife, gently pull apart the root ball into sections. Aim for divisions that have at least a few stems and a good amount of root system.
- Re-pot: Plant each division in its own pot filled with fresh, well-draining potting mix. Water gently.
The “Secret Sauce” (Pro Tips)
Here are a few little tricks I’ve learned over the years that make a difference:
- Don’t Let the Leaves Touch the Water (for Water Propagation, though I prefer soil): If you happen to try water propagation, which can be tricky for this plant, rule number one is to ensure no leaves are submerged. Rot sets in so fast!
- Bottom Heat is Your Friend: For cuttings, placing the pots on a heated propagation mat can significantly speed up root development. It mimics the warmth of spring soil and gives those roots a real nudge.
- Patience with the ‘Wiggle Test’: When you think your cuttings might have rooted, give them a very gentle tug. If you feel resistance, roots are forming! Don’t be tempted to dig them up too soon to check – that disturbance can set them back.
Aftercare & Troubleshooting
Once your cuttings have developed a good root system – usually after 4-6 weeks, depending on conditions – you can remove the plastic covering. Start watering more regularly, but always allow the soil to dry out slightly between waterings. Gradually acclimate your new plants to normal room conditions by opening the bag or dome a little more each day.
The most common sign of failure is rot. If your cutting turns mushy, black, or just completely falls apart, it’s likely due to too much moisture or not enough airflow. If you see this, discard the affected cutting immediately to prevent it from spreading.
A Little Encouragement
Propagating Vincetoxicum canescens is a journey. Some attempts will be more successful than others, and that’s perfectly okay. The most important thing is to enjoy the process, learn from each experience, and celebrate your successes. Be patient, keep trying, and soon you’ll have a whole collection of these beautiful blooms. Happy gardening!
Resource: