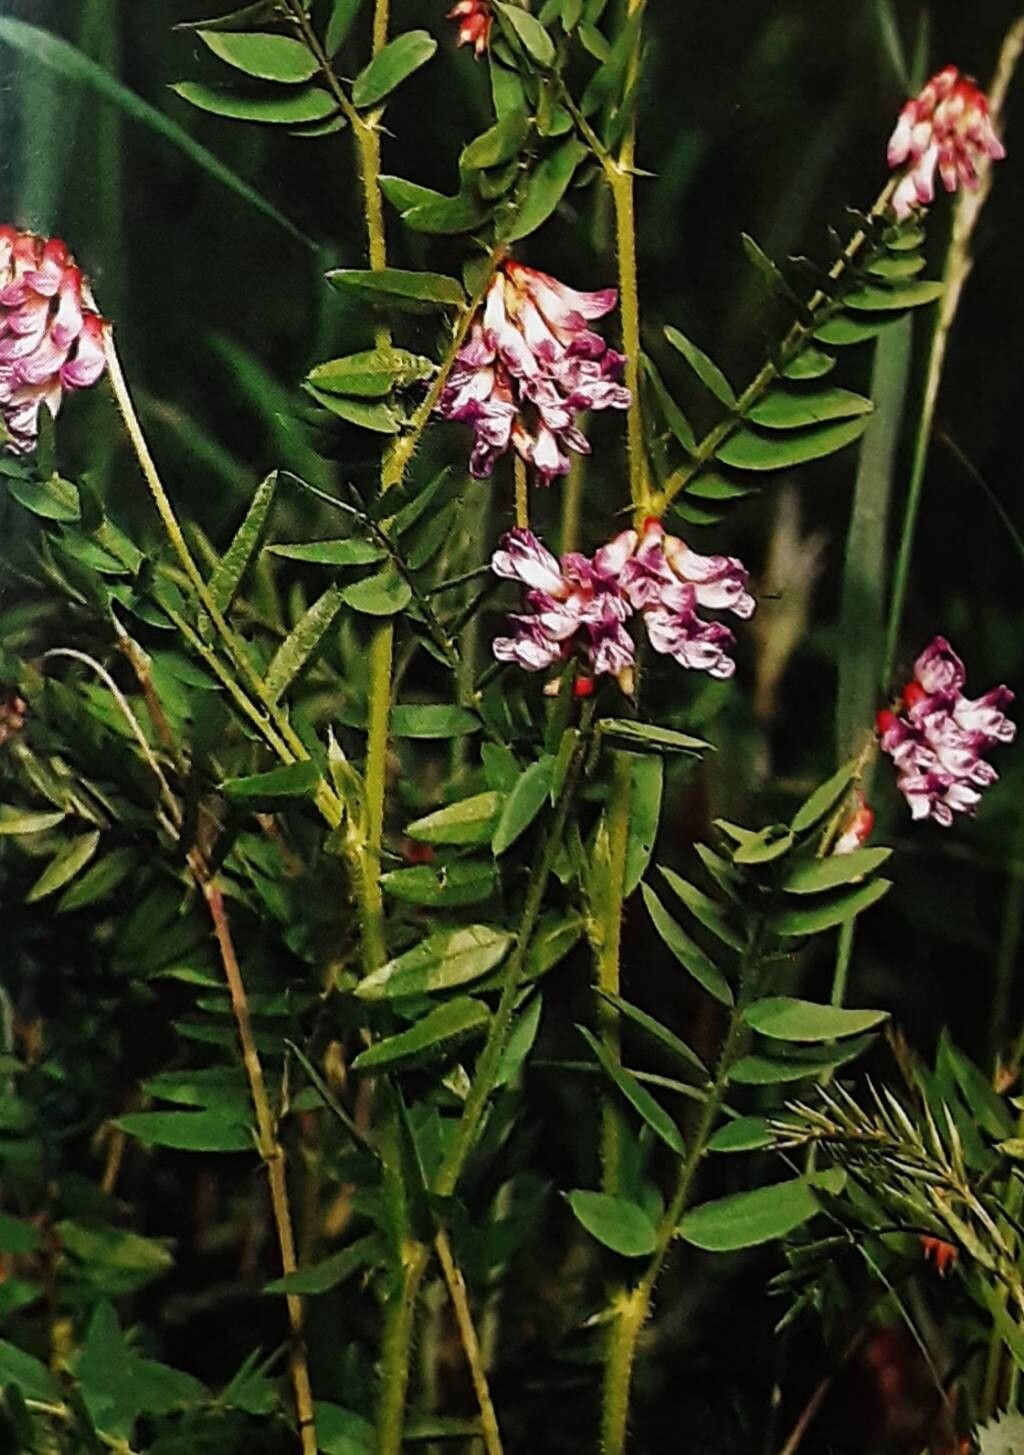
Oh, Vicia orobus! If you’ve ever seen this lovely little legume gracing someone’s garden with its delicate, pea-like flowers, you’ve likely been charmed. It’s a plant that brings a touch of wild beauty and a lovely whisper of purple to the landscape. And the best part? Sharing that beauty by propagating it yourself is incredibly satisfying. I’ve been at this gardening game for two decades, and I’ve found that Vicia orobus is a wonderfully rewarding plant to multiply. For beginners, I’d say it’s moderately easy – a little patience goes a long way!
The Best Time to Start
My personal favorite time to get busy with Vicia orobus is late spring or early summer. This is when the plant is in its active growing phase, brimming with energy. You’ll find it’s much more receptive to propagation efforts at this stage than when it’s dormant or stressed. Look for healthy, non-flowering stems; these are usually the most vigorous and the quickest to establish.
Supplies You’ll Need
Gathering your supplies beforehand makes the whole process so much smoother. Here’s what I usually have on hand:
- Sharp pruning shears or a clean craft knife: For making clean cuts.
- Well-draining potting mix: A blend of peat moss and perlite is fantastic. You want something airy that won’t hold too much moisture.
- Small pots or trays: Make sure they have drainage holes!
- Rooting hormone (optional but recommended): This can significantly speed up the process.
- A watering can or spray bottle: For gentle watering.
- Plastic bags or a propagator lid: To create a humid environment.
Propagation Methods
Vicia orobus is quite adaptable, but my go-to methods are stem cuttings and a bit of division.
Stem Cuttings: My Most Reliable Method
This is where I’ve had the most success with Vicia orobus.
- Take your cuttings: Using your sharp shears, snip off healthy, non-flowering stems that are about 4-6 inches long. Make your cut just below a leaf node (where a leaf attaches to the stem).
- Prepare the cuttings: Gently remove the lower leaves, leaving just a couple at the very top. If your cuttings are long, you can even cut them in half horizontally above a leaf node.
- Dip in rooting hormone (if using): Lightly dip the cut end into your rooting hormone powder. Tap off any excess.
- Plant the cuttings: Make a small hole in your prepared potting mix with a pencil or your finger. Carefully insert the cut end of the stem, ensuring the node where you removed the leaves is buried. Gently firm the soil around it.
- Water gently: Give them a light watering, just enough to settle the soil.
- Create humidity: Cover the pots with a plastic bag or a propagator lid. This traps moisture and prevents the cuttings from drying out. Make sure the leaves don’t touch the plastic.
Division: For Established Plants
If you have a mature Vicia orobus plant, you can often propagate it through division.
- Excavate with care: Gently dig around the base of your established plant.
- Separate the clumps: Loosen the soil and gently pull apart the root ball into smaller sections. Try to ensure each section has plenty of roots and some new shoots.
- Replant immediately: Put each new division into its own pot filled with moist, well-draining soil. Water them well.
The “Secret Sauce” (Pro Tips)
These are a few little tricks I’ve learned over the years that really make a difference:
- The Humidity Hug: That plastic bag or propagator lid isn’t just for show! It’s crucial for keeping your cuttings turgid until they can establish their own root system. Check it daily for condensation; if it’s too much, open it up for a bit.
- Bottom Heat Magic: If you have a heat mat for seedlings, Vicia orobus cuttings love it! A gentle warmth from below encourages root development much faster than ambient room temperature. Just place your tray or pots on it.
- Patience is a Virtue (and a Pratfall Avoidance): Don’t be tempted to pull up your cuttings too soon to check for roots! It’s agonizing, I know. Give them at least 3-4 weeks before you gently tug to feel for resistance.
Aftercare & Troubleshooting
Once you see those little roots appearing – hooray!
- Gradual Acclimation: Slowly remove the plastic bag or propagator lid over a few days. This helps your new plants adjust to the normal humidity.
- Gentle Watering: Continue to water when the top inch of soil feels dry. Avoid overwatering, as this is the quickest way to invite trouble.
- Sunlight, Yes, but a Gentle Start: Place your new plants in a spot with bright, indirect light. Direct sun can scorch tender young foliage.
- Signs of Trouble: The most common issue is rot, which looks like mushy, blackened stems. This is almost always a sign of overwatering and poor drainage. If you see this, unfortunately, that cutting is likely lost. Another sign of stress is yellowing leaves on otherwise healthy-looking stems, which might just mean it needs a little more humidity or less direct light.
Propagating Vicia orobus is a wonderfully rewarding journey. Be patient with your new little plants, and don’t be discouraged if every single one doesn’t make it. Every garden experiment teaches us something new! Enjoy watching them grow.
Resource:
https://identify.plantnet.org/k-world-flora/species/Vicia%20orobus%20DC./data