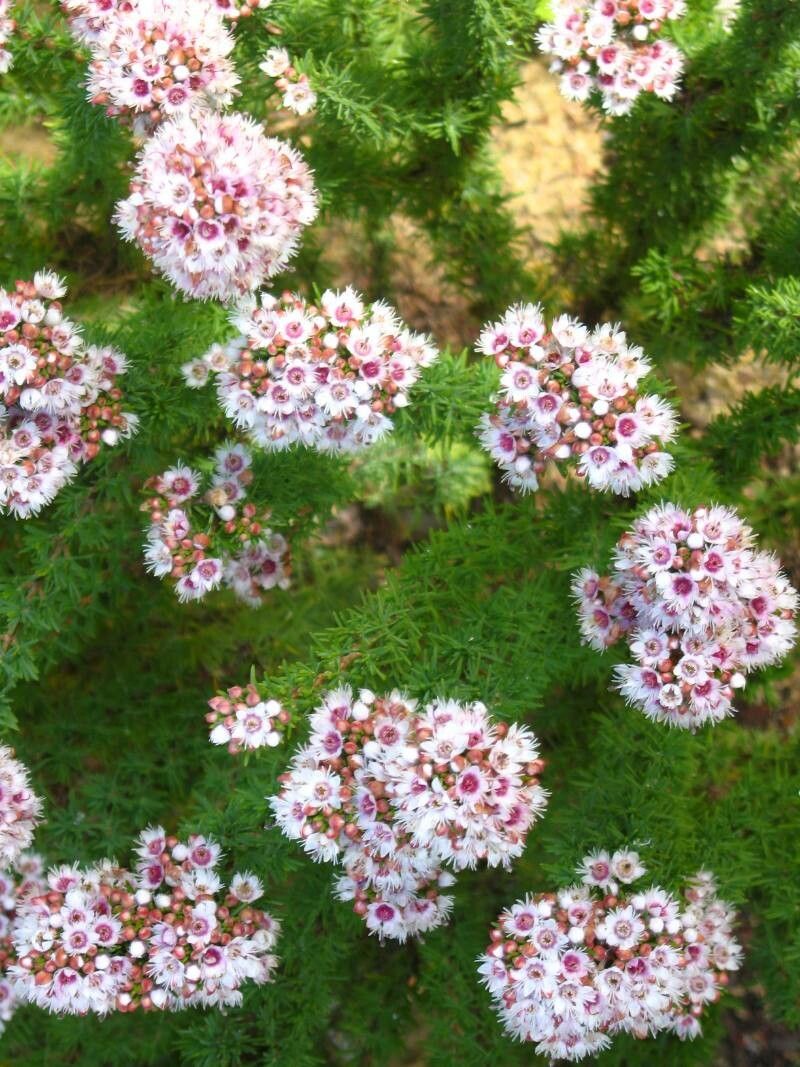
Oh, hello there! Come on in, pull up a chair. Let’s talk about one of my absolute favorite garden treasures: Verticordia plumosa, or the Feather Flower. If you’ve ever seen these delicate beauties gracing a garden, you know what I mean. Their ethereal, feathery blooms in shades of pink and white are just magical, like little bits of fairy floss suspended on wispy branches.
And the best part? You can bring that magic into your own garden by propagating them! Now, I’ll be honest, Verticordia plumosa isn’t the absolute easiest plant for a complete beginner to propagate. It requires a little patience and attention to detail. But trust me, the reward of seeing a tiny cutting unfurl its first true leaves is incredibly satisfying. It’s a journey worth taking!
The Best Time to Start
For the highest chance of success with Verticordia plumosa, aim to take cuttings in late spring or early summer. This is when the plant is actively growing, and the new, semi-hardened shoots have the best vigor to root. You’re looking for stems that are firm but still a little flexible – not the brand-new, totally soft tips, and definitely not the old, woody growth.
Supplies You’ll Need
Before we get our hands dirty, let’s make sure we have our toolkit ready.
- Sharp pruning shears or a clean craft knife: For making clean cuts. Sterilize them with rubbing alcohol between uses.
- Rooting hormone powder: Not strictly essential for every plant, but it gives Verticordia a fantastic boost. I like to use one that contains IBA (indole-3-butyric acid).
- Well-draining potting mix: This is crucial! A good blend is usually equal parts perlite and peat moss, or a specialized succulent/cactus mix. You want excellent drainage to prevent rot.
- Small pots or propagation trays: Clean, with drainage holes.
- Plastic bags or a propagator lid: To create a humid environment.
- Gravel or pebbles: For the bottom of pots if using water propagation.
- A spray bottle: For misting.
Propagation Methods
Let’s dive into how we can coax these beauties to grow. Stem cuttings are generally the most successful method for Verticordia plumosa.
Stem Cuttings: My Go-To
- First, select healthy, vigorous stems from your parent plant. Look for those lovely semi-hardwood shoots we talked about.
- Using your sterilized shears or knife, take cuttings about 4-6 inches long. Make the cut just below a leaf node (where a leaf attaches to the stem).
- Gently remove the lower leaves from the cutting. Leave a few leaves at the top to help with photosynthesis.
- If your cuttings are a bit long, you can trim them in half to reduce water loss.
- Dip the cut end into your rooting hormone. Tap off any excess.
- Prepare your pots with the well-draining mix. Make a small hole in the center with a pencil or your finger.
- Insert the cutting into the hole, ensuring the base is firmly in the mix. Don’t be afraid to firm the soil gently around it.
- Water the potting mix gently until it’s evenly moist but not soggy.
- Cover the pot with a plastic bag or place it in a propagator. This creates that essential humid microclimate. You can prop the bag up with a few small sticks so it doesn’t touch the leaves.
- Place the pots in a bright location, but out of direct, scorching sunlight. A shaded spot on a windowsill is perfect.
The “Secret Sauce” (Pro Tips)
Here are a few things I’ve learned over the years that really make a difference:
- The “Air Layering” Trick: If you have a slightly larger branch with good growth, you can try air layering. Make a small cut on the stem, wrap it with damp sphagnum moss, and then cover it with plastic. Once roots form, you can cut below the new roots and plant it. It’s a bit more involved but often very successful for those trickier plants.
- Bottom Heat is Your Friend: Verticordia plumosa loves a bit of warmth from below to encourage root development. Using a heat mat designed for propagation can significantly speed up the rooting process and increase your success rate. Just a gentle warmth, not hot!
- Don’t Overwater Your Cuttings: This is probably the biggest mistake new propagators make. Soggy soil is a recipe for rot. Let the surface of the potting mix dry out slightly between waterings. Gentle misting of the leaves can help too, especially if the air is dry.
Aftercare & Troubleshooting
Once you see new growth appearing – usually tiny leaves on your cutting – that’s a good sign roots are forming! Don’t rush to transplant.
- Gradually acclimate your rooted cuttings to normal room conditions by opening the plastic bag or propagator lid a little more each day over a week.
- Once they have a decent root system, you can transplant them into slightly larger pots filled with a good quality, well-draining potting mix.
- Watch out for signs of rot. This often looks like a black, mushy stem base or leaves that turn yellow and drop readily. If you see this, it’s usually a sign of too much moisture or poor drainage. Unfortunately, once rot sets in, it’s hard to save the cutting.
A Little Encouragement
Propagating plants is a journey of learning and observation. Some attempts might not work out, and that’s perfectly okay! Each experience teaches us something new. Be patient, be observant, and most importantly, enjoy the process of nurturing new life. You’ve got this!
Resource:
https://identify.plantnet.org/k-world-flora/species/Verticordia%20plumosa%20(Desf.)%20Druce/data