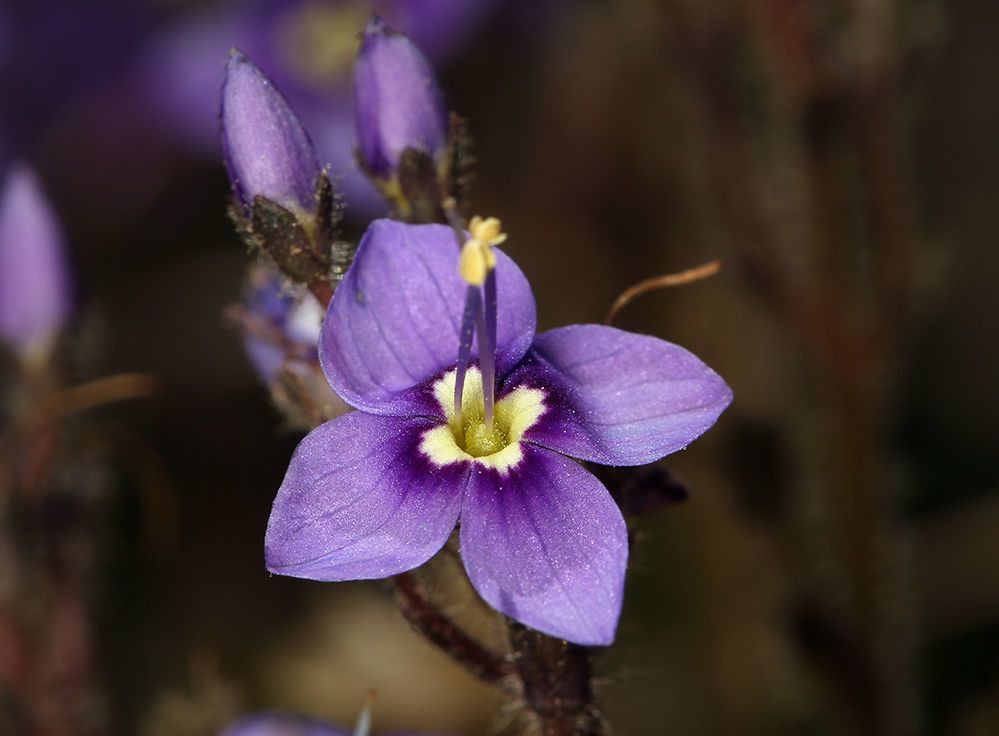
Oh, Veronica copelandii! What a delightful little gem. Those delicate, spiky blooms are just a burst of joy in any garden, aren’t they? I’ve always been drawn to its charming habit and the way it can add such lovely texture to borders or rock gardens. And I’ll tell you, propagating it yourself is incredibly satisfying. It’s not a finicky plant at all, which makes it a wonderful project for beginners hoping to expand their plant family. You’ll be sharing cuttings with friends in no time!
The Best Time to Start
For Veronica copelandii, I find the absolute sweet spot for propagation is late spring to early summer. This is when the plant is actively growing and has plenty of energy to put into producing new roots. You want to be taking cuttings from stems that are semi-hardwood. This means they’re not brand new, floppy green growth, but also not old, woody stems. A good test is if you can snap a stem – it should break cleanly, not bend.
Supplies You’ll Need
Gathering your tools beforehand makes the whole process smoother and more enjoyable. Here’s what I always have on hand for propagating Veronica:
- Sharp Pruning Shears or a Craft Knife: For clean cuts, essential for good root development.
- Potting Mix: A light, well-draining mix is key. I usually use a blend of seed starting mix and perlite (about a 50/50 ratio) or a good quality succulent/cactus mix.
- Small Pots or Trays: Clean pots with drainage holes are a must.
- Rooting Hormone (Optional but Recommended): This can give your cuttings a real boost. Look for one specifically for stem cuttings.
- Watering Can with a Fine Rose: For gentle watering.
- Plastic Bag or Dome: To create a humid environment for your cuttings.
- Labels and a Pen: Don’t skip this! You’ll thank yourself later.
Propagation Methods
Let’s get our hands dirty! Veronica copelandii is best propagated from stem cuttings. It’s straightforward and usually yields great results.
-
Take Your Cuttings:
- Choose healthy, vigorous stems from your parent plant.
- Using your sharp shears or knife, take cuttings that are 4-6 inches long.
- Make the cut just below a leaf node (where the leaves meet the stem). This is where roots are most likely to form.
-
Prepare the Cuttings:
- Gently remove the lower leaves from the bottom half of the cutting. You want to expose the leaf nodes, as this is where roots will emerge. A few leaves at the very top are fine to leave for photosynthesis.
- If you’re using rooting hormone, dip the cut end of each cutting into the rooting powder. Tap off any excess.
-
Plant Your Cuttings:
- Fill your clean pots or trays with your prepared potting mix.
- Make small holes in the soil with a pencil or your finger.
- Carefully insert the base of each cutting into the holes, making sure the nodes are buried.
- Gently firm the soil around the base of each cutting.
-
Create a Humid Environment:
- Water the soil thoroughly but gently. You want it to be moist, not soggy.
- Cover the pots with a clear plastic bag or a propagation dome. This traps humidity, which is crucial for cuttings waiting to root. Make sure the bag doesn’t touch the leaves too much.
The “Secret Sauce” (Pro Tips)
Here are a few little tricks I’ve learned over the years that can really improve your success rate with Veronica copelandii cuttings:
- Bottom Heat is Your Friend: If you can, place your pots on a heated propagation mat. This gentle warmth encourages root growth from the bottom up, giving your cuttings a significant head start. It makes a noticeable difference!
- Don’t Be Afraid of Darkness (Initially): While they need light to survive, sometimes a little bit of shade in the first week or two can prevent the cuttings from getting too stressed and drying out too quickly, especially if your environment is warm. Once they show signs of rooting, move them to a brighter spot.
- Sterilize, Sterilize, Sterilize: Before you start, make sure your pots, tools, and even your hands are thoroughly clean. This dramatically reduces the risk of fungal diseases, which can quickly spell disaster for delicate cuttings. A good wipe-down with rubbing alcohol works wonders.
Aftercare & Troubleshooting
Once your Veronica copelandii cuttings have taken, you’ll want to give them a little extra tender loving care. Keep the soil consistently moist but never waterlogged. Remove the plastic bag or dome for a few hours each day to allow for some air circulation.
You’ll know they’re rooting when you see new leaf growth appearing, and if you gently tug on a cutting, you’ll feel some resistance rather than it pulling out easily. This usually takes anywhere from 3 to 6 weeks, sometimes longer.
The most common issue you might encounter is rot. If your cuttings are wilting and looking a bit slimy or mushy at the base, it’s usually a sign of too much moisture and not enough air circulation. Unfortunately, once rot sets in, it’s hard to save them, so prevention is really key. Making sure you have excellent drainage and that humid environment isn’t too damp are your best defenses.
A Little Patience Goes a Long Way
Seeing those tiny new Veronica plants sprout is such a rewarding feeling! Don’t get discouraged if not every cutting succeeds. Gardening is all about learning and experimenting. Just keep trying, enjoy the process of nurturing these little lives, and soon you’ll have a whole collection of your own beautiful Veronica copelandii to admire and share. Happy propagating!
Resource:
https://identify.plantnet.org/k-world-flora/species/Veronica%20copelandii%20Eastw./data