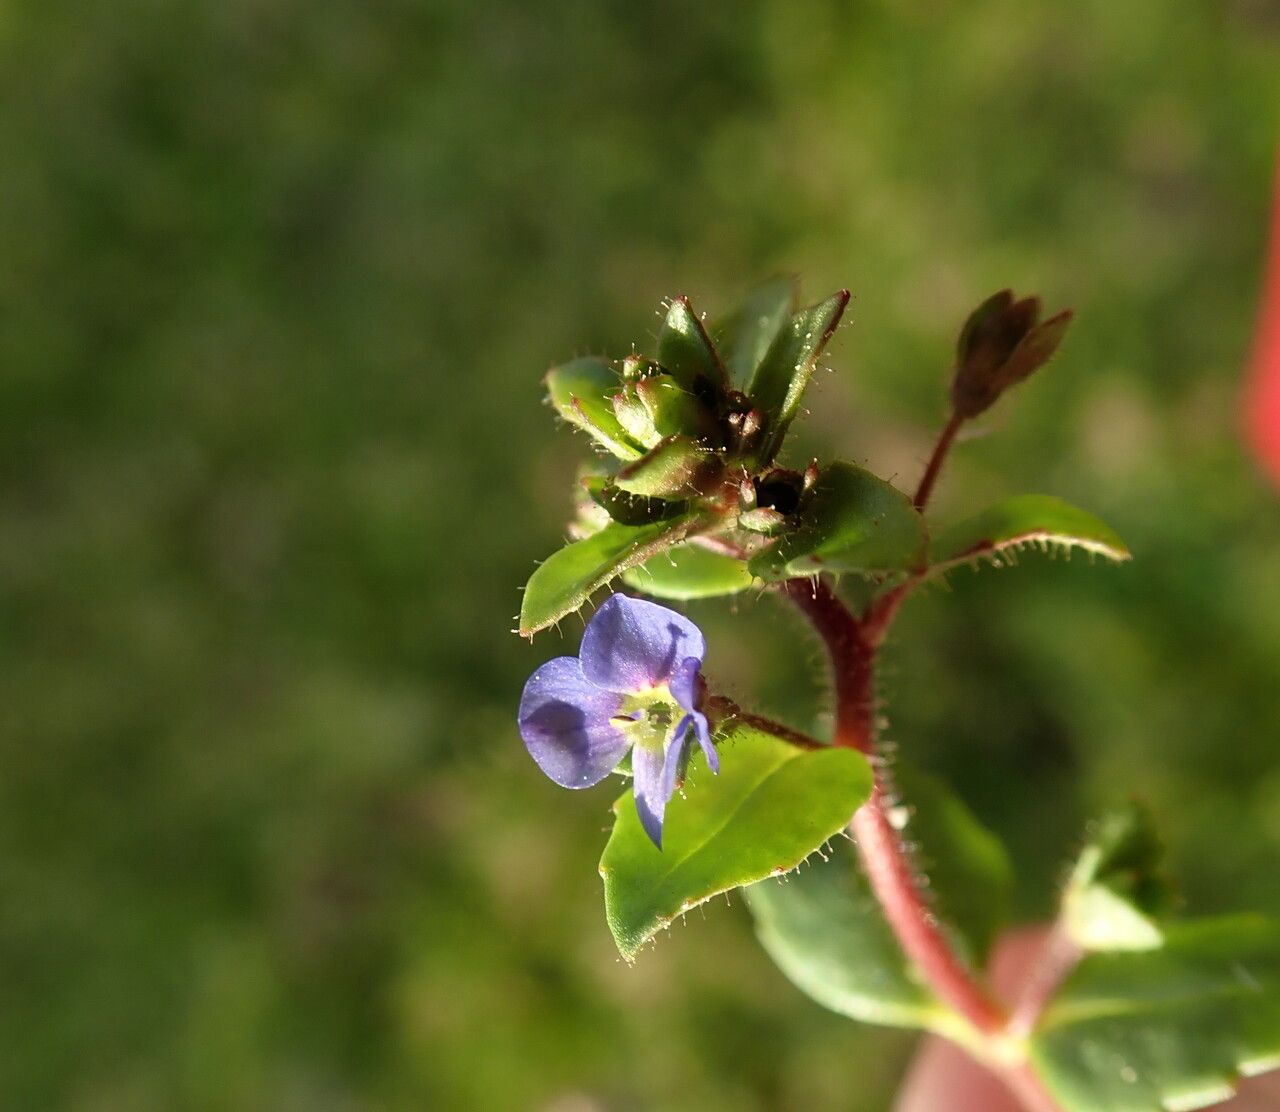
Hello fellow garden enthusiasts! I’m so excited to chat with you today about Veronica acinifolia, or as I affectionately call it, ‘Speedwell’s Tiny Cousin’. This little gem is an absolute delight in the garden. Its delicate, spiky blooms in shades of blue and purple bring a lovely texture and color pop, especially when massed together. And the best part? Propagating it is surprisingly rewarding, and honestly, not as daunting as you might think. Even if you’re just dipping your toes into the world of plant propagation, I think you’ll find Veronica acinifolia to be a forgiving and enjoyable subject.
The Best Time to Start
For the highest success rate with Veronica acinifolia, I always aim to take cuttings in late spring or early summer. This is when the plant is actively growing and has plenty of healthy, non-flowering shoots available. You want to catch it before it gets too woody.
Supplies You’ll Need
Here’s what I recommend having on hand:
- Sharp, clean pruning shears or a sharp knife: Cleanliness is key to preventing disease.
- Rooting hormone (optional, but helpful): A good quality rooting powder or gel can give your cuttings a boost.
- A light, well-draining potting mix: I like a mix of equal parts peat moss, perlite, and a little bit of compost.
- Small pots or trays: Seedling pots or even repurposed yogurt cups with drainage holes work perfectly.
- Watering can with a fine rose: Gentle watering is important so you don’t disturb your cuttings.
- Plastic bag or propagator lid: This creates a humid microclimate for your cuttings.
Propagation Methods
Let’s get our hands dirty! The most successful method for Veronica acinifolia for me is through stem cuttings.
- Take Your Cuttings: Head out to your garden and look for healthy, non-flowering shoots. Using your clean shears, carefully snip off pieces that are about 3-4 inches long. Try to make your cut just below a leaf node (where a leaf joins the stem).
- Prepare the Cuttings: Gently remove the lower leaves from your cuttings, leaving just a couple of leaves at the top. This reduces water loss and prevents leaves from rotting in the soil. If you’re using rooting hormone, dip the cut end of each cutting into the powder or gel.
- Pot Them Up: Fill your small pots or trays with your prepared potting mix. Make a small hole in the center of the soil with your finger or a pencil.
- Insert the Cuttings: Carefully place the cut end of each Veronica cutting into the hole, ensuring the leaf nodes are below the soil surface. Gently firm the soil around the stem to support it.
- Water Gently: Give your newly potted cuttings a light watering. You want the soil to be moist, but not waterlogged.
- Create a Humid Environment: Pop a plastic bag over the pots or secure the propagator lid. This will trap moisture and keep the humidity high, which is crucial for successful rooting. Place them in a bright spot but out of direct, harsh sunlight.
The “Secret Sauce” (Pro Tips)
Here are a couple of things I’ve learned over the years that can really make a difference:
- Don’t overcrowding: Give your cuttings a bit of space in their pots or trays. This helps with air circulation and reduces the risk of fungal issues. If you’re using a tray with multiple cuttings, aim for about an inch or two between them.
- Bottom heat is your friend: If you have access to a heated propagator or a seed starting mat, using bottom heat can significantly speed up the rooting process. The gentle warmth encourages root development.
Aftercare & Troubleshooting
Once your Veronica acinifolia cuttings have started to root – you’ll usually see new growth appearing within a few weeks – it’s time for a little more attention.
Watering: Continue to keep the soil consistently moist, but never soggy. As the new plants grow stronger, you can gradually acclimate them to normal watering routines.
Transplanting: Once the roots have filled the pot and you see good top growth, it’s time to transplant them into slightly larger pots. Be gentle with the new root system.
Troubleshooting: The most common issue you might encounter is rot. If your cuttings start to look mushy or blacken at the base, it’s usually a sign of too much moisture and poor air circulation. In this case, you may need to discard the affected cuttings and try again with less water and better ventilation.
A Little Patience Goes a Long Way
Propagating plants is a wonderful way to connect with nature and expand your garden without spending a fortune. Be patient with your Veronica acinifolia cuttings. Not every single one will take, and that’s perfectly okay. Celebrate the successes, learn from the challenges, and most importantly, enjoy the journey of growing something new from a simple piece of stem. Happy gardening!
Resource:
https://identify.plantnet.org/k-world-flora/species/Veronica%20acinifolia%20L./data