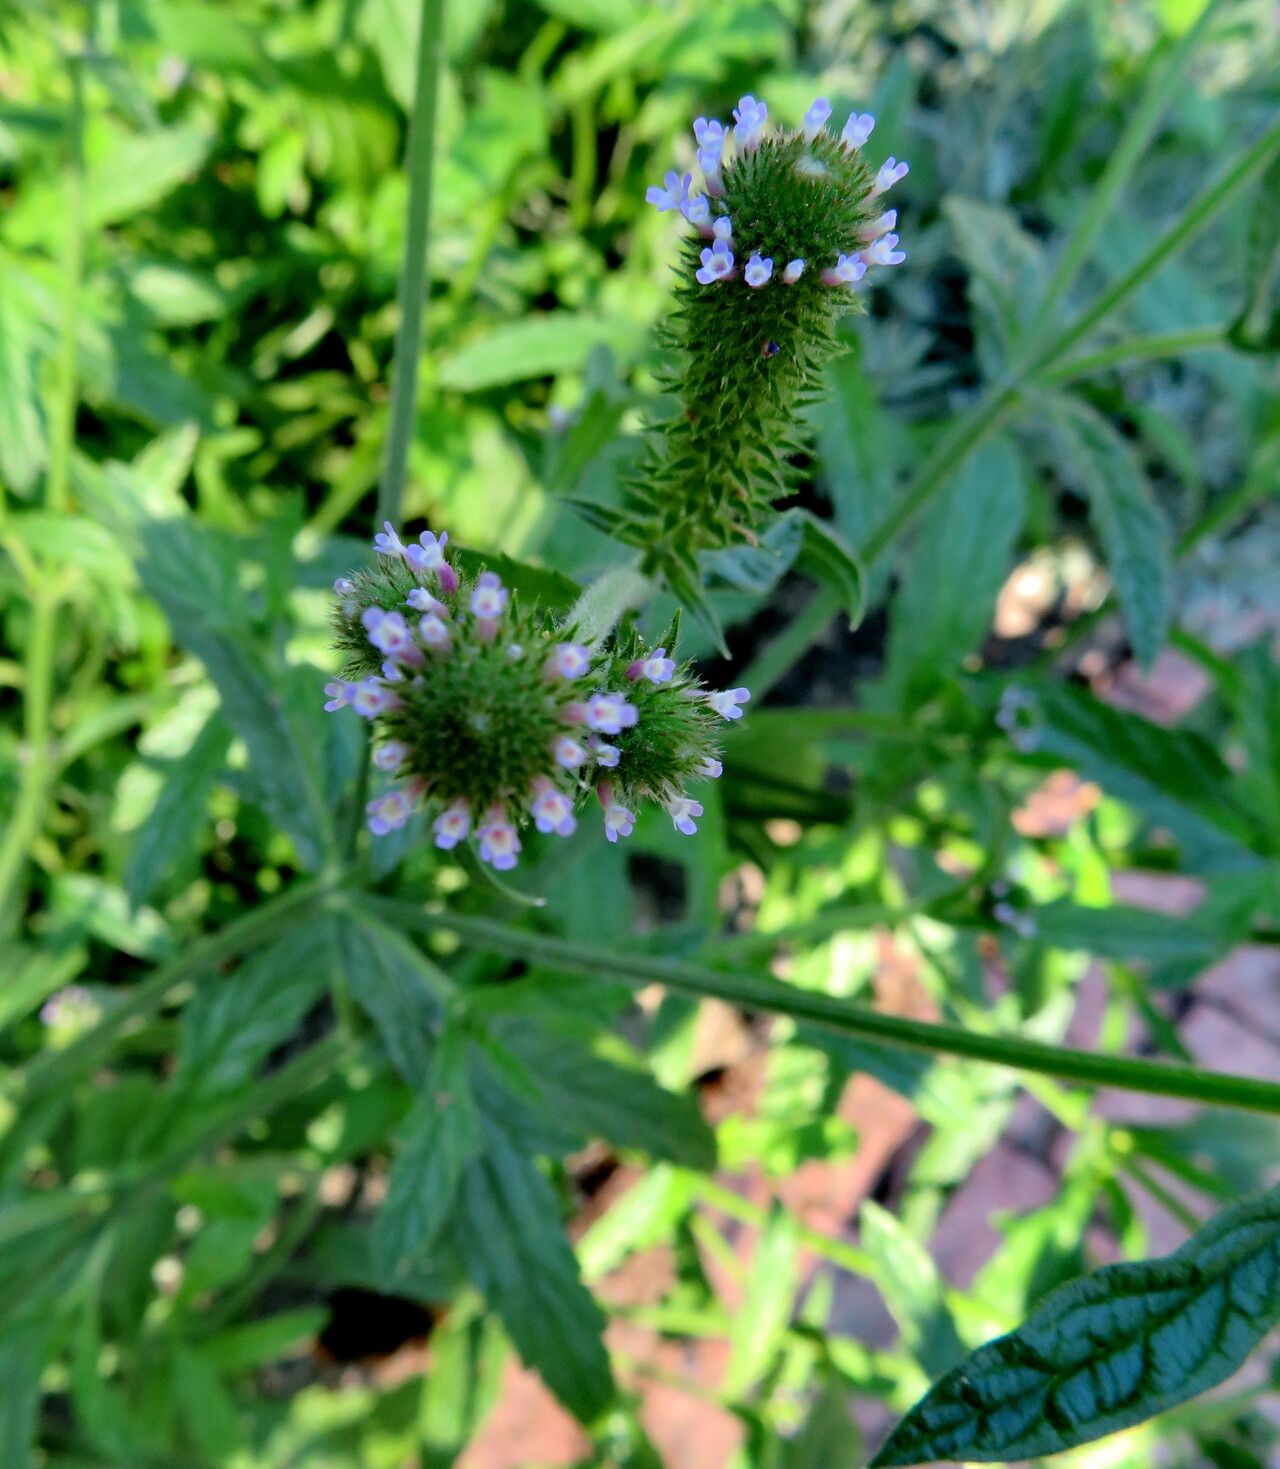
Hey there, fellow plant enthusiasts! I’m so excited to chat about Verbena bracteata today. If you love a plant that brings masses of delightful blooms to your garden, often with a lovely fragrance and attracting all sorts of pollinators, then you’re going to adore this one. Propagating Verbena bracteata is a truly rewarding way to multiply its charm. And the best part? It’s generally considered quite forgiving, making it an excellent project for beginners. You’ll be amazed at how easily you can create more of these beauties to fill your pots and borders.
The Best Time to Start
For the highest success rate with Verbena bracteata, I’ve found that late spring to early summer is your sweet spot. This is when the plant is actively growing, and the new shoots are young and tender, making them much more receptive to rooting. Waiting until after the main spring flush of growth means you’ll have plenty of material to work with.
Supplies You’ll Need
No fancy equipment required here, just the basics:
- Sharp pruning shears or a clean knife: For taking cuttings.
- Small pots or seedling trays: With good drainage holes.
- Seed-starting mix or a well-draining potting mix: You can add perlite or coarse sand for extra drainage.
- Rooting hormone (optional but recommended): It really gives cuttings a helpful boost.
- Plastic bags or a propagation dome: To create a humid environment.
- Spray bottle: For misting.
- Labels: To keep track of what you’ve planted.
Propagation Methods
Verbena bracteata is wonderfully amenable to a couple of straightforward propagation methods.
Stem Cuttings
This is my go-to method for Verbena bracteata.
- Take your cuttings: Select healthy, non-flowering stems from a mature plant. Aim for pieces about 4-6 inches long. Make your cut just below a leaf node (where a leaf meets the stem). This is where the magic happens for root development. Remove any lower leaves, leaving just a couple at the top.
- Prepare the cuttings: If you’re using rooting hormone, dip the cut end into the powder or gel, tapping off any excess.
- Pot them up: Fill your small pots or trays with your potting mix. Make a small hole in the center of each pot with your finger or a pencil.
- Insert the cuttings: Gently place the prepared cuttings into the holes, firming the soil around them.
- Create humidity: Water them lightly, then cover the pots loosely with a plastic bag or place them in a propagation dome. This traps moisture, which is crucial for preventing the cuttings from drying out.
- Provide light and warmth: Place the pots in a bright location but out of direct, harsh sunlight. A warm spot is ideal.
Water Propagation
For a visual treat and a slightly different approach:
- Prepare stem cuttings: Follow step 1 from the stem cutting method.
- Place in water: Fill a small jar or glass with fresh, clean water. Place the cuttings in the water, ensuring no leaves are submerged. Leaves in the water will rot, which is exactly what we don’t want.
- Change water regularly: Change the water every couple of days to keep it fresh.
- Find a bright spot: Place the jar in a bright location, away from direct sun.
- Watch for roots: You should start to see tiny white roots appearing within a few weeks.
The “Secret Sauce” (Pro Tips)
Here are a few little tricks that have made a big difference for me over the years:
- Bottom Heat is Your Friend: If your environment is a bit cool, consider using a seedling heat mat under your pots. This gentle warmth from below significantly encourages root formation.
- Don’t Over-Water: While humidity is key, soggy soil is the enemy. Make sure your potting mix drains well and only water when the top inch feels dry. Rot can set in quickly if they’re too wet.
- Patience with the Water Method: When propagating in water, don’t rush to plant the cuttings as soon as you see just a tiny root. Wait until the roots are a good inch or so long and have begun to branch out a bit. This gives them a stronger start when you plant them in soil.
Aftercare & Troubleshooting
Once your Verbena cuttings have developed a good root system (you can gently tug on them – if there’s resistance, they’ve rooted!), it’s time for the next stage.
- Potting Up: Carefully transplant your rooted cuttings into individual small pots filled with a good quality, well-draining potting mix.
- Continued Care: Water them well and continue to provide bright, indirect light. Keep the humidity high for the first week or so by misting or continuing to use a light cover. Gradually acclimate them to lower humidity.
- Signs of Trouble: The most common issue is rot, often caused by overwatering or poor drainage. You might see stems turning black and mushy. If you catch it early, you can try repotting in drier soil, but sometimes it’s a lost cause. Another sign of failure is cuttings that simply shrivel and die; this is usually due to them drying out.
A Gentle Encouragement
Propagating plants is like creating little miracles you can hold in your hands. Don’t be discouraged if not every cutting takes. Gardening is a journey of learning and celebrating successes. Be patient, enjoy the process, and soon you’ll have a lovely abundance of Verbena bracteata to share with friends or to simply revel in your own garden. Happy propagating!
Resource: