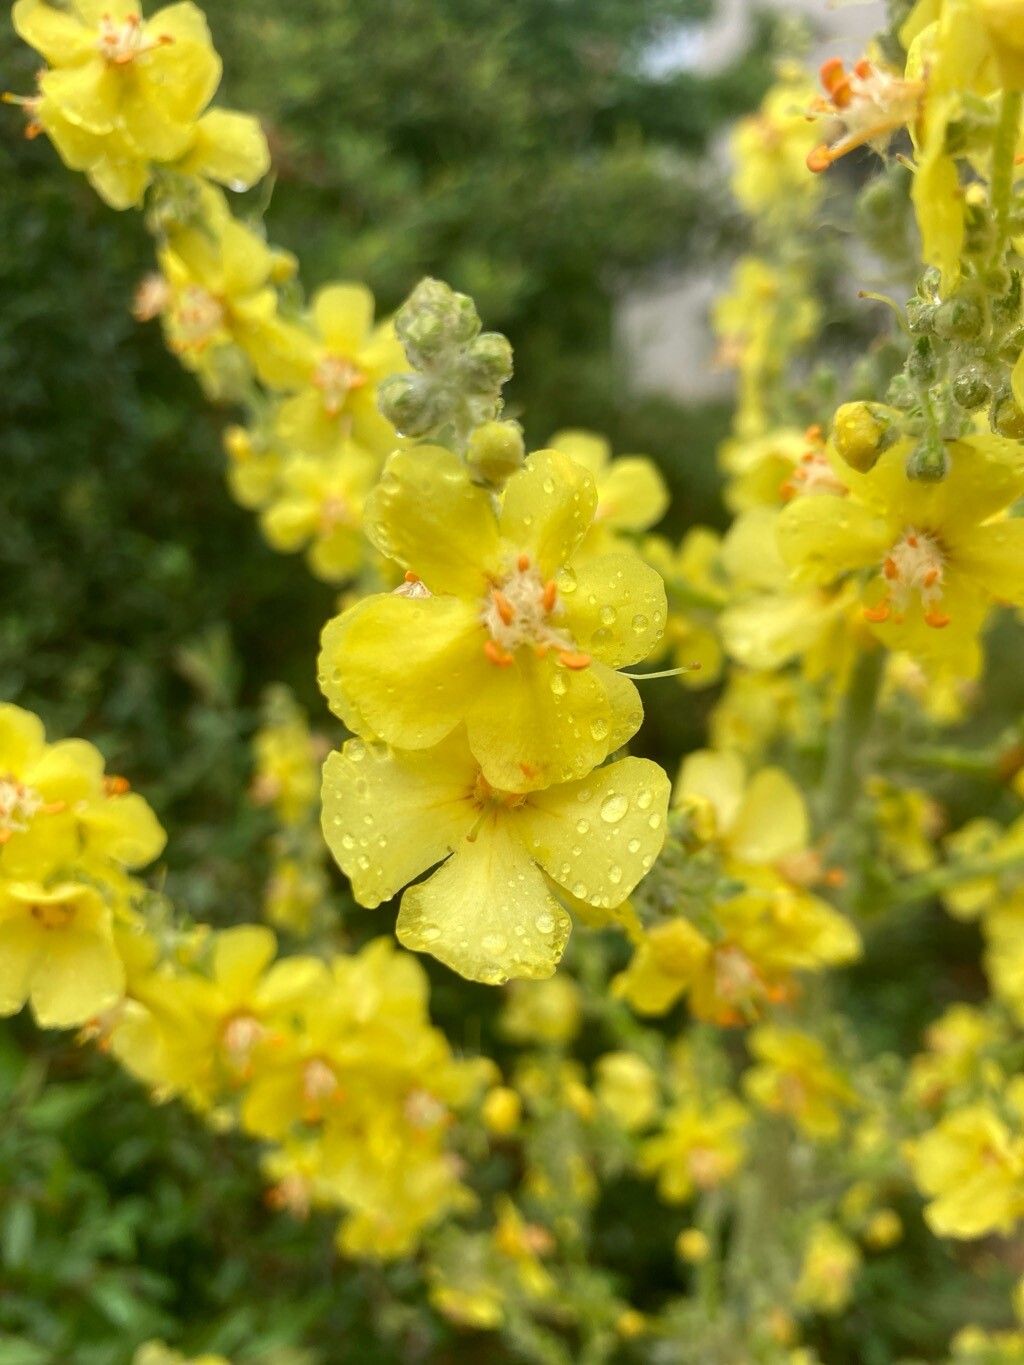
Gather ’round, fellow plant enthusiasts! Today, we’re going to talk about one of my absolute favorite garden performers: Verbascum pulverulentum, often called the “Powdered Mullein.” Its statuesque spires of fuzzy, silver-grey leaves are truly a sight to behold, and the tall, delicate blooms it sends up in summer add such vertical interest and elegance to any border. If you’ve ever admired this beauty in someone’s garden, or perhaps your own, you might be wondering how to get more of it. And I’m here to tell you, it’s a wonderfully rewarding endeavor! For the beginner gardener, Verbascum pulverulentum is pretty forgiving to propagate, so don’t be shy to give it a whirl.
The Best Time to Start
When it comes to Verbascum pulverulentum, I find the spring to be your sweet spot. As the weather warms up and the plant is actively putting on new growth, you’ll have the best luck. Aim for a time after the danger of hard frost has passed, but before the intense heat of summer sets in. This gives your new cuttings or divisions ample time to establish themselves before the stress of extreme temperatures. You can also have success with fall cuttings, provided you have a good place to overwinter them.
Supplies You’ll Need
Let’s get our tools ready! Here’s what you’ll want to have on hand:
- Sharp pruning shears or a clean knife: For making neat cuts.
- Rooting hormone (optional but helpful): A powder or gel to encourage root development.
- Well-draining potting mix: A good blend for cuttings would be about 50% perlite and 50% peat moss or coco coir.
- Small pots or seed trays: With drainage holes, of course!
- Plastic bags or a propagation dome: To create a humid environment.
- Watering can or spray bottle: For gentle watering.
- Labels: To keep track of your new arrivals.
Propagation Methods
Verbascum pulverulentum is fairly versatile, but my favorite and most reliable methods involve stem cuttings and division.
Stem Cuttings: A Classic Approach
- Select your stem: On a healthy, growing Verbascum pulverulentum plant, look for a non-flowering side shoot that’s about 4-6 inches long. It should be somewhat firm but not woody.
- Make the cut: Using your sharp shears or knife, make a clean cut just below a leaf node (where a leaf attaches to the stem).
- Prepare the cutting: Gently remove the lower leaves, leaving just the top two or three. This prevents them from rotting in the soil.
- Dip in rooting hormone: If you’re using it, dip the cut end of the stem into the rooting hormone, tapping off any excess.
- Plant the cutting: Fill your small pots with your prepared potting mix. Make a small hole with your finger or a pencil and insert the cutting, ensuring the leaf nodes are below the soil surface. Gently firm the soil around it.
- Water and cover: Water the soil thoroughly but gently. Then, cover the pot with a plastic bag or place it under a propagation dome to maintain humidity.
- Provide bright, indirect light: Place your cuttings in a location that receives bright, indirect light. Avoid direct sun, which can scorch the delicate cuttings.
- Be patient: Roots typically begin to form in 3-6 weeks. You can check for root development by giving the pot a gentle tug. If there’s resistance, roots have formed.
Division: Sharing the Wealth
This is a fantastic method for established plants, usually done in early spring.
- Dig carefully: Gently dig around the base of your mature Verbascum pulverulentum plant. You want to lift the entire root ball out of the ground with as little disturbance as possible.
- Inspect the root ball: Shake off some of the excess soil so you can clearly see the root structure.
- Separate the divisions: Look for natural breaks where the plant has grown multiple crowns or shoots. You can use your hands to gently pull the divisions apart, or if they are strongly attached, use a clean, sharp trowel or knife to slice through the root ball.
- Trim any damaged roots: Remove any broken or mushy roots.
- Replant immediately: Plant your divisions at the same depth they were previously growing. Water them in well.
- Mulch: A light layer of mulch around the base of the new plants will help retain moisture.
The “Secret Sauce” (Pro Tips)
Here are a couple of things I’ve learned over the years that really make a difference:
- Don’t let those leaves touch the soil (for cuttings)! Seriously, any foliage submerged in the damp potting mix is just an invitation for rot. Keep it clean and airy.
- Bottom heat is your friend. If you have a “heat mat” designed for seedlings and cuttings, placing your pots on it can significantly speed up root formation. It mimics the warmth of spring soil and gets things going.
Aftercare & Troubleshooting
Once your cuttings have rooted, or your divisions are planted, you’ll want to give them a little extra TLC.
- Gradually acclimate: If you used a plastic bag or dome, slowly introduce your new plants to normal humidity over a week or so. Start by opening the bag for a few hours each day.
- Water consistently: Keep the soil moist but not waterlogged. Overwatering is the quickest way to invite problems.
- Transition to their final home: Once the new plants are well-established and have developed a good root system (usually after a few weeks), you can transplant them into larger pots or their permanent garden location.
The most common issue you might encounter is rot. You’ll see the stem turn mushy and brown from the base up. This is usually a sign of too much moisture and not enough air circulation. If you spot this, leider, it’s best to discard the affected cutting to prevent it from spreading. Yellowing leaves can sometimes indicate too much direct sun or not enough water.
A Little Patience Goes a Long Way
Propagating plants is a journey, a dance with nature. Don’t get discouraged if your first attempt isn’t perfect. Each seed, each cutting, each division is a chance to learn and grow alongside your plants. Enjoy the process, marvel at the resilience of life, and soon you’ll be surrounded by your very own beautiful Verbascum spires! Happy gardening!
Resource:
https://identify.plantnet.org/k-world-flora/species/Verbascum%20pulverulentum%20Vill./data