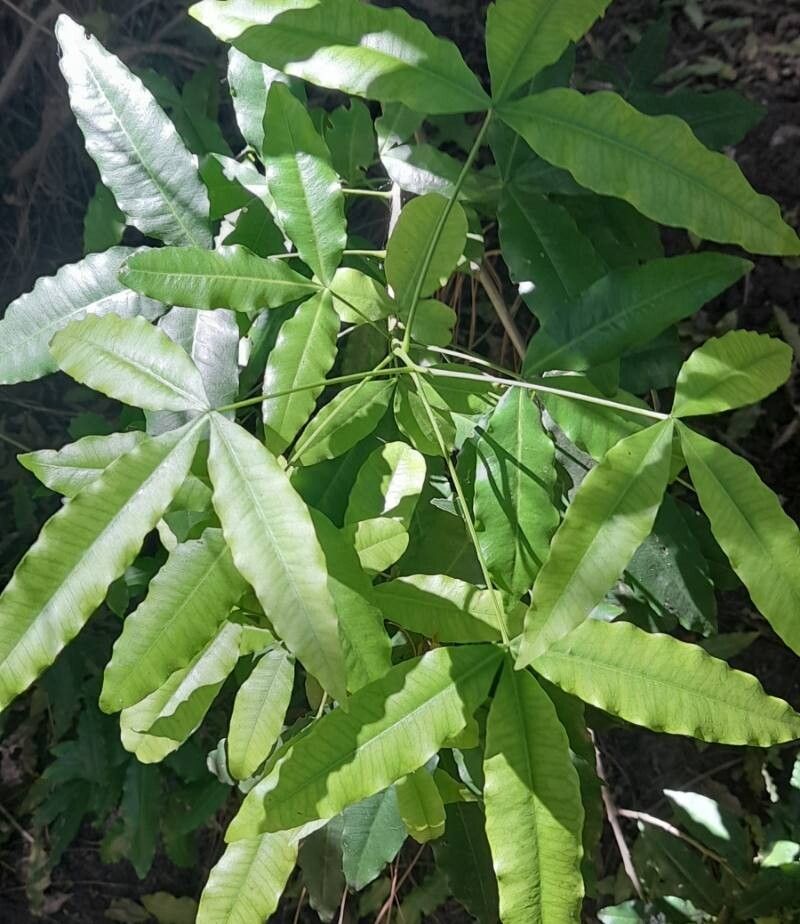
Oh, hello there, fellow plant enthusiast! It’s so lovely to have you join me today. We’re going to dive into the wonderful world of Vepris lanceolata, sometimes called the Cape Ash or even Lemonwood for its fragrant foliage. If you haven’t encountered it before, imagine a graceful evergreen with glossy, leathery leaves that carry a delightful citrusy scent when you brush past them. It’s a truly captivating plant, and the thought of coaxing new life from it is incredibly rewarding, don’t you think? Now, about propagating Vepris lanceolata… I’d say it’s moderately easy, leaning towards a gentle challenge that’s quite achievable for most home gardeners with a little patience.
The Best Time to Start
For the highest chance of success with stem cuttings, your best bet is late spring or early summer. This is when the plant is actively growing, and the young, pliable shoots have plenty of energy to put into developing roots. You’re looking for stems that are firm but not yet woody. Think of them as enthusiastic teenagers, ready to branch out into their own ventures!
Supplies You’ll Need
Gathering your tools beforehand makes the whole process so much smoother. You’ll want:
- Sharp pruning shears or a clean knife: For making precise cuts.
- Rooting hormone powder or gel: This can give your cuttings a significant boost.
- A well-draining potting mix: I like a blend of peat moss, perlite, and a little sand. Some growers swear by equal parts perlite and peat, and honestly, that works beautifully too.
- Small pots or propagation trays: Clean, of course!
- A clear plastic bag or propagation dome: To create a humid environment.
- Water: For misting and initial hydration.
- A small trowel or dibber: To help make holes for your cuttings.
Propagation Methods: Stem Cuttings
This is my go-to method for Vepris lanceolata, and I find it reliably successful.
- Select Your Cuttings: Gently examine your Vepris lanceolata. Look for healthy, new growth that’s about 4-6 inches long. It should be flexible enough to bend slightly without snapping. Avoid flowering or very woody stems.
- Make the Cut: Using your sharp pruning shears or knife, make a clean cut just below a leaf node. A leaf node is that little bump on the stem where a leaf grows from. This is where the magic of root formation often begins.
- Prepare the Cutting: Gently remove the lower leaves from your cutting, leaving just a few at the very top. You want to reduce the surface area where water can evaporate, but keep enough leaves to photosynthesize. If the remaining leaves are very large, you can even cut them in half to further reduce water loss.
- Apply Rooting Hormone: Dip the cut end of the stem into your rooting hormone solution or powder. Tap off any excess. This step isn’t strictly essential for all plants, but it really does encourage faster and stronger root development with Vepris lanceolata.
- Plant Your Cuttings: Fill your pots or trays with your prepared potting mix. It should be moist but not waterlogged. Use your trowel or dibber to make a small hole in the center of the medium. Carefully insert the treated cutting into the hole, ensuring the leaf nodes are submerged. Gently firm the soil around the base of the cutting.
- Create Humidity: Water the mix lightly. Then, cover the pot or tray with a clear plastic bag or propagation dome. This traps moisture and creates the humid microclimate your cutting needs to survive and root. Make sure the plastic doesn’t touch the leaves if possible. You can use stakes to prop it up.
- Placement is Key: Place your newly potted cuttings in a bright spot, but out of direct sunlight. Too much sun will scorch the delicate cuttings. A warm location is ideal.
The “Secret Sauce” (Pro Tips)
Here are a couple of things I’ve learned over the years that make a real difference:
- Bottom Heat is Your Friend: If you can provide a little warmth from below, your cuttings will thank you! A heat mat is fantastic for this. It encourages root growth much faster. You can find affordable ones specifically for propagation.
- Don’t Drench, Mist: While you want the soil to be moist, overwatering is the enemy of cuttings. It leads to rot. Instead of a heavy watering, I prefer to mist the cuttings and the inside of the humidity dome regularly, especially if I notice the soil surface looking a bit dry. This keeps things consistently humid without soggy soil.
- A Clean Sweep: This might sound obvious, but sterilizing your tools between every few cuts is crucial. You don’t want to inadvertently spread any diseases from one stem to another. A quick wipe with rubbing alcohol does the trick.
Aftercare & Troubleshooting
Be patient! It can take anywhere from 4 to 8 weeks, sometimes even longer, for your Vepris lanceolata cuttings to develop a good root system. You’ll know they’re ready when you feel gentle resistance when you very lightly tug on a stem, or when you see new, healthy leaf growth.
The most common issue you’ll encounter is rot. If a cutting starts to look black or mushy, it’s usually
Resource:
https://identify.plantnet.org/k-world-flora/species/Vepris%20lanceolata%20(Lam.)%20G.Don/data