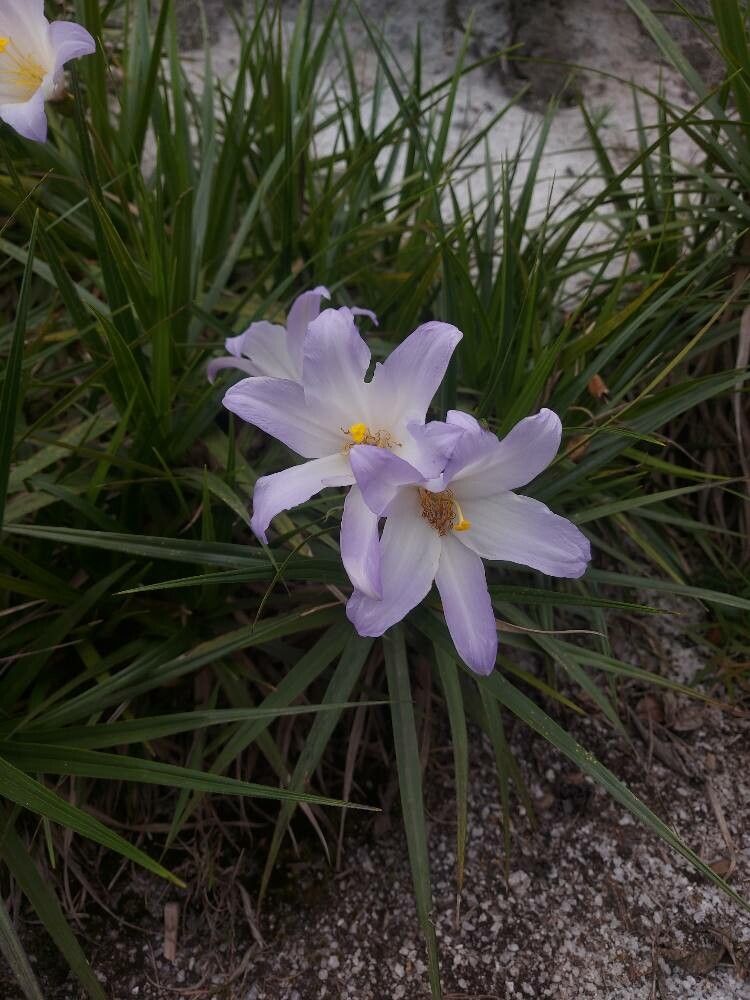
Oh, Vellozia tomeana! What a stunner. If you’ve ever seen one of these beauties, you know exactly what I mean. That architectural form, those delicate, often white or pale pink flowers that seem to emerge from nowhere – they’re just magical. For me, propagating Vellozia tomeana is one of those deeply satisfying gardening triumphs. It’s like coaxing a little bit of that wild magic into existence right in your own home. Now, I’ll be honest, it’s not the easiest plant to get going from a cutting, but with a little patience and the right approach, it’s absolutely achievable, and the rewards are immense.
The Best Time to Start
Whenever I’m looking to propagate something, I always think about when it’s feeling its most vigorous. For Vellozia tomeana, peak growing season is definitely your best bet. Think late spring through summer. The plant is actively producing new growth, and those new stems have a better chance of rooting successfully. Trying to take cuttings when the plant is dormant or stressed is just asking for disappointment. We want happy, healthy plants to work with!
Supplies You’ll Need
Gathering your tools before you start is half the battle. Here’s what I like to have on hand for Vellozia propagation:
- Sharp, clean pruning shears or a sharp knife: A clean cut is crucial to prevent disease. I always wipe mine down with rubbing alcohol.
- Rooting hormone (optional but recommended): A good rooting powder or gel can give your cuttings a real boost.
- Well-draining potting mix: I use a blend of perlite, coarse sand, and coco coir or peat moss. Think airy – Vellozia doesn’t like sitting in soggy soil. You can also buy specific succulent or cactus mixes.
- Small pots or propagation trays: Clean ones, of course!
- Clear plastic bags or a propagation dome: This helps maintain humidity.
- Watering can with a fine rose or spray bottle: For gentle watering.
- Labels and a marker: Because you will forget what you planted where!
Propagation Methods
For Vellozia tomeana, stem cuttings are generally the most successful method. It’s like taking a little piece of the parent plant’s enthusiasm and giving it its own life.
- Take Your Cuttings: With your clean shears, select healthy, non-flowering stems about 4-6 inches long. Look for stems that have at least a few sets of leaves. Make a clean cut just below a leaf node (where the leaves attach to the stem).
- Prepare the Cuttings: Gently remove the lower leaves from the stem. You want a clean stem for about an inch or two at the bottom.
- Apply Rooting Hormone (Optional): Dip the cut end of the stem into your rooting hormone. Tap off any excess.
- Plant the Cuttings: Fill your small pots with your well-draining potting mix. Make a small pilot hole with your finger or a pencil. Insert the cut end of the Vellozia cutting into the hole, ensuring the leaf nodes are below the soil line. Gently firm the soil around the stem.
- Water Gently: Water the soil lightly to settle it around the cutting. You don’t want to wash away the potting mix or the rooting hormone.
- Create a Humid Environment: Place the pots into a clear plastic bag, sealing it loosely, or cover them with a propagation dome. This traps the humidity, which is vital for encouraging roots. Position them in a bright spot, but out of direct sunlight.
The “Secret Sauce” (Pro Tips)
Here are a couple of things I’ve learned through trial and error that make a big difference:
- Let Cuttings Callus: Before you even dip them in rooting hormone or plant them, let those cut ends dry out and form a callus for 24-48 hours. This is crucial! It helps prevent the cutting from rotting before it has a chance to root.
- Bottom Heat is Your Friend: If you can, placing your pots on a gentle heat mat designed for propagation can work wonders. It encourages root development from the bottom up, giving your cuttings a much better chance of success. Just a low, consistent warmth is all you need.
Aftercare & Troubleshooting
Once your cuttings are planted and tucked in their humid little homes, the real waiting game begins. Keep the soil consistently moist but never soggy. You can periodically mist the leaves if they look a bit dry, but be careful not to let water collect in the rosettes, which can lead to rot.
You’ll know your cutting has rooted when you see new growth appearing. This can take anywhere from several weeks to a few months, so don’t give up too soon! Gently tugging on a cutting – if there’s resistance, roots are likely forming.
The most common problem you’ll encounter is rot. If a cutting turns mushy, black, or smells off, it’s usually a sign of too much moisture and not enough airflow. Unfortunately, these are usually lost causes. If you see a bit of leaf rot but the stem looks firm, you can try to clean it up and replant. Prevention is key here: good drainage and not overwatering are your best defenses.
A Encouraging Closing
Propagating Vellozia tomeana is a journey, not a race. Embrace the waiting, celebrate the small signs of life, and don’t be discouraged if not every cutting makes it. Each attempt is a learning experience. Soon enough, you’ll have a collection of these magical plants, and you’ll feel a special kind of pride knowing you helped them grow. Happy propagating!
Resource:
https://identify.plantnet.org/k-world-flora/species/Vellozia%20tomeana%20L.B.Sm.%20&%20Ayensu/data