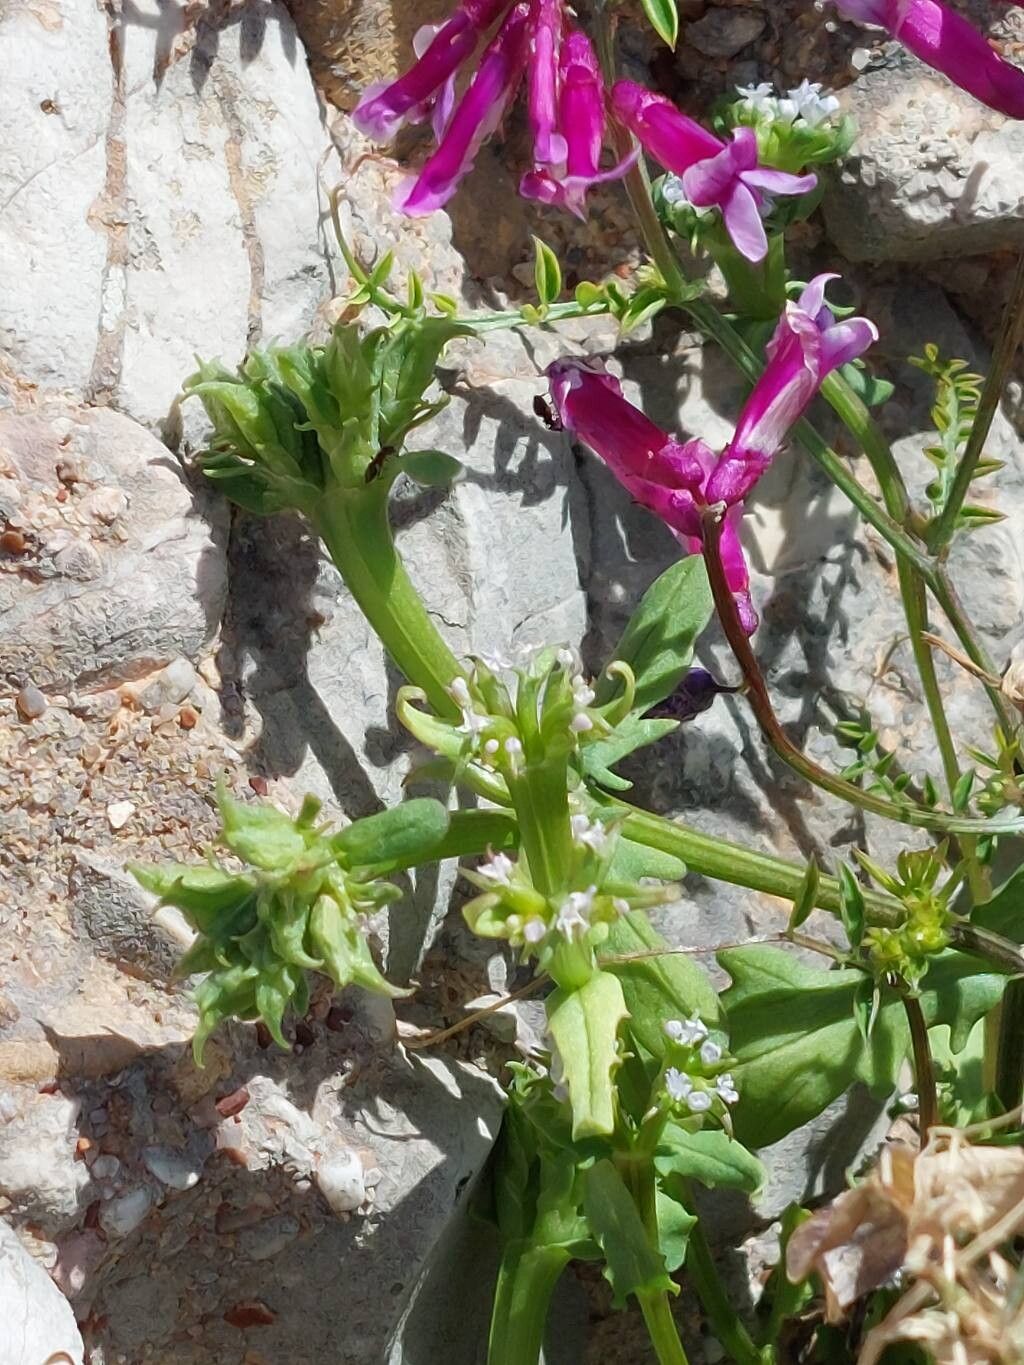
Oh, Valeriana cornucopiae! What a charmer. If you haven’t had the pleasure, imagine delicate, star-shaped white flowers with a hint of blush, all held aloft on elegant stems. It’s a plant that whispers rather than shouts its beauty, and I find myself drawn to its understated grace year after year. Propagating it is such a lovely way to multiply that charm, and honestly, it’s a pretty rewarding endeavor. For beginners? I’d say it’s moderately easy, which means with a little attention, you’ll likely have success.
The Best Time to Start
For Valeriana cornucopiae, the sweetest spot for propagation is typically late spring to early summer. This is when the plant is in its vigorous growth phase, buzzing with energy and ready to put out new shoots. Taking cuttings or dividing older plants from April through June will give them ample time to establish themselves before the cooler weather arrives.
Supplies You’ll Need
Here’s what I keep handy when I’m about to get my hands dirty:
- Sharp pruning shears or a clean, sharp knife: For making clean cuts.
- Seed-starting mix or a blend of equal parts peat moss and perlite: This provides excellent drainage, which is key.
- Small pots or trays: Clean ones are a must!
- Rooting hormone (optional, but helpful): Especially for stem cuttings. I like the powder kind.
- Watering can with a fine rose spray: Gentle watering is crucial.
- Plastic bags or a propagator lid: To create a humid environment.
- Labels and a permanent marker: So you don’t forget what you planted where!
Propagation Methods
Valeriana cornucopiae can be propagated through a couple of reliable methods.
Stem Cuttings
This is my go-to for increasing my Valeriana count.
- Select your shoots: Look for healthy, non-flowering stems on your parent plant. You want pieces that are about 4-6 inches long.
- Make the cut: Using your clean shears or knife, make a clean cut just below a leaf node. A leaf node is where a leaf emerges from the stem. This is where the magic happens, where roots will most likely form.
- Prepare the cutting: Gently remove the lower leaves from the stem, leaving just a couple at the very top. This prevents them from rotting when they’re in the soil. If you’re using rooting hormone, dip the cut end into it.
- Pot them up: Fill your clean pots with your well-draining soil mix. Make a small hole with a pencil or your finger and insert the cutting. Gently firm the soil around the base.
- Create a humid environment: Water gently until the soil is evenly moist. Then, cover the pot with a clear plastic bag or a propagator lid. This traps humidity, mimicking the conditions the cutting needs to stay hydrated while it roots.
- Location, location, location: Place the pots in a warm spot with bright, indirect light. Avoid direct sun, which can scorch the delicate cuttings.
Division
This is a fantastic method if your Valeriana has grown into a clump.
- Digging it up: In late spring or early fall (when growth has slowed or is dormant), carefully dig up the entire plant. You want to lift it with as much of its root ball intact as possible.
- Separate the clumps: Gently shake off excess soil to expose the root system. You should be able to see where new shoots are emerging from older root structures. You can often pull these apart with your hands. If they’re a bit stubborn, a clean knife can help to cut through thicker roots.
- Replant and water: Replant each division as you would a new plant, ensuring the crown (where the stems emerge from the roots) is at soil level. Water them in well.
The “Secret Sauce” (Pro Tips)
Here are a couple of things I’ve learned that make a difference:
- Don’t let the leaves touch the water: If you try a bit of water propagation (though I find soil works best for Valeriana), make sure only the stem is submerged, not the leaves. Any foliage underwater is a prime candidate for rot.
- Bottom heat is your friend: For stem cuttings, placing your pots on a propagation mat set to a gentle warmth (around 70-75°F or 20-24°C) can significantly speed up root development. It gives those rootlings a cozy little boost!
- Patience with the parent plant: When taking cuttings, don’t strip your main plant bare! Take only what you need, and ensure the mother plant still has plenty of leaves to continue its growth.
Aftercare & Troubleshooting
Once you see new growth emerging from your cuttings, that’s a great sign the roots are forming! Gradually acclimate your new plants to drier air by opening the plastic bag or propagator lid for a little longer each day over a week. Then, you can remove it entirely. Continue to keep the soil consistently moist but not waterlogged.
The most common issue is root rot, which happens when the soil stays too wet, starving the roots of oxygen. You might see the cutting wilting, turning black, or becoming mushy at the base, even if the leaves look okay. If you spot this, act fast! You might be able to save a piece by taking a fresh cutting from a healthy part, but often, it’s a sign the conditions weren’t quite right. Overwatering is usually the culprit.
A Encouraging Closing
Propagating Valeriana cornucopiae is a wonderful journey into understanding your plant on a deeper level. Be patient with the process. Some cuttings will take faster than others, and that’s perfectly natural. Just keep them happy, observe them closely, and soon you’ll have delightful new additions to share or to admire in your own garden. Happy growing!
Resource:
https://identify.plantnet.org/k-world-flora/species/Valeriana%20cornucopiae%20L./data