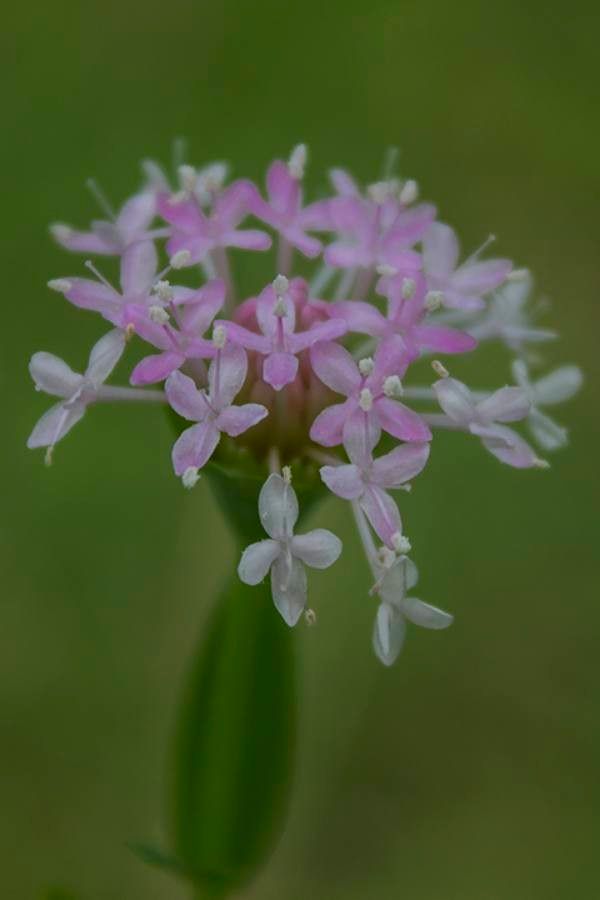
Hello there, fellow garden enthusiasts! Today, I want to chat about a plant that’s been capturing my heart for years: Valeriana congesta. If you’re looking for a plant that brings delicate beauty and a lovely scent to your garden, you’ve found it in this one. Its clusters of white to pinkish flowers are simply charming, and there’s a real satisfaction in creating more of these beauties from your existing plants. Now, if you’re new to propagating, don’t let that deter you. Valeriana congesta is generally quite obliging, making it a good one to try your hand at.
The Best Time to Start
For Valeriana congesta, the sweet spot for propagation is generally in the late spring or early summer. This is when the plant is actively growing and has plenty of energy to dedicate to putting out new roots. You’re looking for vigorous, healthy stems that aren’t flowering yet. If you miss that window, early autumn can also work, giving the new cuttings time to establish a bit before winter sets in.
Supplies You’ll Need
Here’s what you’ll want to have on hand:
- Sharp pruning shears or a clean knife: For making clean cuts.
- Potting mix: A well-draining blend is crucial. I like a mix of equal parts peat moss or coco coir and perlite or vermiculite.
- Small pots or trays: Seedling pots or propagation trays with good drainage holes work well.
- Rooting hormone (optional but helpful): A powder or gel will encourage faster root development.
- Watering can with a fine rose: For gentle watering.
- Plastic bags or propagator lid: To create a humid environment.
- Labels: So you don’t forget what you planted where!
Propagation Methods
Valeriana congesta is quite amenable to a couple of straightforward propagation techniques. Let’s dive in!
Stem Cuttings
This is my go-to method for Valeriana congesta. It’s efficient and usually yields great results.
- Take your cuttings: In late spring or early summer, select healthy stems that are about 4-6 inches long. Look for stems that have recently finished their initial flush of growth. Make a clean cut just below a leaf node. This is where the magic happens for root formation.
- Prepare the cuttings: Gently remove the lower leaves from the stem, leaving just the top couple of leaves. If the leaves are very large, you can even cut them in half to reduce water loss.
- Apply rooting hormone: Dip the cut end of the stem into rooting hormone, tapping off any excess.
- Plant the cuttings: Fill your pots or trays with your well-draining potting mix. Make a small hole with your finger or a pencil and gently insert the cutting, ensuring the leaf nodes are buried. Firm the soil gently around the stem.
- Water and cover: Water the potting mix thoroughly but gently. Then, cover the pots with a plastic bag or a propagator lid to maintain high humidity. You want to create a mini greenhouse effect.
Division
If you have a mature Valeriana congesta plant that’s looking a bit crowded or, simply, you just want more, division is a fantastic option.
- Prepare to dig: In the spring, before it gets too hot or when the plant is dormant in autumn, carefully dig up the entire plant. Try to do this on a cool, overcast day if possible.
- Inspect the root ball: Gently shake off excess soil to reveal the roots and crowns.
- Divide the clump: Using your hands or a clean trowel or knife, carefully separate the root ball into smaller sections. Each section should have a healthy root system and at least one or two buds or growing points.
- Replant: Immediately replant the divisions in your prepared garden beds or in pots filled with good soil. Water them in well.
The “Secret Sauce” (Pro Tips)
Here are a few things I’ve learned over the years that can really give you an edge:
- Bottom Heat is Your Friend: For stem cuttings, placing your propagation tray on a heat mat can significantly speed up root development. It mimics the warmth of spring soil and gives those cuttings a real boost.
- Keep Those Leaves Dry: When you water your cuttings, try your best to avoid getting the leaves themselves wet, especially if they’re still fully intact. Moist leaves in a humid environment can quickly become a recipe for fungal diseases. Water the soil.
- Don’t Rush the Transplant: While you’re eager to see those roots, resist the urge to pull your cuttings out too early to check. Wait until you feel gentle resistance when you give the stem a very light tug, or until you see new leaf growth. Patience is key!
Aftercare & Troubleshooting
Once your cuttings have developed roots (you’ll see new growth or feel that gentle resistance), it’s time to start weaning them off their humid environment.
- Gradual Acclimatization: Over a few days, gradually increase the ventilation by opening the plastic bag or propagator lid a little more each day.
- Regular Watering: Continue to water them regularly, ensuring the soil stays consistently moist but not waterlogged.
- Light: Place them in a bright spot with indirect sunlight. Direct sun can scorch tender new growth.
- Signs of Trouble: The most common issue you might encounter is rot, which looks like mushy, dark stems. This is usually caused by overwatering or poor drainage. If you see this, sadly, that cutting is likely lost. Another sign of a problem is if the stem turns yellow and wilts without any sign of rooting – this could mean it’s not getting enough humidity or is simply not viable.
A Little Encouragement
Propagating Valeriana congesta is such a rewarding experience. It’s a chance to connect with nature on a deeper level, to witness the miracle of new life, and to fill your garden with even more of these delightful plants. Don’t be discouraged if your first try isn’t perfect; gardening is a journey of learning and experimentation. Be patient, enjoy the process, and happy propagating!
Resource: